
The very first hand-dipped candles date back to Roman times when, on a long, dark night, no other light could be seen. The Romans popularized the use of hand-dipped tallow candles, tallow being rendered animal fat. In the 1500s, beeswax candles were popularized, but because beeswax was very hard to obtain at the time, these candles were almost exclusively for the upper class.
Candles continued to evolve over the years, eventually evolving into paraffin wax candles, which are the most widely used candles today. However paraffin is derived from petroleum, oil, or coal, and research has shown that burning paraffin wax releases potentially dangerous chemicals such as volatile organic compounds (VOCs) and phthalates.
For this reason, many people are turning back to beeswax as it burns cleanly, evenly, and brightly, lighting up even the darkest of nights. Not only is it non-toxic, but beeswax also cleans your home naturally by emitting negative ions that attach to positive ions in the air, neutralizing them and purifying the air.
Beeswax candles are also hypoallergenic and lightly scented, with the natural scent coming from the honey once stored within the wax cells. Most local beekeepers sell cleaned beeswax and can provide some for this project. (Amazon is not a reliable source for beeswax, as there are very few regulations governing the sale of wax online. It’s best to get the real thing from a local beekeeper if and when possible.)
That being said, making your own hand-dipped beeswax candles at home is incredibly easy and more cost-effective than purchasing them ready-made, especially if you’re a beekeeper or have easy access to high-quality beeswax.
How to Make Hand-Dipped Beeswax Taper Candles
You’ll find a condensed list of instructions for this project at the end of this article, however I recommend reading through this section first for detailed instructions on each step.

For this project you’ll need:
- Scissors
- 2/0 square braid cotton wicking
- Beeswax
- Measuring tape
- A large (4 pound) melting pot
- A stovetop or portable hot pot
- Metal washers
- Large pot for double boiling big enough for your melting pot to sit in
- Drying rack (a pasta drying rack works well)
- Cooking thermometer
Step-By-Step Instructions
Step 1: Start by sourcing all of the items from the
above list
Wicking can usually be found at beekeeping supply stores as well as candle-making shops. 2/0 is the size of the wick; it is slender and burns best for tapered candles.
Beeswax can be purchased from local beekeepers, candle-supply stores, or ordered online if needed. You can purchase beeswax in solid blocks or in pellet form.
The melting pot I use is specifically made for candle pouring, though any tall metal pitcher will work.
Step 2: Prepare your equipment and ingredients
Add three pounds of the beeswax to your melting pot, then fill your larger pot with water and place the melting pot with the beeswax inside the larger pot. This creates a type of double boiler, which makes for even melting of the wax and ensures your wax doesn’t burn.
Set up your drying rack while you wait for your wax to melt. The drying rack I use for my candles was second-hand and originally used for displaying jewelry, but it works perfectly for hanging the candles to dry. A pasta drying rack also works well, or you can make your own fairly easily.
Before you start, beeswax is highly flammable and should not be melted on an open flame without extreme care. Even when using a portable hot plate, use extreme caution. You’ll also want to use a surface that you’re comfortable possibly dripping wax on.
You can cover your surfaces with parchment paper to make for easy clean up. But in case of dripping, I keep a paint scraper handy for scraping wax off my counter tops.
Step 3: Melt your wax and prepare your wicks
Start by melting your wax over medium heat. This process can take up to an hour, so be prepared to wait. You may need to add more water to the large pot to ensure it never runs dry.
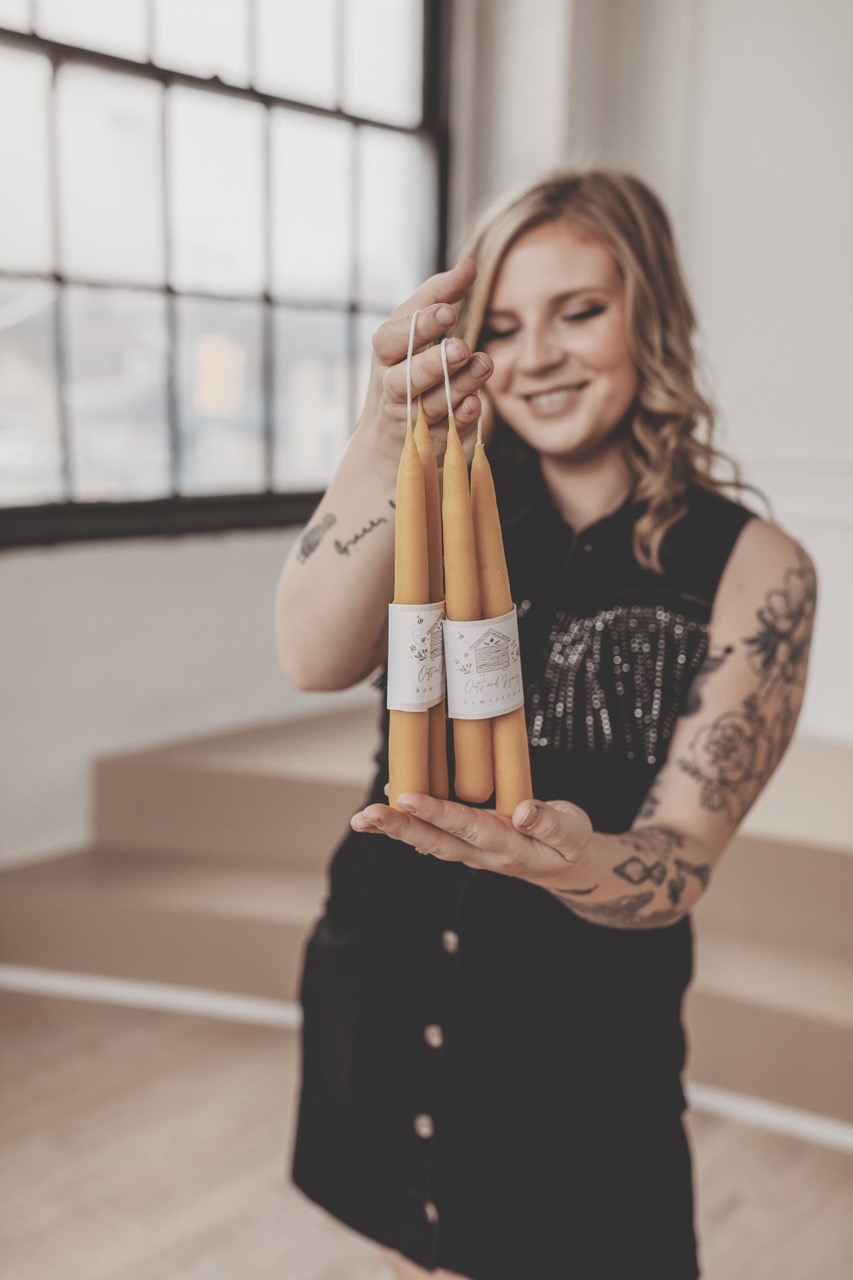
While the wax melts, measure your wick to the desired length. Since you’ll be dipping both ends evenly to make a pair of tapers, the wick needs to be double the length of one candle. If you have a favorite set of tapers, you can measure them and use them as a guide.
Add about two extra inches to your wick to account for tying a washer to each end and for holding the wick with your fingers as you dip. For example, my tapers are 10 inches long each, so my wick measures 22 inches in total.
After you cut and measure the wick, tie a metal washer to each end. The washers will serve as weights, ensuring the wick stays straight and submerges evenly into the wax.
Once the wax has melted, use a cooking thermometer to check the temperature. The wax should be at 165ºF (74ºC). Maintaining the correct temperature is important—if the wax is too hot, it will slide off the previous layers; if it’s too cool, it will thicken and dry unevenly with a chunky texture. You’ll need to refill your melting pot periodically with the remaining pound of beeswax while dipping the candles.
Step 4: Dip your wicks and make your candles
Start dipping your prepared wicks in the hot wax. Hold the wick directly in the middle and dip the wicks deep into the wax, making sure not to dip your finger tips. Carefully hang the freshly dipped wicks onto your drying rack. Repeat this process about four times, allowing the wax to dry between dips. If the layers don’t dry properly, the wax will melt off with each new dip. If you’re making more than one set of tapers, you can start dipping the next pair as the first pair dries.
By this time your wicks will start to develop a structure to them and the washer on the end can be snipped off. Keep the wicks straight and continue to dip over and over, drying in between. I usually make 10+ sets of candles at once, so by the time I finish dipping the last one, the first one is dried and ready to dip again.
You can also shape the candles by adjusting them with your hands while the wax is still warm and pliable. You’ll use your hand to keep the wick straight as you dip. If the wick starts to bend or kink, use your warm hands to smooth it out.
As you dip, you’ll need to reheat and add more wax as needed. Adding more wax ensures the level stays high enough to completely submerge your candles. If the wax gets too hot, you can turn off the heat, but you’ll need to reheat it as soon as it starts to cool.
As for how thick your candles should be, this is completely up to you! I like to keep my favorite taper candle holder close by to measure the base of the candles. Once it no longer wiggles around in the holder, the candles are ready!
The candles I made took approximately 20 dips to achieve the desired thickness. You can either leave the ends with a “drip” look, or trim them with scissors while still warm and shape them with your fingers for a smooth, rounded bottom. In the end, it’s all about personal preference.
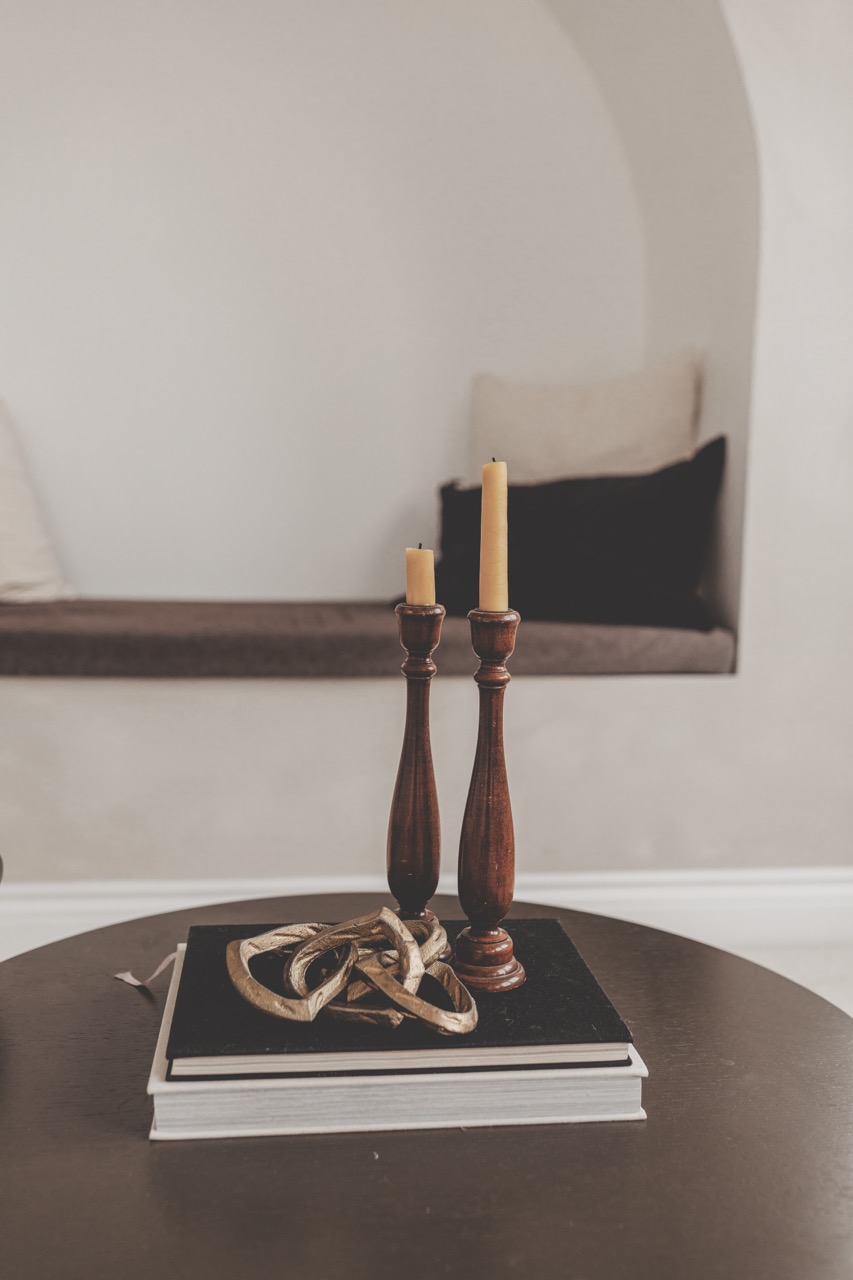
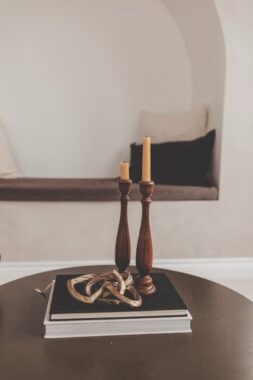
Once you’ve achieved your desired shape and size, let your candles air dry for 12 to 24 hours. These beeswax tapers are perfect for burning at home and also make for a thoughtful homemade gift!
Equipment
- Measuring tape
- A large (4 pound) melting pot
- A stovetop or portable hot pot
- Metal washers
- Large pot for double boiling big enough for your melting pot to sit in
- Container to refill your double boiler
- Pasta drying rack, homemade drying rack
- Cooking thermometer
Ingredients
- 2/0 square braid cotton wicking
- 4 pounds of beeswax
- Water
Instructions
- Add 3 pounds of beeswax to your melting pot, then fill a larger pot with water and place the melting pot inside (creating a double boiler). The rest of the wax will be used to top off the melting pot as you dip the candles and the wax level decreases.
- Melt the wax over medium heat. This process can take up to an hour, so be prepared to wait. Monitor the water level in the large pot, adding more as needed to prevent it from running dry.
- While the wax melts, measure your wick to the desired length. Since both ends will be dipped evenly to make a pair of tapers, the wick needs to be double the length of one candle. If you have a favorite set of tapers, use them as a guide. Add two extra inches to the wick to allow for tying washers to each end and for holding the wick with your fingers during dipping.
- After cutting the wick, tie a metal washer to each end. These washers will act as weights, keeping the wick straight and ensuring it submerges evenly into the wax.
- Once the wax has melted, use a thermometer to check the temperature. The wax should be at 165ºF (74ºC). If it overheats, turn off the heat temporarily, but reheat it if it starts to cool too much.
- Hold the wick in the middle and dip both ends into the wax, being careful not to dip your fingertips. Hang the freshly dipped wicks on your drying rack.
- Repeat the dipping process about four times, allowing the wax to dry between dips. Add more wax as needed to keep the level high enough to fully submerge the candles.
- Once you reach your desired thickness, you can either leave the ends with a natural “drip” look or trim them with scissors while the wax is still warm. Use your fingers to smooth and shape the bottom if you prefer a rounded finish.
- Let the candles air-dry for 12 to 24 hours before burning, storing, or gifting.


Leave a Reply