Have you ever considered raising your own turkey for the holidays?
A few years ago, sometime in the fall, I thought “Why don’t I raise my own Thanksgiving turkey?” So I set a goal to raise turkeys for the following year. I imagined how rewarding it would be to share that special meal with family and friends.
The thought of savoring meat from an animal I raised while giving it the best life possible felt so much better than settling for a commercial bird from a CAFO (Concentrated Animal Feeding Operation).
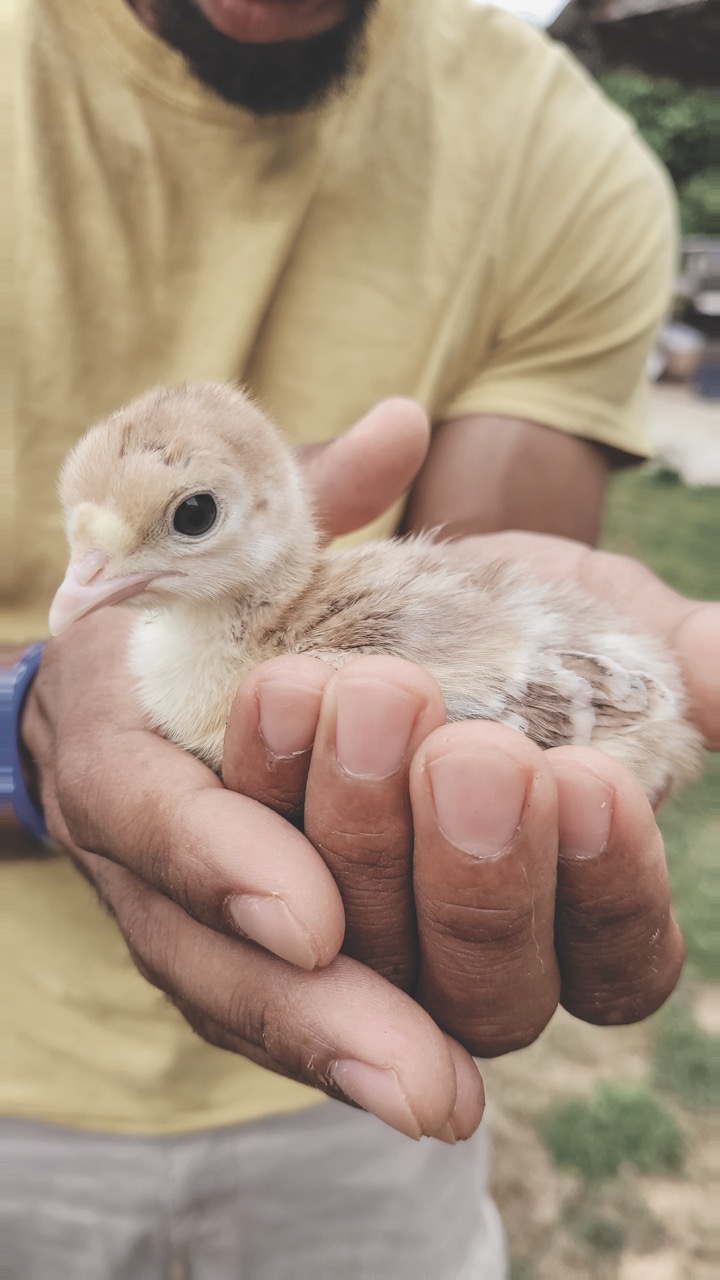
To get started, I ordered my poults (aka: baby turkeys) from Murray McMurray Hatchery. Pre-orders typically open in November. For years, I have ordered chicks, ducklings, goslings, and more from them and have always had good results. For my first batch of poults, I ordered Bourbon Reds, and I looked forward to those birds shipping out for months.
Everything started off great. I was excited… until one died. Then another. And another. I had heard that baby turkeys have a way of just wanting to die on you, and now it was happening to me. I kept thinking, “What am I doing wrong? How do I stop this?”
I quickly learned the hard way that poults are definitely more fragile and susceptible to dying compared to other baby fowl. Chicks, ducklings, and goslings are much hardier. Poults require extra care during the early stages of life, and I realized I needed to go the extra mile to keep them alive.
A Challenging Start
For starters, I had to step it up and make sure the brooder temperature stayed consistent. Poults are really sensitive to temperature changes, so I kept the brooder at 95°F (35°C), especially in that critical first week.
I watched them closely—if they huddled up, they were too cold; if they spread out too much, they were too hot. In addition to a brooder heat lamp, I also used a heat plate as a secondary or backup heat source. (From my experience, I think a heat lamp is a must, because a heat plate alone isn’t enough heat for the birds.)
Another big lesson I learned with raising poults is the importance of proper ventilation. Like other baby birds, poults need fresh air, but they can’t handle drafts. In my first batch, the brooder wasn’t draft-proof enough, and I think this alone was the main reason I lost so many birds.
Since then, I’ve made sure there’s good air circulation while blocking any cold drafts that could reach them. I did this by covering and sealing off direct airflow, but still leaving enough room for fresh air. To block larger drafts, I used whatever I had on hand—wood, insulation, metal paneling, you name it. However, I was careful not to put flammable objects anywhere close to heat lamps to avoid a fire hazard.
Another hard lesson I learned with poults is that they fall asleep in their waterer. When they’re young, they are weak, get tired easily, and are really clumsy. Because of that, poults are known to just fall asleep in their water and drown, and they even accidently fall into the water or over-immerse themselves when trying to drink. This can easily lead to hypothermia and death.
To avoid this, I use shallow waterers or add gravel or marbles in the waterer to prevent them from submerging their heads and bodies. I have found that these modifications will greatly reduce the chances of losing poults to their water.
It Gets Easier
As part of my turkey-raising journey, one of the key lessons I picked up during a visit to Polyface Farms was learning how to transition baby poults to the outdoors. Generally, once they’re fully feathered—around six to eight weeks old—and the weather is consistently warm—at least 65-70°F (18-21ºC) during the day—it’s time to move them out of the brooder.
The first step in transitioning your poults outside is moving them into a chicken tractor. This setup keeps them safe from predators while letting them adjust to life out of the brooder. If temperatures are cooler, being in a chicken tractor can also help them with adjusting to the lower temps. Chicken tractors can also be warmer with blocking drafts, and you can add a heat source if it is needed.
For me, this is the most exciting part of raising turkeys—watching them explore the outdoors for the first time. They run around, chase bugs, and flap their wings like little ninja birds! After working out the kinks in the early stages of raising turkeys, this system is what I have followed for the past couple years, and it has worked great!
First, I start by moving my chicken tractor filled with turkeys onto fresh grass, giving them a fresh, healthy area of grass to eat from. I do this daily until they outgrow the tractor. When that time comes, they graduate to a bigger space inside Premier 1 electric poultry netting. This much larger space really gives them the freedom to move more.
At this age, they are big enough that most predators, particularly aerial ones, don’t bother them. Along with the poultry netting, I constructed a “TurkeyShaw” (aka: mobile turkey shelter) which is their final home. The turkeys roost on it at night, and it provides shade during those scorching hot days and shelter when it rains. During this phase, I check on them every day to make sure they have plenty of fresh water and feed. I also move the whole setup to fresh grass every week.
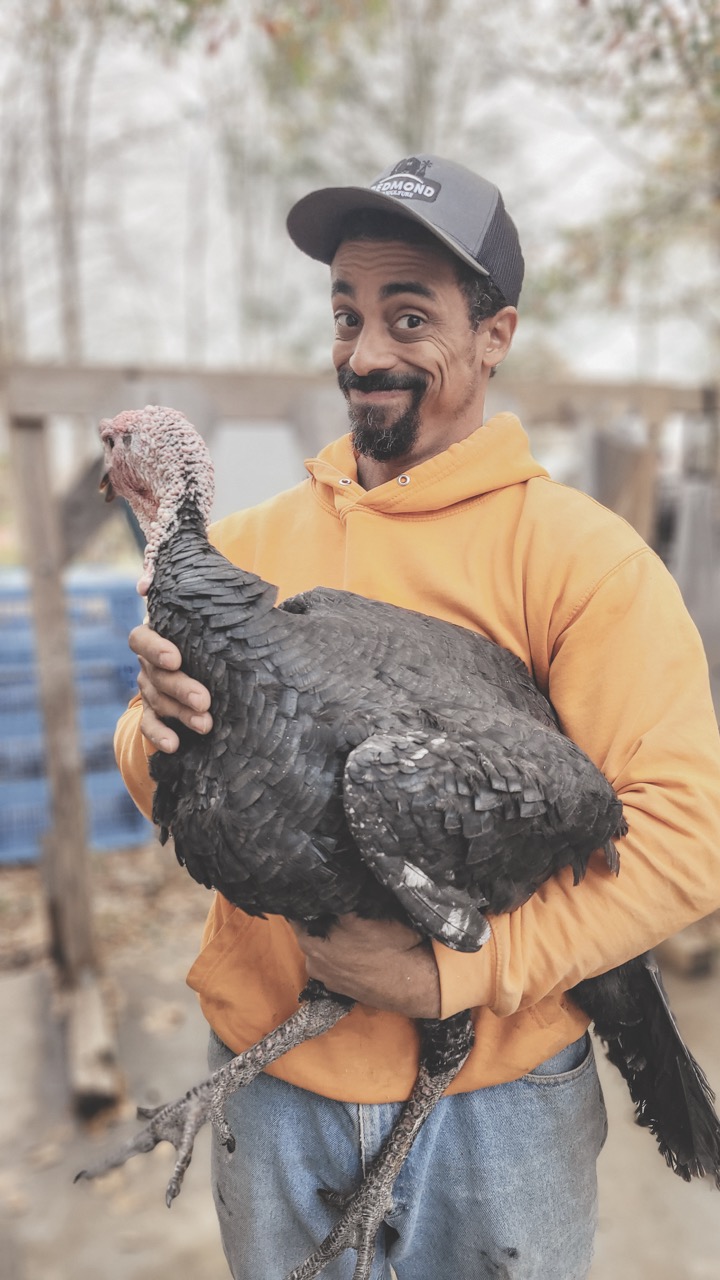
You can easily follow these guidelines on a small scale, or you can scale up. Last year, I raised even more turkeys for Thanksgiving, and I was able to sell the extras to farm customers and friends. Last season, I raised Murray’s Artisan Black and Murray’s Midget White Turkeys from Murray McMurray Hatchery, and let me tell you, the Artisan Blacks were my besties. I’d call out, and they’d gobble right back at me.
Time for the Table
Then comes the hard part—harvest day. It’s bittersweet because you can get attached to these birds. But on the night before we harvest them, I gather them from the TurkeyShaw. I do this at night using a red light (because turkeys can’t see well with it, so they stay nice and calm).
When you’re gearing up for turkey processing day, remember that turkeys are a lot bigger than chickens and ducks, so you’ll need equipment that’s up to the task (check out my essential items checklist for what you’ll need).
And fair warning—processing turkeys is a serious workout! It’s way more physical than handling chickens. You’ll need a bigger plucker, some extra muscle, and yep, you’ll be plucking a ton of feathers. But trust me, the effort pays off in spades.
7 Vital Steps for Raising Healthy Turkey Poults
1. Provide Consistent Heat
Poults need a warm, stable environment to thrive. Use a heat lamp and/or brooder plate to maintain a temperature of 95°F (35ºC) during the first week, decreasing by 5°F (roughly 2.5ºC) each week until they are fully feathered.
2. Ensure Proper Ventilation
Good airflow is essential to prevent respiratory issues in poults. Avoid drafts while ensuring there is enough fresh air circulating in the brooder to keep humidity levels down and reduce ammonia buildup.
3. Provide a Healthy Environment
Poults are more prone to disease if kept in wet or dirty conditions. Change bedding daily to prevent bacterial growth and keep things dry. Use absorbent materials like pine shavings.
Poults can get dried poop stuck to their rears, which can block them from passing droppings. Check them daily and gently clean their vents with a damp cloth if needed.
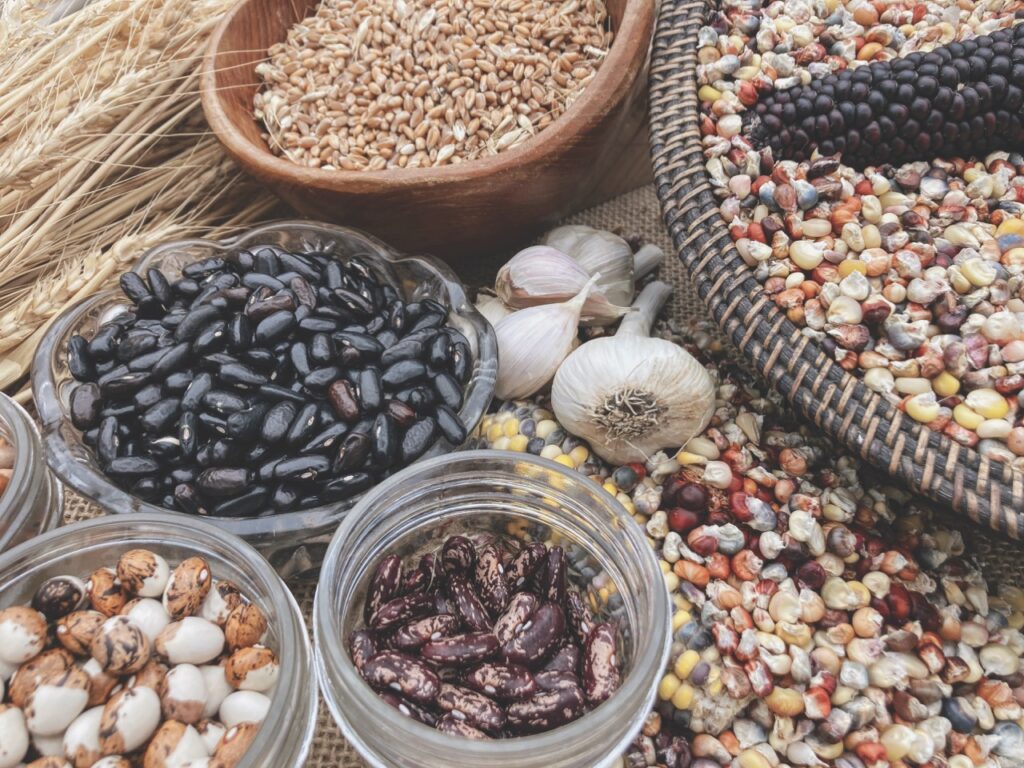
4. Protein-Rich Feed
Poults need a starter feed with 28-30% protein for healthy growth. If turkey starter isn’t available, you can boost protein in chick starter by adding soy or another high-protein source.
Adding probiotics and poultry grit helps poults digest their feed better and promotes gut health.
5. Limit Stress
Poults are easily stressed. Handle them gently and only when necessary.
Minimize loud noises and sudden movements around the brooder. Stress weakens their immune systems, making them more vulnerable to illness.
6. Immediate Hydration
Add electrolytes and vitamins to their water right away to boost their immune systems and help them recover from shipping stress.
Dip poults’ beaks in the water when they arrive to show them where it is. Keep waterers clean, shallow, and monitor them closely as turkeys may fall asleep in their water.
7. Observe & Monitor
Poults can decline quickly if they get sick. Watch for signs like lethargy, lack of appetite, or drooping wings. Isolate any sick poults immediately and consult a vet if needed.
Spend time watching your poults daily. If you notice unusual behavior like not eating or drinking, act fast—early intervention can make all the difference.
At the end of the day, there’s no comparison—homegrown turkey tastes WAY better than anything from the store. The flavor is rich, the meat is tender, and there’s something so empowering about knowing you raised that bird yourself. And on Thanksgiving or Christmas, when I sit down with my family and serve up those birds, it’s next level. Last year, my wife Lacie cooked up two of them, and honestly, they were the best turkeys we’ve ever had. It’s not just the flavor, though—it’s the whole experience of raising, tending, and finally serving those turkeys to my family that makes it so special. I promise, it makes for the ultimate holiday celebration.
Turkey Butchering Items Checklist
Tools to make turkey processing day smoother and more enjoyable:
Sharp Knives: A high-quality sharp knife (boning or butcher knife) for precise cuts.
Turkey-Sized Killing Cones: Helps restrain the turkeys for a clean, humane kill.
Scalding Tank: A large pot or scalding tank that is big enough to dip the turkeys in hot water—around 145-150°F (63-66ºC)— to loosen feathers for plucking.
Large Poultry Plucker: For removing feathers quickly and efficiently (plucking can also be done by hand or with a handheld plucker).
Large Chill Tank or Large Ice Coolers: Filled with ice water to cool the birds immediately after butchering to preserve meat quality.
Poultry Shears: For cutting through bones and removing feet or wingtips.
Cutting Board/Table: A large, sturdy surface for eviscerating and processing the turkey.
Large Bags or Vacuum Sealer Bags: Big enough for storing the processed turkeys.
*Other items to consider are trash bags/containers, food-grade gloves, a butchering apron, long thermometer to monitor scalder temps, and a quality water hose.


Leave a Reply