
Do you ever stop to think about the staggering amount of waste we send to landfills each year? It’s a shocking reality that often goes unnoticed until we confront the numbers. In the United States alone, a mind-boggling 140 million tons of waste found its way into landfills last year. But what’s even more astonishing is that a significant chunk of that waste—30 million tons to be exact—is comprised of food scraps. That’s right, one-fifth of the garbage we toss away is edible food. It’s a wasteful practice that not only contributes to environmental degradation, but also squanders valuable resources.
Fortunately, there’s a simple yet powerful solution at our disposal: composting. By converting food waste into nutrient-rich compost, we not only divert organic matter from landfills, but also produce a potent fertilizer for our gardens. It’s a win-win situation that benefits both the environment and our plants.
However, when most people think of composting, they envision large, odorous piles attracting pests and rodents. But fear not! There’s a cleaner, more efficient method known as vermicomposting that harnesses the power of earthworms to break down organic waste into nutrient-rich compost, all within the confines of a simple container.
VERMICOMPOSTING FOR BEGINNERS
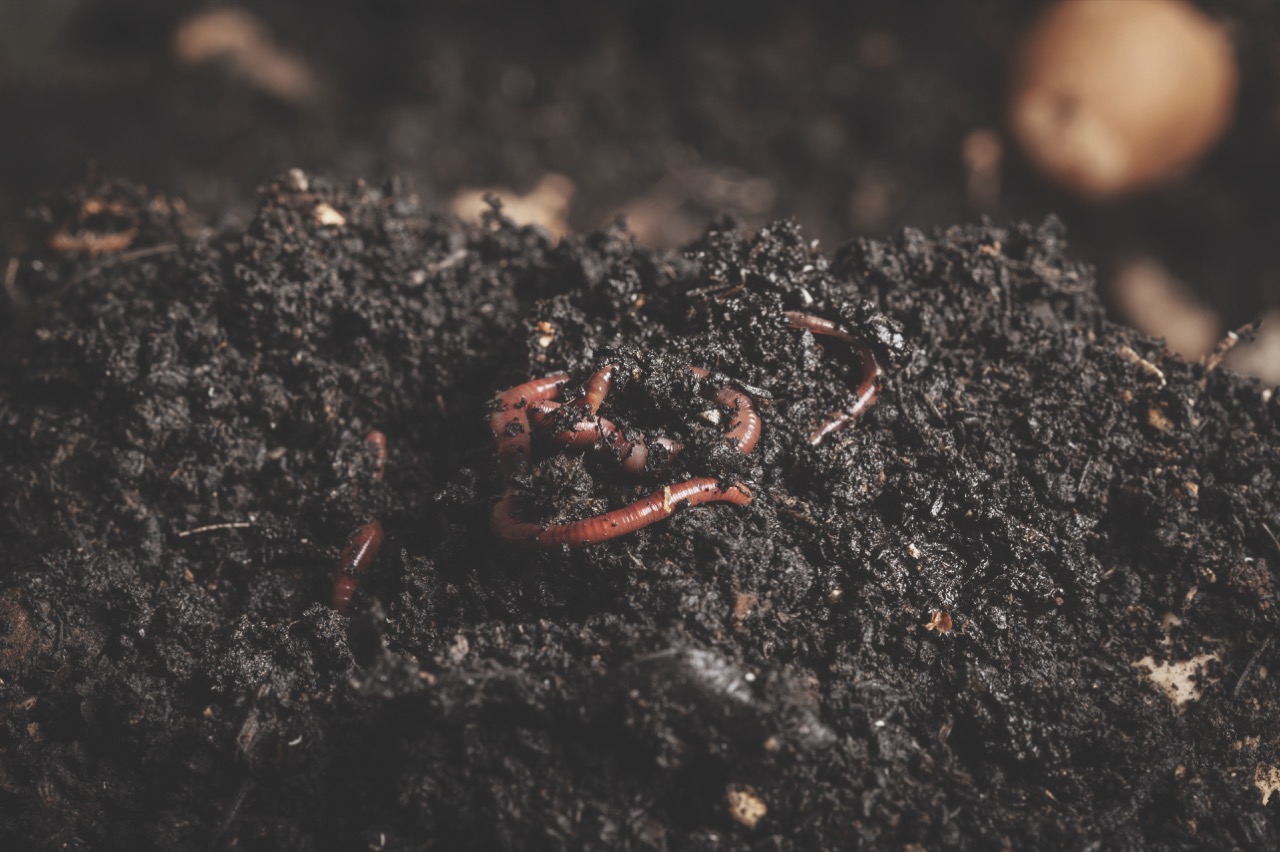
At its core, vermicomposting is the process of utilizing worms—specifically red wiggler worms (Eisenia fetida)—to convert organic waste into vermicompost, or worm castings. These castings are the excrement of composting worms, and serve as a potent fertilizer packed with essential nutrients.
But vermicompost is more than just worm castings; it includes the bedding and other decomposing matter within the bin as well. Together, these components create a nutrient-dense soil amendment that promotes healthy plant growth. Additionally, vermicompost improves soil structure, enhances root development, and boosts plant immunity, reducing the risk of pests and diseases. What’s more, since the worms digest and then excrete the organic material, the resulting castings are teeming with microbiology that is nearly impossible to replicate elsewhere.
But what makes red wiggler worms the superheroes of vermicomposting? These remarkable creatures possess an insatiable appetite, devouring organic material at an astonishing rate. Despite their small size, red wigglers can consume up to half their body weight in food scraps each day. Their voracious appetite and efficient digestion make them ideal candidates for vermicomposting. While I have successfully composted with other worms such as African Nightcrawlers and Alabama Jumpers, no other worm is as forgiving as the red wiggler, which makes it perfect for beginners.
DIY VERMICOMPOSTING SYSTEM
Setting up a vermicomposting system is surprisingly straightforward and requires minimal space. It can even be kept indoors, making it accessible to urban gardeners and apartment dwellers alike. All you need is a suitable container, bedding material, red wiggler worms, and food scraps to get started.
Choosing A Container
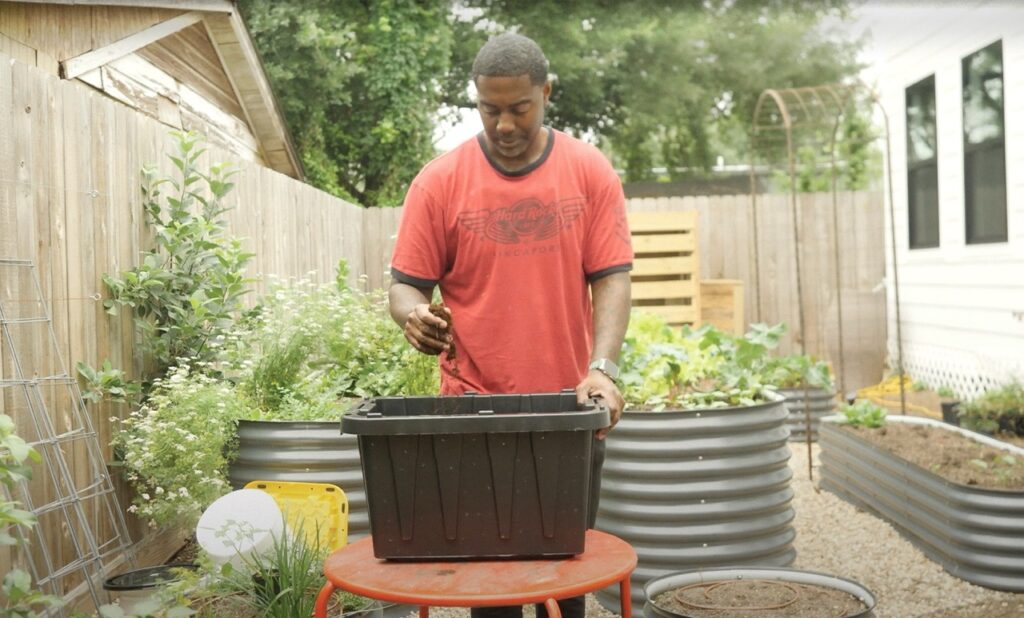
The container serves as the worms’ habitat and must provide adequate space, ventilation, and darkness. While there’s no one-size-fits-all container, the most common containers are plastic Rubbermaid totes—cheap, stackable, and easily customizable with added air holes. If you’re vermicomposting outdoors, stay away from pressure-treated wood. Instead, opt for a wooden bin made from a naturally rot-resistant wood like cedar.
Don’t forget the lid! The lid helps retain moisture and keeps the bin dark, which worms prefer. A solid, hinged cover is ideal for outdoor bins, keeping out unwanted guests like rodents and raccoons. While a burlap sack, newspaper, or the cover that came with the plastic tote work well for indoor settings.
Bedding
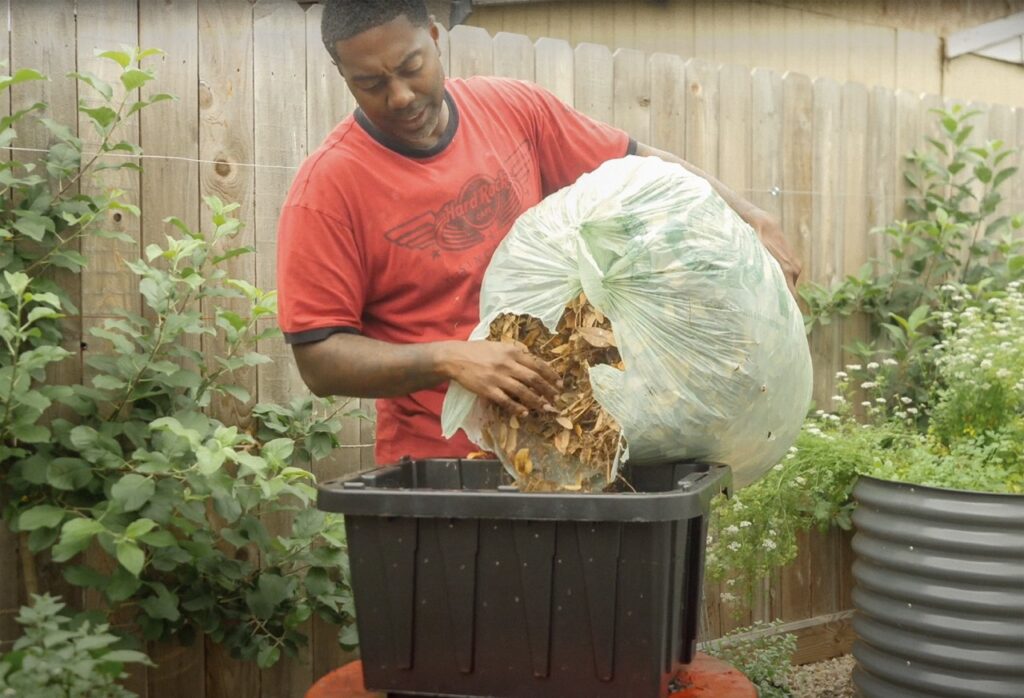
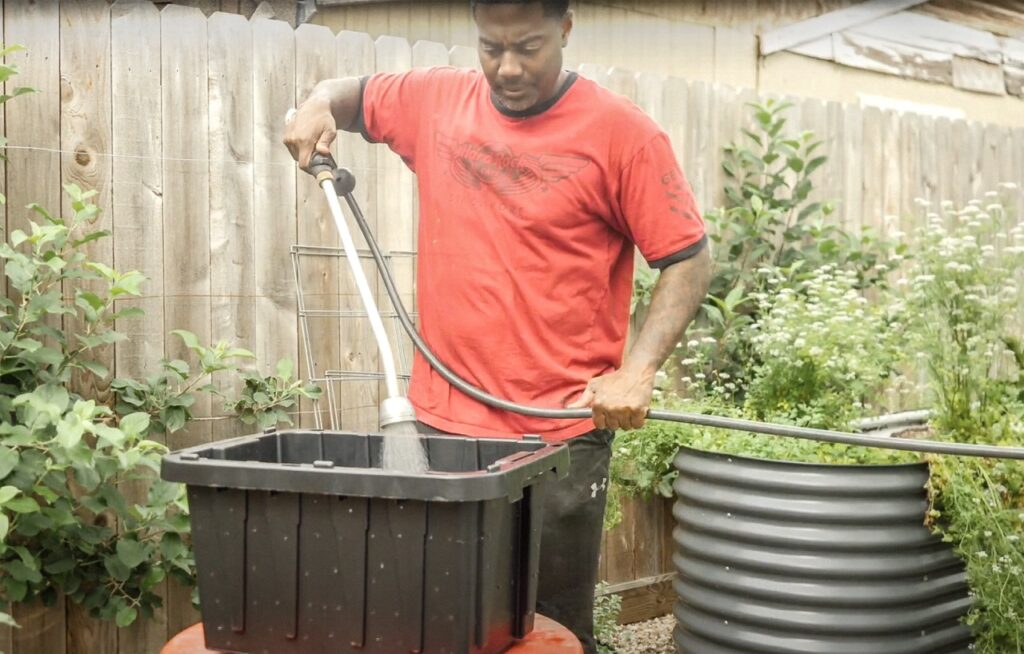
Bedding serves as the worms’ home, providing moisture and aeration essential for their survival. Common bedding materials include shredded newspaper, cardboard, peat moss, leaves, and coco coir. Keep the bedding moist, as worms rely on it for hydration. If it starts to dry out, spray the top with a spray bottle.
Worms
Now, onto the stars of the show: the worms themselves. Red wiggler worms are the ideal worm species for vermicomposting. These diligent workers can be purchased from various online retailers and are typically sold by the pound. Start with at least one pound of worms to kickstart your vermicomposting journey.
Food Scraps
Finally, you’ll have to feed your worms and give them something to turn into compost! Almost any kitchen scraps are fair game for vermicomposting, including fruit and vegetable peels, coffee grounds, eggshells, and tea bags. Just steer clear of meat (raw or cooked), dairy, animal bones, and citrus fruits, and your worms will be happy campers.
HOW TO GET STARTED COMPOSTING WITH WORMS
Once you’ve assembled your supplies, it’s time to get your vermicomposting system set up. Here’s a step-by-step guide to help you get started:
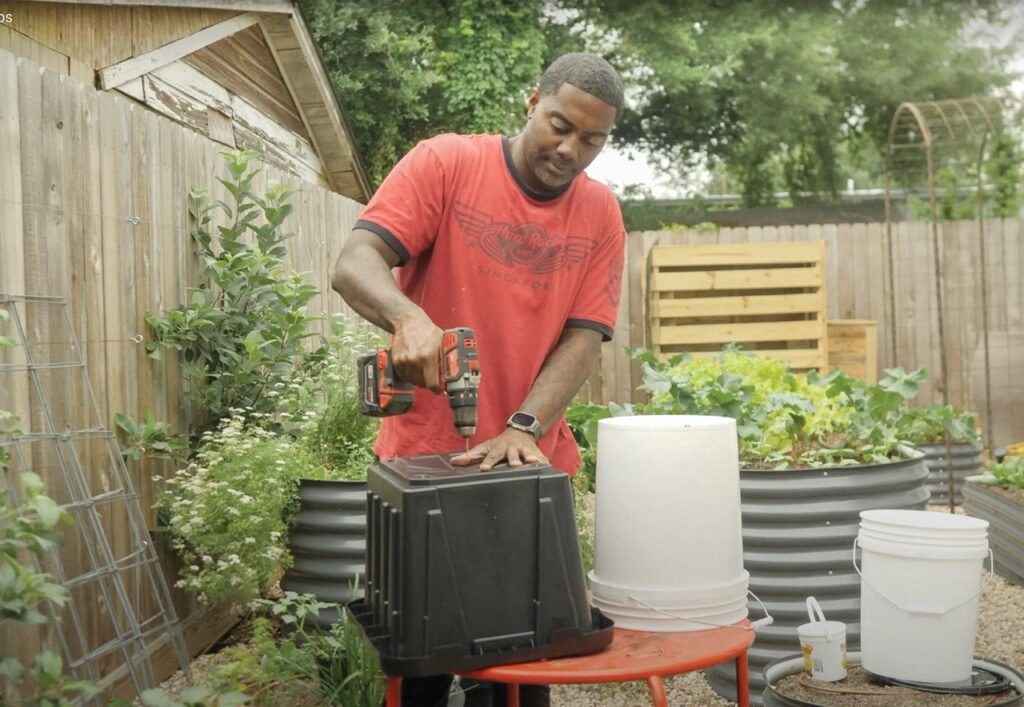
Prepare the Container. Drill small air holes on all sides of the container and lid except for the bottom of the container to ensure proper ventilation. Avoid drilling holes too large, as you don’t want the worms to escape. Line the bottom of the container with a few inches of bedding material. Alternatively, drill holes in the bottom as well and place the bin inside another bin with no holes to help aerate it from all sides while catching any excess moisture.
Add the Bedding. Shred and moisten your chosen bedding material before adding it to the container. Aim to fill the container two-thirds full with bedding, ensuring there’s enough space for the worms to move around. Water the bedding so that it’s moist, but not too wet.
Introduce the Worms. Carefully add the red wiggler worms to the container, spreading them evenly over the bedding. Cover the worms with an additional layer of bedding to provide them with a comfortable environment.
Add Food Scraps. Start adding food scraps to the vermicomposting bin, burying them in one corner to prevent odors and attracting pests. As a general guideline, add roughly one pound of food scraps for every pound of worms in the container.
Pro tip: Store food scraps in a Ziplock bag in the fridge or freezer until you’re ready to add them to your bin.
Monitor and Maintain. Keep an eye on your vermicomposting system, ensuring that the bedding remains moist, and the worms are thriving. Avoid overfeeding the worms, as it can lead to odors and attract pests. If the bedding dries out, mist it with water to maintain moisture levels.
Harvest the Compost. Once the worms have processed the food scraps and the bedding has transformed into rich, dark compost, it’s time to harvest the vermicompost. There are several methods for harvesting, including separating the worms from the compost manually or using a multi-bin system to encourage the worms to migrate to fresh bedding.
By following these steps, you can embark on your vermicomposting journey and transform food waste into valuable compost for your garden. Not only will you reduce your environmental footprint, you’ll also reap the rewards of nutrient-rich vermicompost in no time, resulting in healthier, more productive plants. For more tips and tricks, check out the step-by-step DIY Worm Bin video on my Big City Gardener YouTube channel.
At the end of the day, vermicomposting offers a sustainable solution to the problem of food waste while simultaneously enriching soil and promoting plant growth. Whether you’re a seasoned gardener or a novice enthusiast, a small town homesteader or a big city gardener, vermicomposting is a rewarding practice that benefits you, your garden, and the planet. So why not give it a try? Your plants—and the environment—will thank you for it.
Happy composting!



Leave a Reply