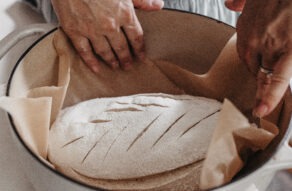
Though sourdough is best known for its role in fermenting bread and giving it that beautiful lift that makes a scoring pattern spring open in a hot oven, it has so many other uses. It is versatile enough to be the star of the show in dishes for breakfast, lunch, dinner, and dessert.
I was originally drawn to sourdough back in 2010, after reading Nourishing Traditions by Sally Fallon. I learned that the ancient practice of souring and soaking grains made them more digestible and made the nutrients more bioavailable. There are many methods for accomplishing this, like adding some yogurt and whey to grains before preparing them, or soaking them in a little vinegar mixed with water or kefir, but I was quickly drawn to sourdough because it is straightforward and doesn’t require any extra ingredients. Flour and water are always at the ready in my kitchen.
I quickly learned to swap sourdough starter for commercial yeast in my favorite bread recipes. Then I began adding a little to cakes, cookies, pies, and biscuits to act as the “souring agent” that would make my baked goods healthier. I was already spending a lot of time sourcing grains, milling them, and turning them into delicious baked goods. It was only a little more effort to add sourdough and let it work its gut-healthy magic. The nice thing is that these “discard” recipes don’t rely on the rising properties that an active sourdough starter lends to breads, bagels, and rolls, but it gives the grains the souring benefits all the same!
I learned to make every grain-based baked good in my kitchen with sourdough. To ferment the grains, I would add a little sourdough starter to the flour and any other liquid component of the recipe, such as milk, water, honey, oil, butter, or eggs. This hydrates the flour enough to spread the sourdough goodness throughout and allow the fermentation process to begin. I would then allow the flour, sourdough, and liquid part of the recipe to sit at room temperature for 12 to 24 hours. After that, I would add in the rest of the ingredients, such as leaveners like baking soda or baking powder, and flavorings like cocoa, cinnamon, or vanilla. It felt good knowing I was feeding my family gut-healthy, from-scratch baked goods.
Since those early days, I have expanded my sourdough repertoire and my skills as a home baker considerably, and occasionally like to use my active starter for chocolate croissants, panettone, and brioche buns. I’m admittedly less of a perfectionist, so sometimes I skip the long fermentation and just add half a cup of sourdough discard to a recipe here or a cup there to reduce it down and keep it bubbly, fresh, and ready for a double batch of my no-knead artisan bread.
Then again, sometimes I am feeling fancy and enjoy making something special, but most days I use my starter to make something quick and easy for my family of 10.
Quick and Easy Sourdough Recipes for Busy Days and Nights
One of my favorite things to make in a pinch on a busy day is sourdough discard pizza crust. (It’s the very reason I usually keep large amounts of fermented starter in the refrigerator!) I preheat all of my cast iron skillets in a very hot oven. Once they’re hot, I spread the starter in a thin layer around the bottom and up the sides of the pan. I drizzle it with olive oil and sprinkle it with salt and Italian herbs. I then return it to the oven to bake for about 10 more minutes, until it is golden and can easily be popped out of the skillet. I put the crispy crusts onto a baking sheet, so I can load them up with sauce, cheese and toppings, and bake them two at a time until the cheese is melted.
Another meal that is a super quick go-to for me is a sourdough skillet. A mixture of sourdough discard, butter, eggs, herbs, and baking powder is spread on top of any combination of meat and vegetable that we have on hand to cook up in a cast iron skillet. No matter what vegetables I pack in, they’re all disguised under a blanket of melty cheddar cheese. It’s a one-pot wonder that will feed the whole family.
For breakfast, we rely on sourdough waffles and pancakes on a weekly basis. Mix up sourdough discard, eggs, oil, sweetener, salt, and baking soda. Watch the fermented starter interact with the soda to make a foamy concoction that will make the most light and fluffy pancakes you’ve ever eaten. Like the discard pizza crusts, pancakes and waffles use a large amount of starter (4 cups for my large family) so if you have a bulky starter that you want to reduce down before feeding again, these staple breakfast recipes are easy to reach for again and again. We also make crepes very regularly, especially when the hens are all laying, because they use up so many eggs.
Sourdough Baking Tips
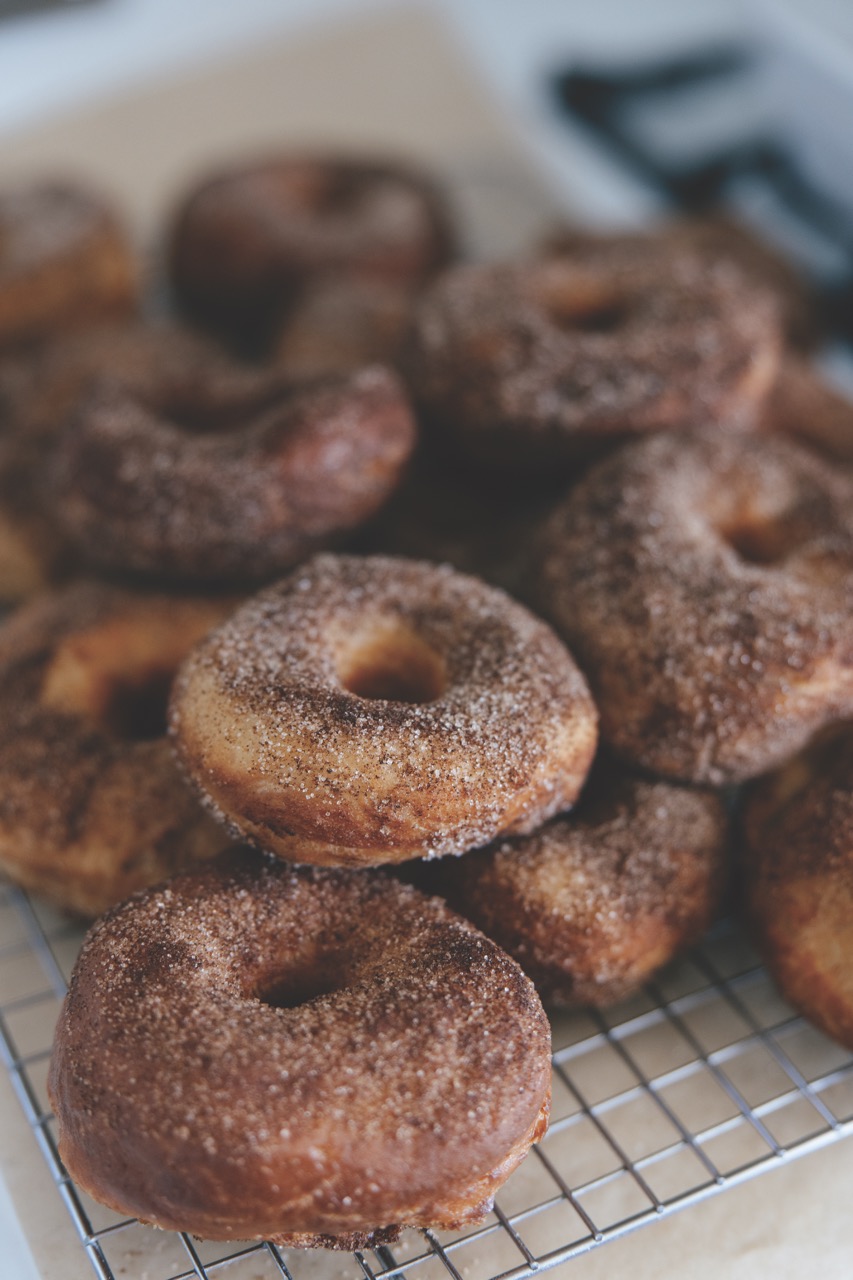
For recipes that benefit from being cold before baking—such as cookies, pie crusts, and biscuits,— a long and slow fermentation is key to creating flaky layers. Mix up all of the ingredients (not just the liquids and grains), and put them in the refrigerator for up to three days. Sourdough donuts, like the ones in the recipe that follows, also benefit from a long fermentation process. Not only will the sourdough work on the digestibility of the grains, but the recipe will also develop a complex depth of flavor that the quick and easy counterparts simply don’t have!
If a recipe contains grains or flour such as, kamut, einkorn, wheat, or rye, it can be converted to sourdough to take advantage of the gut health benefits and a flavor that tastes like it came from a bakery! There isn’t a week that goes by that we don’t make at least two or three sourdough baked goods in our farmhouse.

Ingredients
Ingredients for the Filling
- 2 tablespoons olive oil
- 1 small onion diced
- 1 pound loose Italian sausage meat
- 1 small zucchini sliced
- 1 medium tomato chopped
- 1 large bell pepper diced
- 1/2 teaspoon salt
Ingredients for the Topping
- 1 1/2 cups 375 grams sourdough discard
- 3 eggs
- 3 tablespoons melted butter
- 2 tablespoons chopped fresh parsley
- 2 teaspoons baking powder
- 1 teaspoon salt
- 1/2 teaspoon garlic powder
- 1/2 cup shredded cheddar cheese
- 1/2 teaspoon salt
Instructions
- Directions
- Preheat the oven to 400ºF (204ºC).
- In a 12-inch cast iron skillet over medium heat, warm the olive oil. Add the onion and sauté for about 7 minutes, or until fragrant and translucent. Add the sausage meat, breaking it up with your spatula, and cook it for about 10 minutes, or until well browned. Stir in the zucchini, tomato, and pepper and sprinkle with salt. Sauté for about 6 minutes more, or until tender. Turn off the heat while you prepare the topping.
- To make the topping, mix the sourdough discard, eggs, parsley, baking powder, salt, garlic powder, and melted butter in a medium mixing bowl until it forms a uniform batter. Pour the sourdough mixture into the skillet over the meat and vegetables. Then, top it with grated cheddar cheese.
- Transfer the skillet to the oven and bake for 25 minutes, or until cooked through and golden on top.
- Serve warm, and store any leftovers in an airtight container in the fridge for up to 5 days.

Ingredients
Ingredients for the crust
- 2 cups 280 grams all-purpose flour
- 2 teaspoons granulated sugar
- 1 teaspoon salt
- 1 cup cold unsalted butter, cubed
- 1 cup 250 grams sourdough discard
For Finishing the Pies
- 3/4 cup jam jelly, pie filling, or fruit butter
- 1 egg yolk
- 1 tablespoon water
- 1 tablespoon coarse sugar such as demerara or pearl sugar
Instructions
- To make the crust, combine the flour, granulated sugar, and salt in a large mixing bowl. Work in the butter with a fork, pastry cutter, or your fingers (my preference!), being careful not to overmix. Add in the starter and stir until combined.
- Dust your working surface lightly with flour, and then tip the dough out onto it. Divide it into two equal portions and pat them into thick squares. Wrap them tightly with plastic wrap and transfer them to the fridge for at least 2 hours, or up to 3 days.
- Roll out the discs into 10-by-13-inch rectangles. Then, using a ruler and a pizza cutter or sharp knife, trim the rectangles to 9 by 12 inches, discarding the excess and ensuring the edges are square. Slice the rectangles into nine smaller rectangles, approximately 3 by 4 inches each.
- Preheat the oven to 350ºF (177ºC) and line a baking sheet with parchment paper.
- Working one at a time, spoon 1 tablespoon of filling onto the center of a small rectangle of pie dough. Cover it with a second piece of dough and crimp the edges together tightly. Continue working until you’ve made all the hand pies. Prick them lightly with a fork to allow for ventilation.
- In a small bowl, whisk the egg yolk with water, then brush the mixture over each pie. Sprinkle them with coarse sugar.
- Transfer the pies to the prepared baking sheet and bake for about 30 minutes, or until golden brown and cooked through. Wrap leftovers tightly in plastic wrap and store at room temperature for 2 days, or up to a week in the fridge.

Ingredients
Ingredients For the Donuts
- 1 1/4 cups milk
- 1/2 cup granulated sugar
- 1/4 cup unsalted butter
- 1 cup 200 grams active sourdough starter
- 2 eggs
- 4 cups 560 grams all-purpose flour
- 1 teaspoon salt
- 1 teaspoon cinnamon
- Oil for frying such as lard, coconut oil, or avocado oil
Ingredients For the Cinnamon-Sugar Topping
- 1/2 cup sugar
- 2 tablespoons cinnamon
Instructions
- To make the donuts, combine the milk, sugar, and butter in a small saucepan over low heat, and mix until the sugar dissolves. Transfer the mixture to the bowl of a stand mixer equipped with a dough hook and allow it to cool to room temperature.
- Beat in the starter and eggs. Add the flour, salt, and cinnamon and knead on low speed for about 10 minutes, or until the dough becomes elastic and pulls away from the sides of the bowl.
- Cover the mixing bowl tightly and leave it in a warm place to rise for 5 to 6 hours, or until doubled in bulk. Then, transfer it to the fridge and let it chill overnight, at least 8 hours.
- The following day, prepare the cinnamon-sugar topping: In a small bowl, whisk together the sugar and cinnamon and set aside.
- Dust your working surface lightly with flour. Turn out the dough and then roll it into a rectangle about 1/2 inch thick.
- Cut out the donuts using a biscuit cutter or a mason jar, then cut the interior hole using a small lid from an olive, avocado, or other oil jar. Place your donuts on a sheet. Cover them with a damp tea towel or plastic wrap for 1 1/2 to 2 hours and allow them to rise.
- Add about 1/2 inch of oil to a cast iron skillet over medium heat. When the oil reaches 375ºF (190ºC) on a cooking thermometer, or when a small piece of dough sizzles when you add it to the pan, you are ready to fry your donuts.
- Place a square of parchment paper on your counter for easier cleanup and then place a wire cooling rack over it.
- Fry the donuts in small batches for 2 to 3 minutes or until golden on one side. Then flip them and fry for another 2 to 3 minutes on the other side, or until they puff and turn golden. Be careful not to crowd the pan.
- Transfer the donuts to the wire rack. Allow them to cool for about 30 seconds. Then dip them in the cinnamon sugar and return them to the rack to cool completely.
- Store any leftovers in a tightly sealed container at room temperature for up to 2 days.
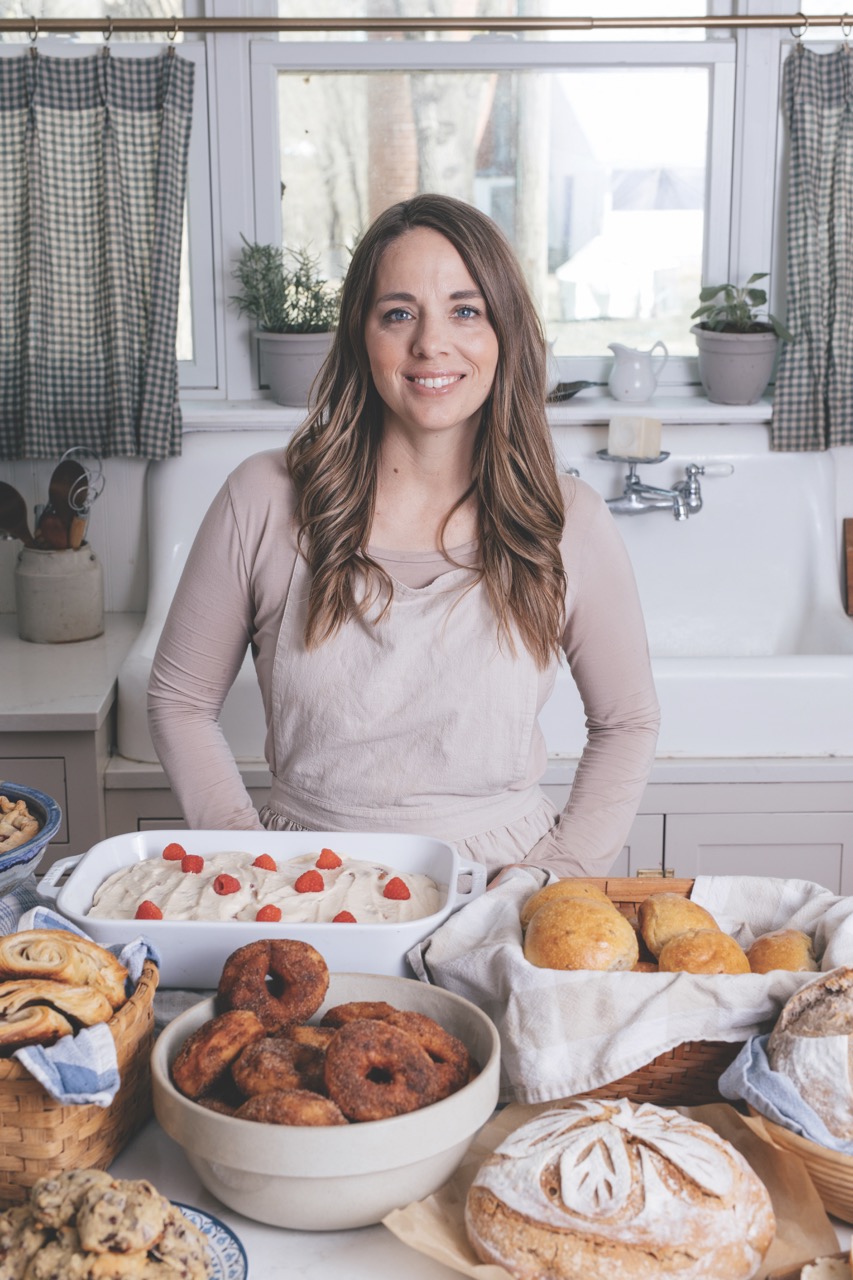
* These recipes have been shared from the pages of Lisa’s newest book, Daily Sourdough, which will be released on October 22, 2024. To order your copy, visit hmln.co/sourdough.


Leave a Reply