“I did think, let’s go about this slowly.
This is important. This should take
Some really deep thought. We should take
Small thoughtful steps.
But, bless us, we didn’t.”
― Mary Oliver, “I Did Think, Let’s Go About This Slowly”
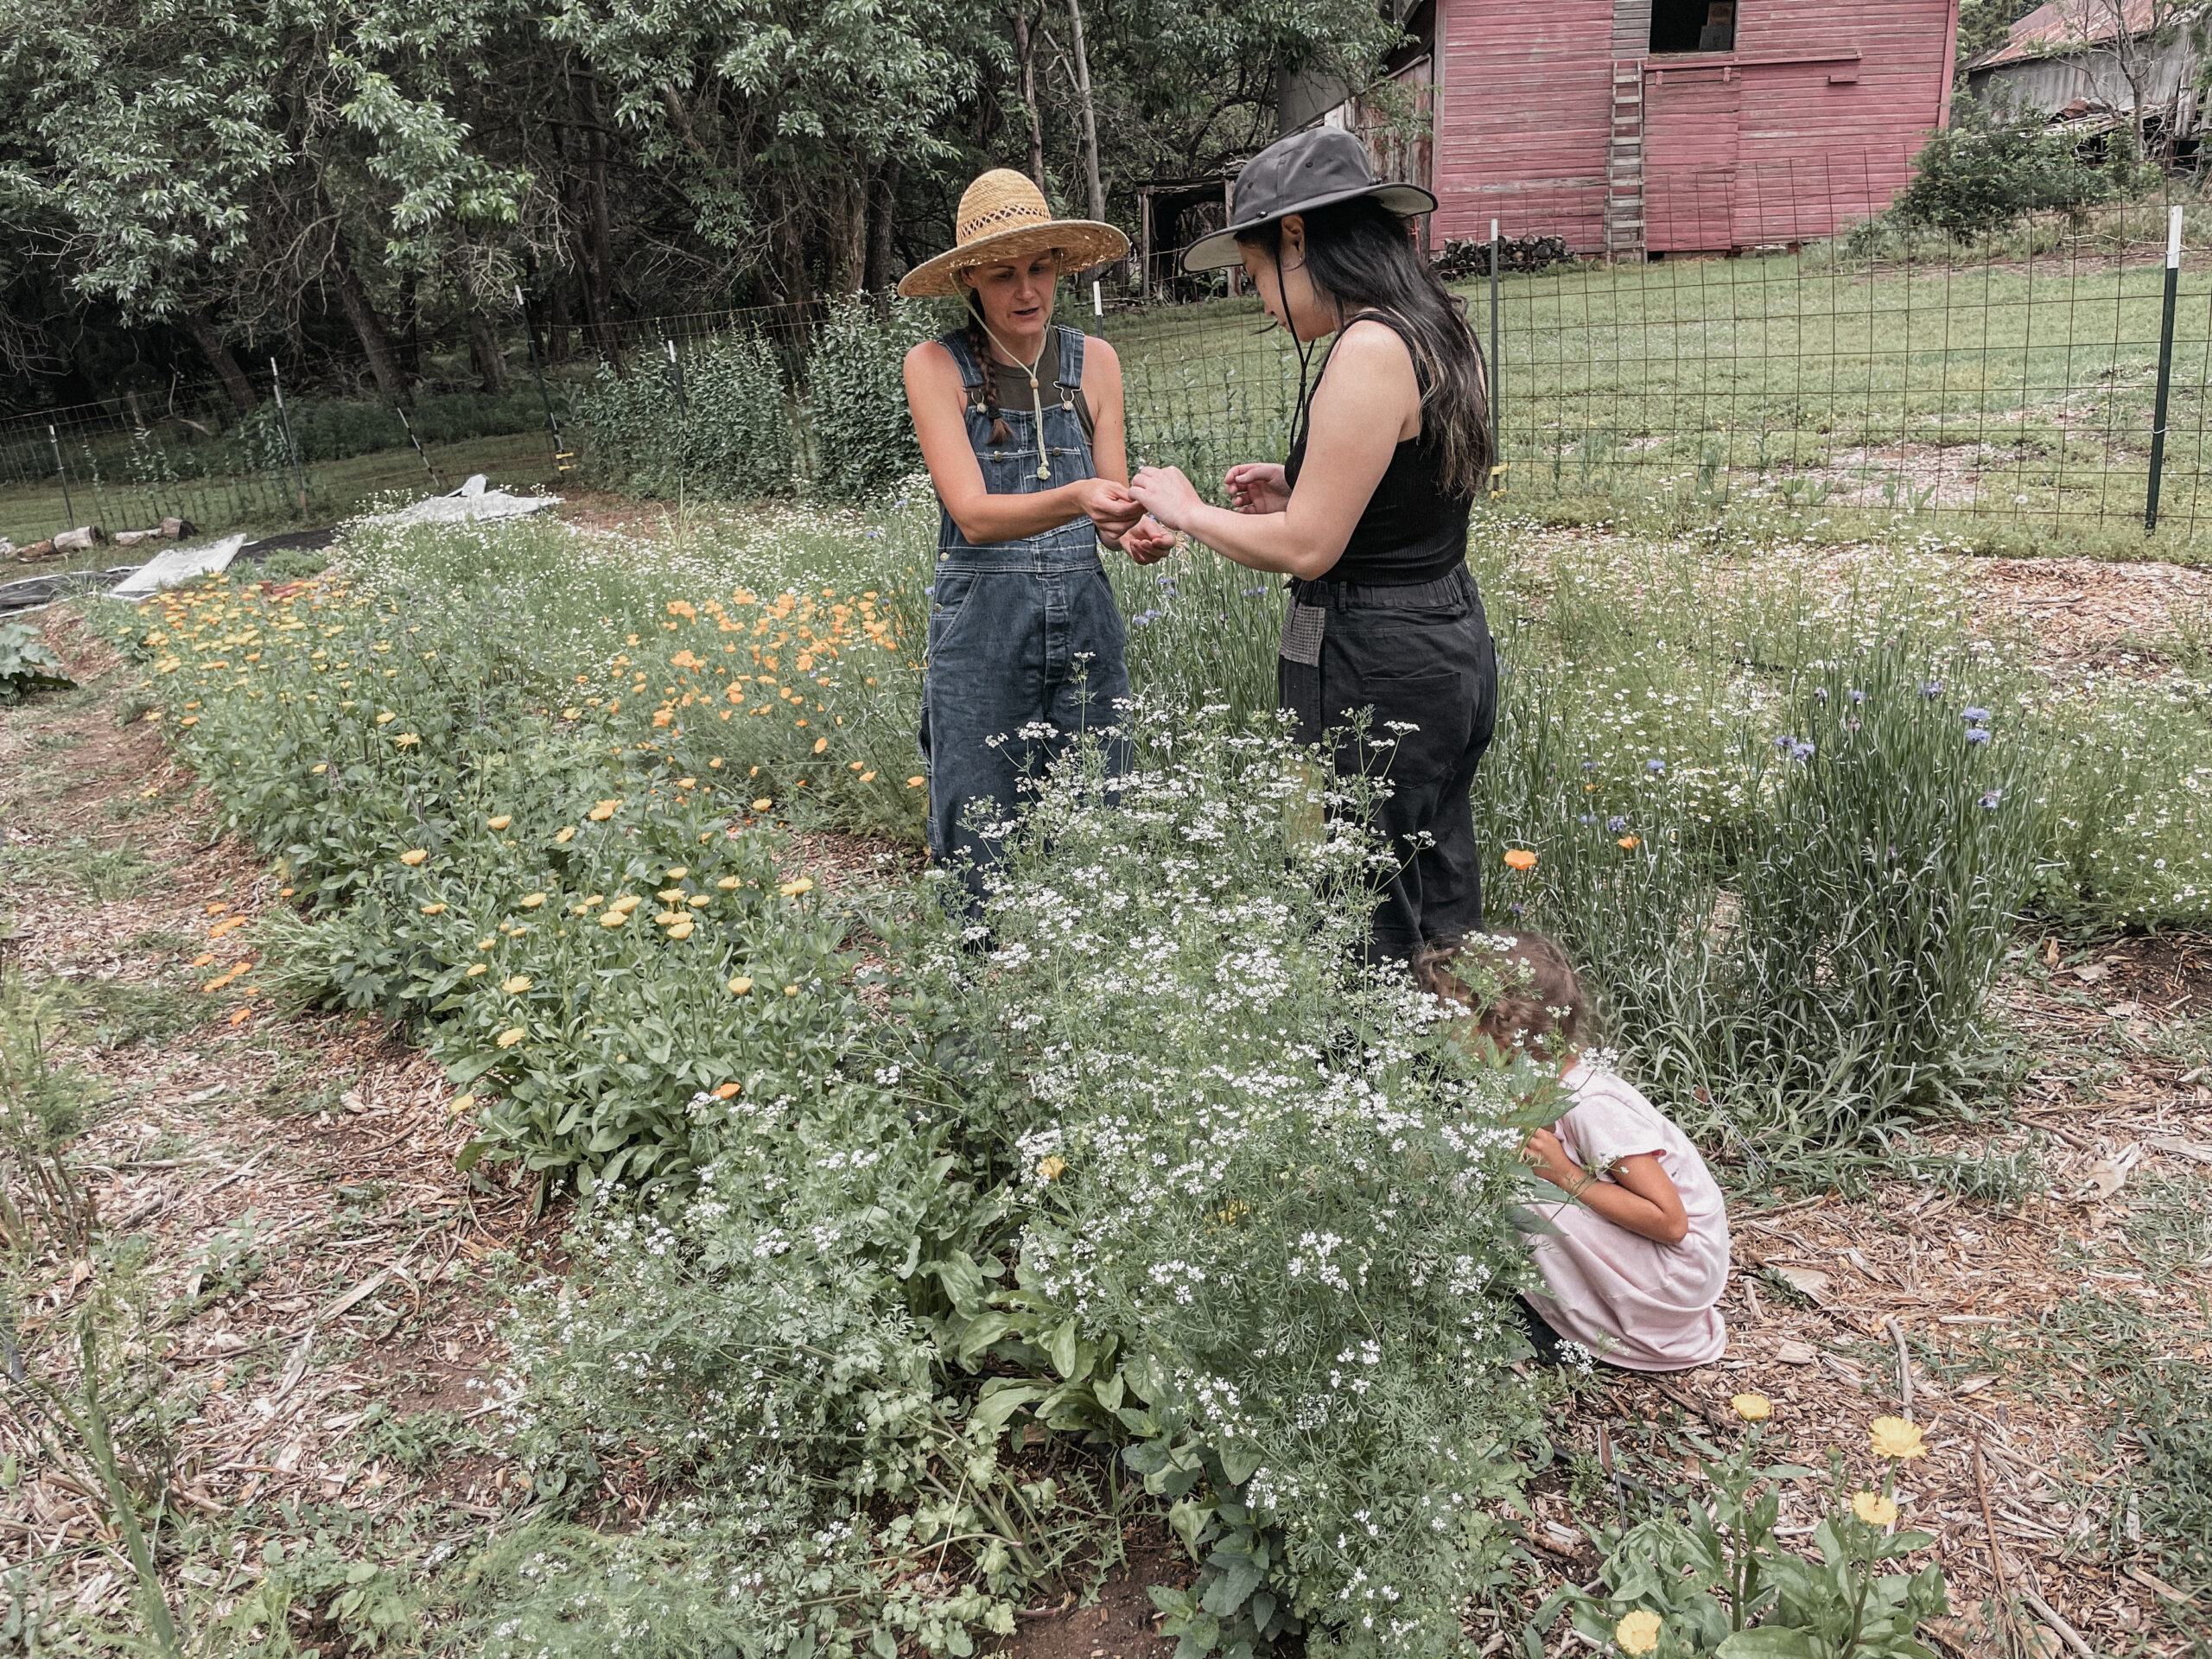
I get bored with green beans and tomatoes, but I will never get bored growing herbs. Endlessly fascinating, they draw you into history: How was this herb traditionally used? Into place: What collections of herbs like to grow in my area? Into chemistry: What are this herb’s constituent compounds? Into mystery: Why are herbs healing in the first place?
Yet, this is not primarily a mental endeavor; Herbs also draw us via our senses into their varied textures, sharp aromatics, and lush, visual beauty. While herbs have long been cultivated, they continue to toe the line between the domesticated and the wild. This is why they are never dull and always surprising; They exude the flourish of wild things.
Where am I, and what likes to grow here?
Your place in the world will determine what grows well and on which herbs you should focus your attention. It has been said that the best herb for any ailment is the one that grows near you. Are you in an Eastern woodland? Spend some time researching woodland herbs. Are you in the moderate Midwest? Get acquainted with herbs of the prairie. Do you live in the desert Southwest? There are so many wonderful arid-loving herbs. If you live in the Northwest, I hear that you can grow most any herb. Is that true?
To grow a thriving herb garden, you must know your place. My place, Harper County in south-central Kansas, lies on the line between eastern and western Kansas and borders Oklahoma to the south, which means that we vacillate by decade between two very different climates, ranging from temperate to much more arid. We cannot take our weather for granted; we must stay alert and responsive to the ever-changing needs of our place.
Make a plan that works for you
I am a sucker for biting off more than I can chew, but when planning your medicinal herb garden, I implore you to take a realistic look at what works for your life and rhythm. That said, if I had taken my own advice, I might have only grown a pot of basil that I killed because of my own forgetfulness.
I am here to tell you that you can grow an abundant herb garden that does not require much daily maintenance. In fact, this is where herbs really shine. Most of the herbs I grow are perennial or self-sowing plants, which is as close as it gets to “set it and forget it.” If you’re pressed for time, go all-in with perennials. Get plant starts of a few quality perennial herbs, then slowly add in new herbs over time.
Depending on your location, consider establishing some of the following perennials:
Lemon balm
Peppermint
Echinacea
Elderberry
Anise hyssop
Marshmallow
St. John’s wort
Yarrow
Comfrey
Wild bergamot
Raspberry (leaves)
Sage
These are all hardy and easy to start. Some of them, such as peppermint, can spread. I am typically okay with that, but if you have a limited area, place them wisely and keep them in check.
Plan your growing area
This need not be overwhelming. A few major things to keep in mind are:
What direction is your sunlight coming from?
Do your best to keep the taller plants from shadowing the lower ones. You can also use this to your advantage by using the shade from your taller plants to keep other plants cool and healthy in the peak summer heat.
What are your herbal needs?
If you are growing just for yourself, one or two of each plant will do. But if there is an herb you plan to use a lot of, go ahead and grow more.
How do you want to anchor your garden area?
You may already have an idea in mind. Maybe that bed on the south end of your house is just screaming for herbs. My first herb garden was an herb spiral, and this was a really fun way to get to know my herbs and to grow a lot in a small space. If you don’t know how to begin, just do something. For a long time, I simply tucked my herbs in all over my regular garden beds. Eventually they took over. I am okay with that.
Remember: a garden space is pretty malleable and can be ever-evolving.
Start your seeds or put out transplants
As I mentioned, I recommend establishing your herb garden with as many transplants as you can. But what if your choice is not readily available? For example, medicinal yarrow and St. John’s wort are uncommon in nurseries. Ask around locally to see if anyone will give you a clump or two. All you need are a few tiny “weeds” dug out of someone’s lawn to establish a thriving patch! The same goes for many other herbs. If all else fails, you might need to start your own herbs from seed.
Research what kind of germination each herb requires. As a general rule, I give myself at least three months from starting seeds to when I want them planted out. There are exceptions, but I have found you almost always need that much time to get them started to account for cold stratification and long, erratic germination periods.
Caring for your herbs
Once seeding is done, plant infancy anxiety is over, and your herbs are transplanted outdoors, you are pretty much home free. Really, that’s it? Well, mostly that’s it; that is the hardest part. Most herbs have very few problems with pests and diseases. Furthermore, I have found that growing a varied herb garden means that the few problems you might encounter tend to be offset by the sheer variety and abundance of lush pollinator-attracting plants and the slew of beneficial insects that they naturally bring to your garden.
Once established, most of the herbs listed above do not need much watering. The exception is marshmallow, which loves to stay pretty moist. I keep it in a low area close to a water source. I irrigate everything else sparingly as needed, but I try to let my herbs fend for themselves in all but the deepest drought of our dry, hot summers.
Especially in the beginning, your herbs will need to be weeded, but usually a sturdy mulch can lend a helping hand while enriching your garden soil. When your herbs are big enough, most of them are able to maintain their own turf pretty well.
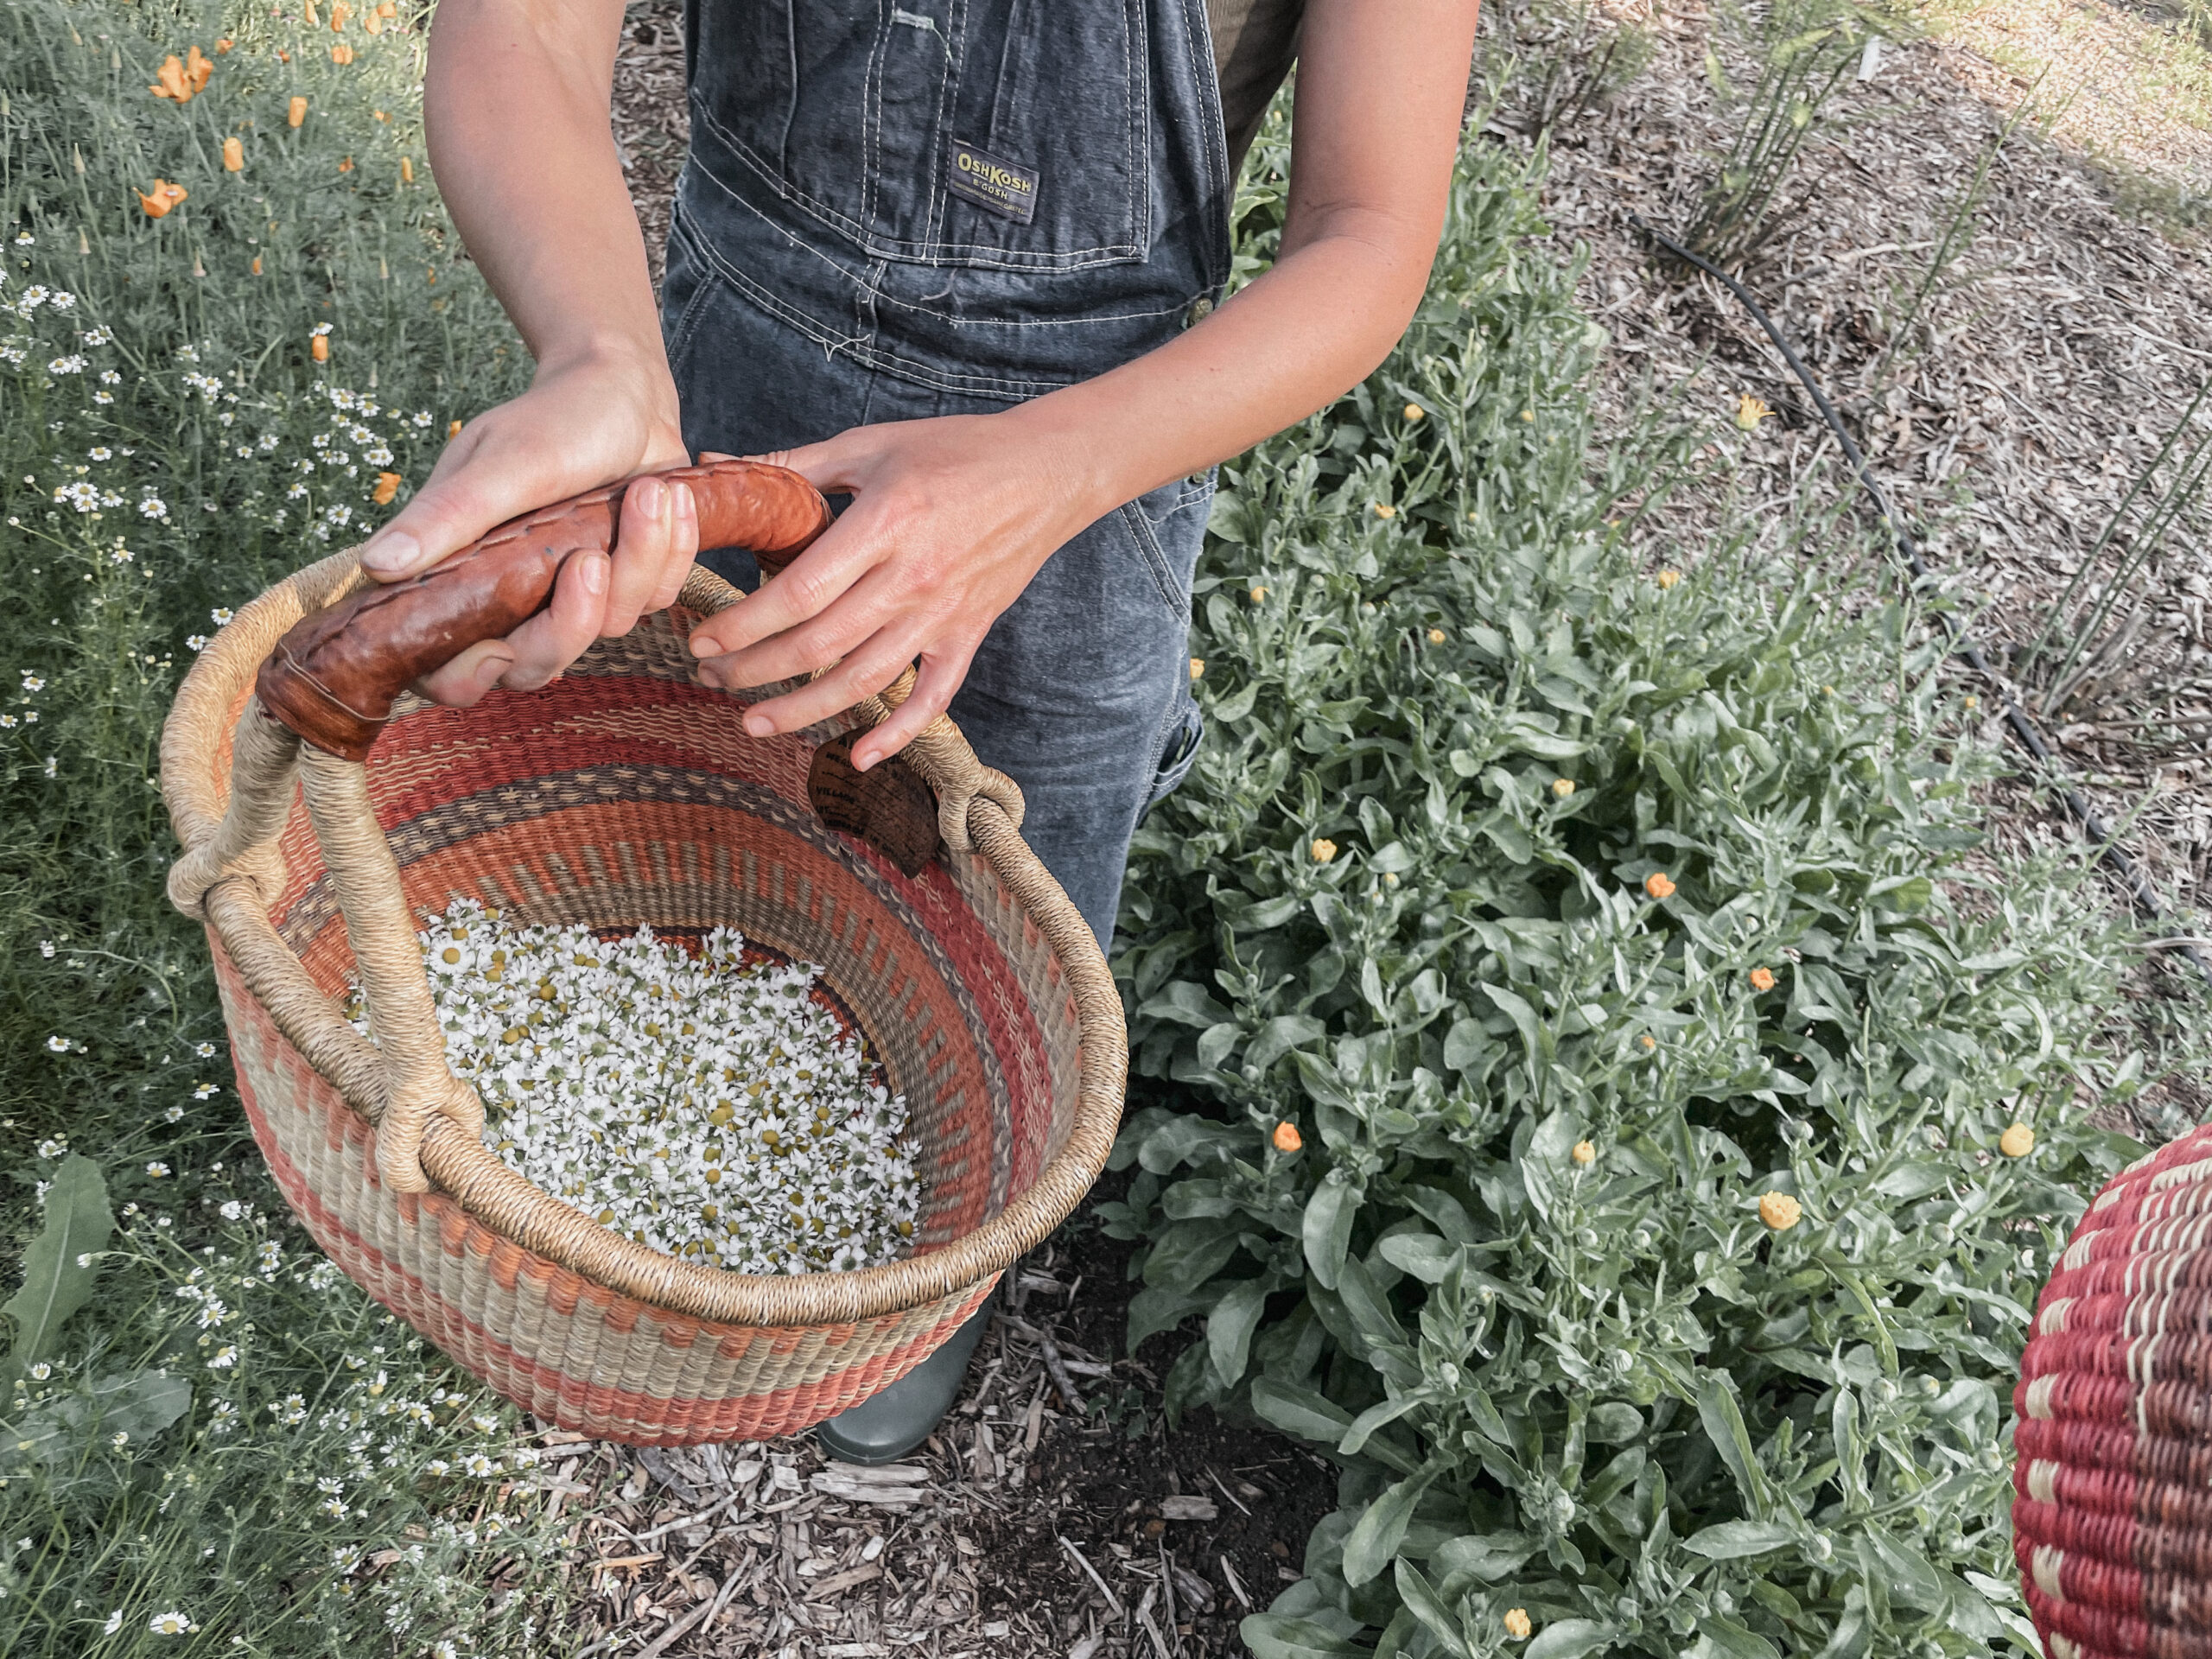
Harvesting your herbs
When it comes to harvesting, an intimate knowledge of how a plant grows is your best help. That knowledge is best gained by doing your research and looking at different sources. I have a couple of herbal books that go into details on harvesting practices: The Organic Medicinal Herb Farmer by Jeff and Melanie Carpenter and Growing Plant Medicine by Rico Cech. Both are amazing but are often overwhelming for beginners, so I would recommend starting with The Healing Garden by Juliet Blankespoor. I regularly reference these books.
The intended use of the herb may dictate your harvest method. For example, I use St. John’s wort primarily as an herbal oil, so I only harvest and use the fresh yellow blossoms. I pick them when they are still buds or just beginning to open. For herbs like lemon balm and peppermint, you can cut them back and they will just keep growing. (In fact, it is best to keep them cut back so they do not flower.) So once your plant has reached maturity, harvest away. I will add: try not to over-harvest the leaves of your root crop herbs in the first year, since you want them to get established without demoralizing them by removing too much top growth.
Drying your herbs
If you are new to this herbal thing, no need to go out and buy a lot of equipment. Unless you live where it is excessively humid, you can dry herbs by tying them into bundles and hanging those bundles upside down in a place with good air circulation. You can also dry them on screens.
I don’t ever recommend drying herbs in the oven. The highest temperature you want your herbs to reach is about 105°F (41°C). Temperatures higher than 105°F (41°C) decrease herb quality and viability. I know that some folks dry herbs with just the oven light on, but you want to keep the air around the herbs moving as this pulls the moisture away from the herbs, and this is difficult to accomplish in an oven. If you have a dehydrator that can be set lower than 105°F (41°C), this is an excellent option for your herbs.
If you are using a dehydrator, here are some drying rules of thumb. For most herbs, drying between 100°F (38°C) degrees and 103°F (39°C) works like a charm.
For herbs in the mint family (basil, peppermint, lemon balm), start them at 95°F (35°C) for the first 12 hours, then raise the temp to 100°F (38°C) degrees until they feel dry. Be sure to check stems and make sure they are dry as well since they tend to hold on to moisture, releasing it back into the leaf via capillary action after they’re removed from the dehydrator. You may then finish the mint at 103°F (39°C) for a few more hours. You want to dry mint at as low a temperature as possible to hold onto all the volatile oil goodness while making sure it is fully dry yet not too crispy.
A challenging aspect of drying is drying whole blossoms. Often the outsides will seem done while the inside of the blossoms are still holding moisture.You want them to be thoroughly dry before you put them in storage or they will mold. To check the moisture levels, you can break a blossom in half and feel inside. Again, you want it to be dry but not crispy.
Processing your dry herbs
The final step will be getting your herbs into a storage-ready state. For leaves, simply remove the dried leaves from the stem and store. Dried blossoms can be stored whole. I like to store my herbs in amber Mason jars sealed with a jar sealer. Feel free to store in whatever jar works best for you. You just want to make sure that your herbs are stored away from sunlight. At this point, your herbs are all set and ready to use whenever you need their support!
I hope that this meandering glimpse into one person’s herb-growing process has been helpful. Mostly, I hope you feel like it is possible, wherever you are in life, to simply begin growing some herbs and follow their lead. Happy growing!


Leave a Reply