Do you ever get “bread jealous?”
You know, when you see the mouth-watering photos of the loaf your friend just posted and you like the photo … but you secretly wish that it was bread YOU baked instead?
Just wondering if we were alone in that struggle 😂
Sourdough baking is an absolute staple in the homesteading life, and it’s not nearly as complicated or difficult as you might think.
So let’s get going with this article, originally published in Issue 02 of Homestead Living, from Lisa Bass.
Simple, Sustainable Sourdough: How I made sourdough baking a part of daily life, and how you can too
By Lisa Bass
Once you’ve experienced homemade sourdough baked goods, store-bought breads and pancakes simply don’t cut it. Sourdough has a depth of flavor that just can’t be found in something made quickly with a packet of instant yeast.
Sourdough bread is a fermented bread that uses natural wild yeast from the environment that has been captured to rise and ferment, rather than relying on commercial yeast. As the grain is fermented, the gluten and phytic acid are broken down, making it more nutritious and easier to digest. Those who are sensitive to gluten (not celiac) may even be able to tolerate sourdough products (especially long fermented), due to the fermentation of the grains.
But sourdough can also feel intimidating, especially if you’re new to bread baking altogether. Or it can feel like a difficult thing to maintain along with a busy lifestyle.
Back in 2020 when everybody suddenly found themselves at home and commercial yeast was hard to find, sourdough became all the rage. Everyone was making their own sourdough starters and learning the ins and outs of traditional bread baking. Sadly, that trend seemed to fizzle out as quickly as it began for some people as they went back to their busy modern lives. But for many, sourdough became a part of daily life, which is evident from the sustained popularity of my sourdough recipes and content on both my blog and YouTube channel.

In fact, there’s been enough interest in sourdough over the last few years that I decided now was a great time to write a book about it so that I could share my own sourdough journey and a collection of my favorite recipes with anyone interested in replicating them.
The book isn’t scheduled to be released until fall, but I wanted to share an excerpt with you today in hopes that it might inspire you to take the next step with sourdough, even if that just means getting started.
The following excerpt is from an early draft of my upcoming book. I hope you enjoy this sneak peak!
My journey with whole food, from-scratch cooking, and ultimately sourdough began in 2008. At barely 23 years old, I was exactly 12 months into marriage, the proud owner of a 1920s craftsman bungalow on a busy street in town, and a new mom to a sweet baby girl named Ruth.
My nutritional knowledge was informed by the USDA food pyramid and a couple of books left over from ’90s crash diet culture. Fat was bad, whole grains were the foundation of a healthy diet, meat should be used sparingly, and raw vegetables should be consumed in bulk. I didn’t have a clue what I was doing, but I knew I had a 6 lb 15 ounce little girl whose whole future was entirely dependent on me. No pressure.
I didn’t come into marriage with homemaking skills, and we didn’t yet have wifi and smartphones, so my trusted resources for learning how to marinate chicken and make basic chocolate chip cookies were the Betty Crocker and Better Homes and Gardens cookbooks I was gifted at my wedding shower. Both were littered with margarine stains and dog-eared pages for easy-to-prepare low fat “nutrient-dense” recipes that became staples in the dinner rotation. If I came across some easy meal ideas in a magazine, I would stuff them in my homemaking binder, a trendy new way for young moms to organize their lives that I learned about when I got a few minutes to browse mom blogs on the local library’s computers.
Sometime around 2009, Nourishing Traditions by Sally Fallon Morell came onto my radar and I was introduced to the idea that maybe there was more to know than the mainstream nutritional advice I had been following. Maybe traditional cultures could offer some insight into thriving health and wellness without having to strictly monitor fat intake and eat boneless, skinless chicken, whole grain bread, and steamed broccoli for every meal. I started to question everything I knew about grains, fat, dairy, meat, and the way we prepare food in our modern culture.

I learned that our society had a lot of fear surrounding food, from the calories needed for active healthy bodies to the over-sanitization of everything. Why did we start pasteurizing milk, and why did the average person not know that vegetables and salt could become a tangy probiotic-rich superfood by sitting *gasp* out of the refrigerator for extended periods of time?
I read enough to know that I had a lot to learn and a long journey ahead of me. With an ’80s oven that came with the house, zero pantry space, and a tiny antiquated fridge that we now use in the garage for my cheese cave, I was committed to the process of learning and incorporating traditional cooking skills into my own kitchen.
On our one-income shoestring budget, I started slowly acquiring the tools I needed to make the job more doable for our growing family: a Nutrimill grain mill, stainless steel bread baking pans, and some food-grade buckets for whole grain storage. At first, I learned the basics of bread baking. I just used regular yeast and grains I milled fresh at home.
In 2010, shortly after birthing our second baby girl, I added a little flour and water to a small jar on my kitchen counter to make my first and only sourdough starter. I learned how to nourish my family with a very basic whole grain sourdough bread loaf. No banneton baskets, hydration percentages, food scales, cast iron Dutch ovens, fancy scoring patterns, or complicated recipes for me. At that time I was simply content to use my sourdough starter to make the nutrients in my homemade baked goods more digestible for my growing family.
Over a decade later, that very same sourdough starter has nourished our family through the births of 6 more babies, a move to a 7-acre homestead and farmhouse, and the formation and growth of our home-based blogging business. Though it was only responsible for rising basic whole wheat sandwich loaves and fermenting the grains for sourdough pancakes, English muffins, and sourdough skillet dinners for the first nine years of its life, in these last few years my trusty starter has allowed me to expand into more advanced sourdough endeavors.
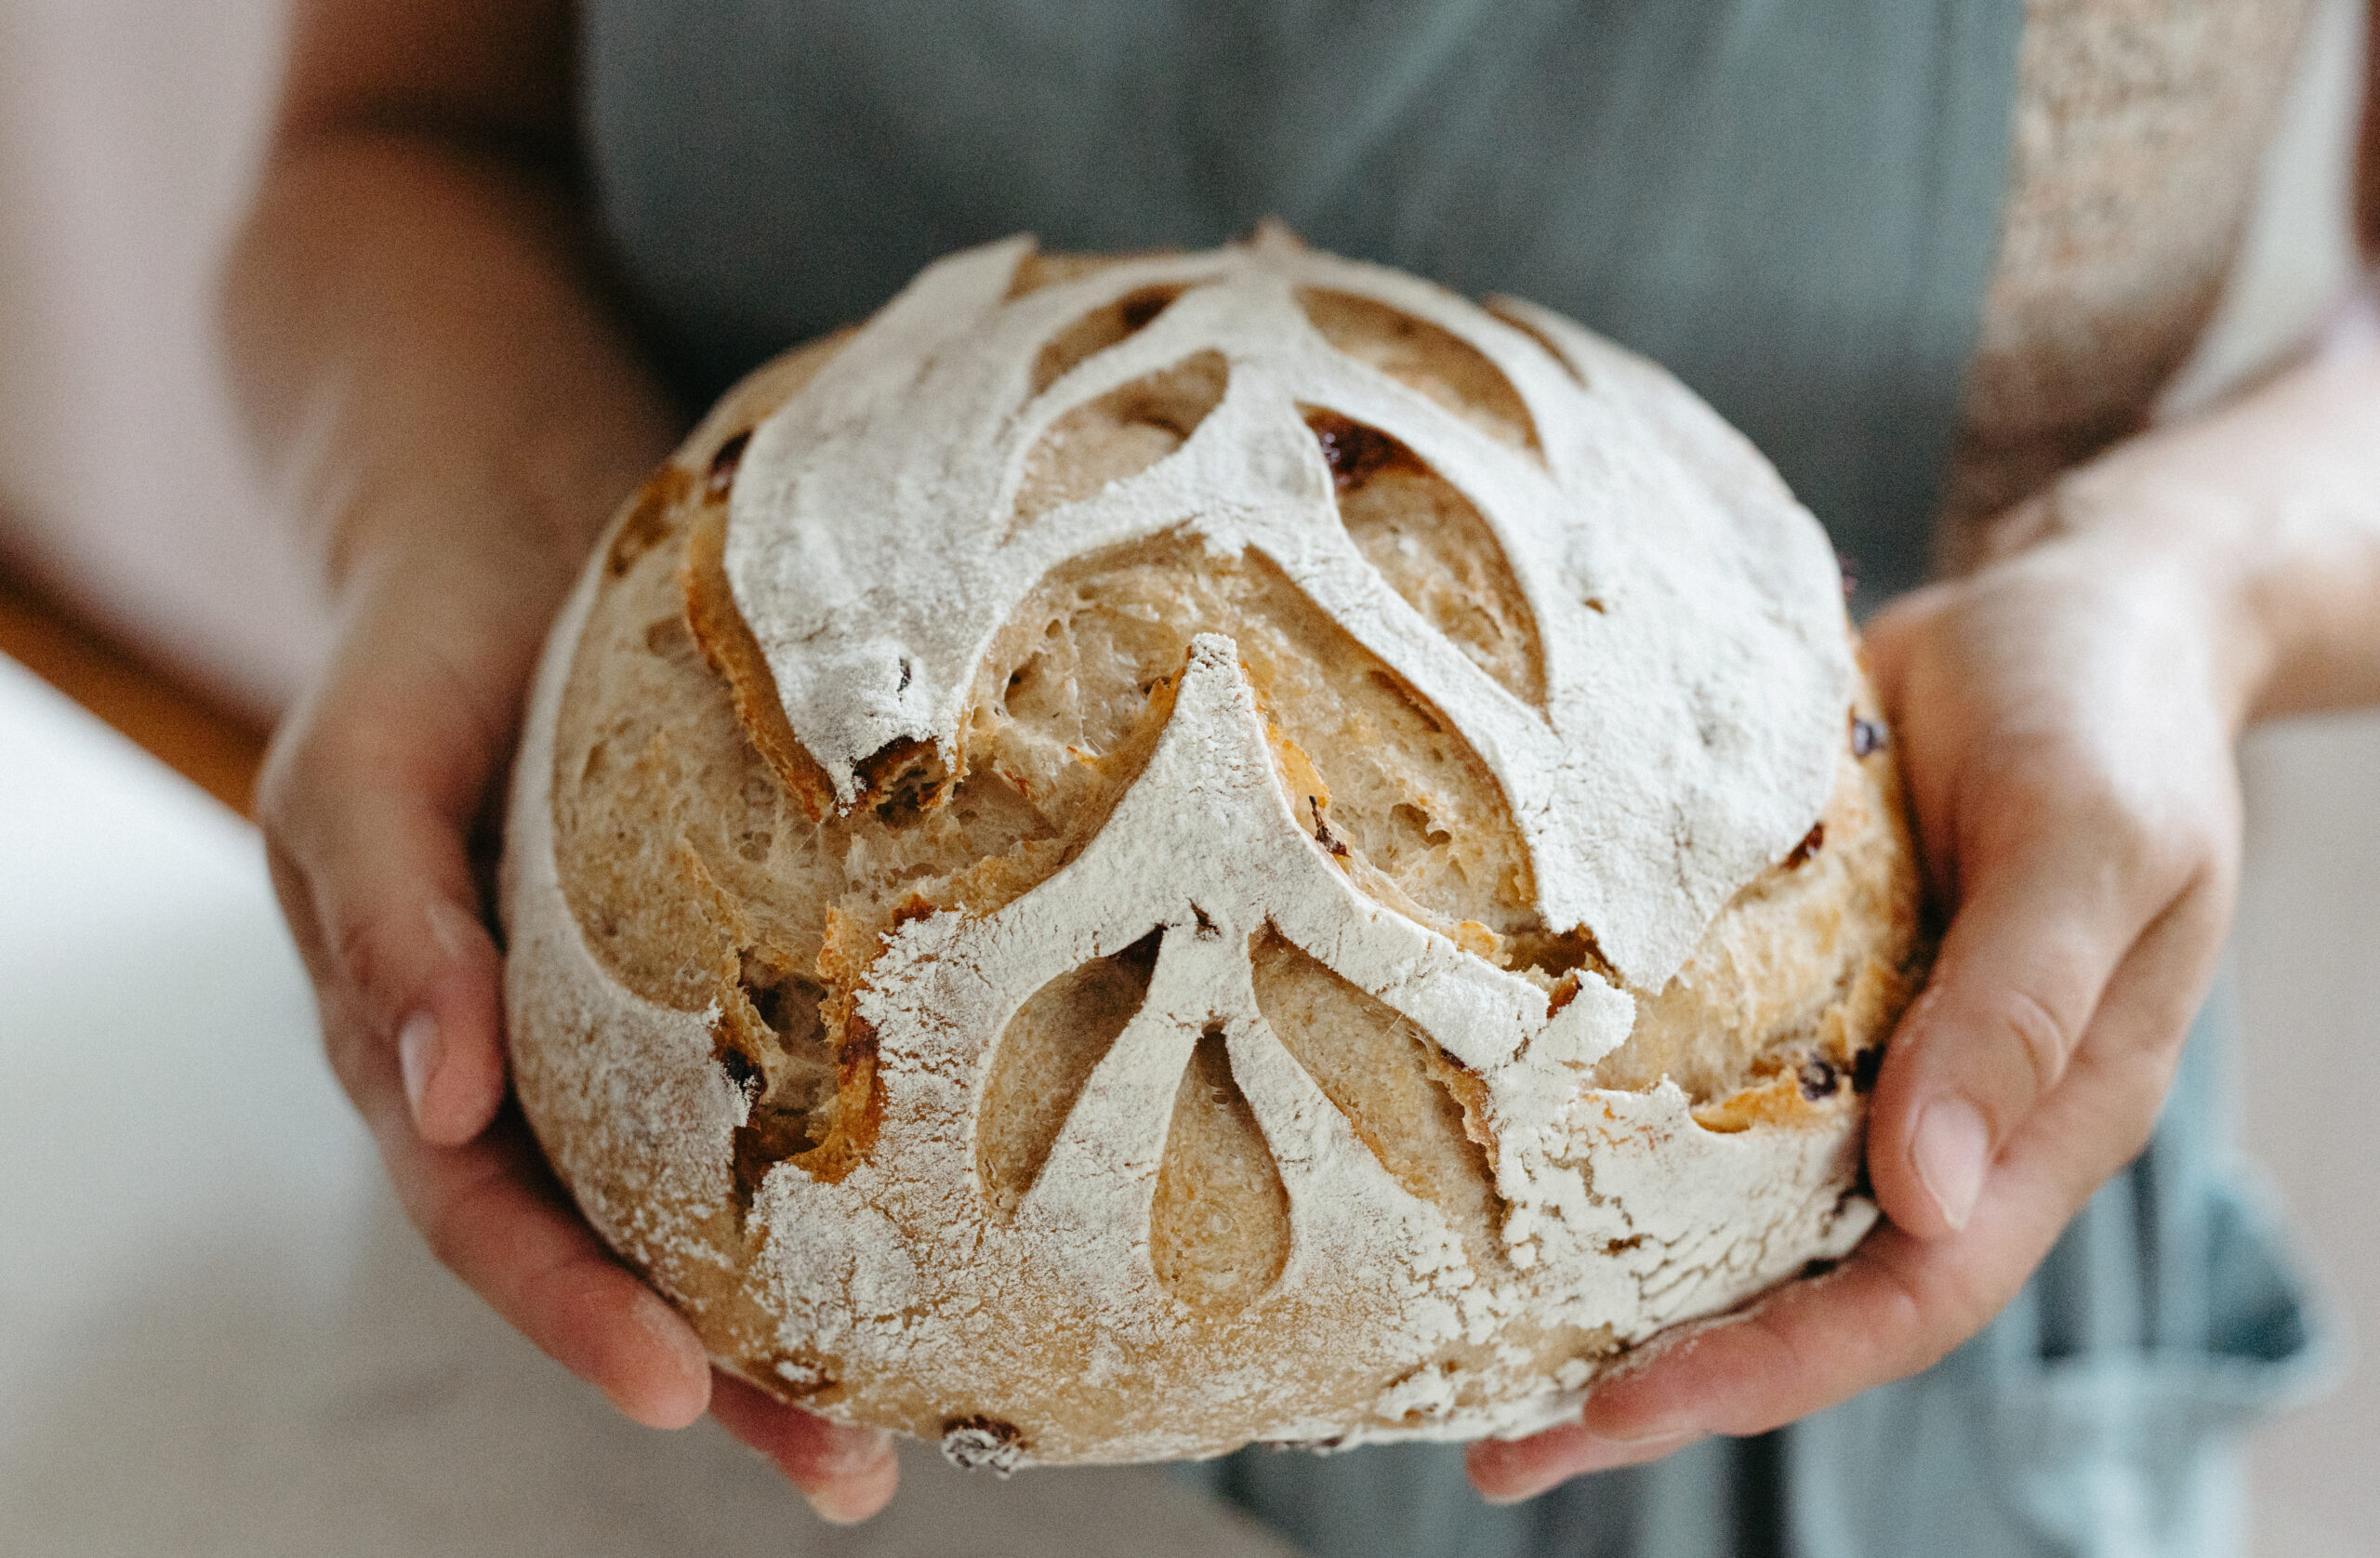
I find creative satisfaction in scoring a beautiful pattern into a sourdough boule and folding together flaky layers for croissants and pastries. I like to taste how a little whole grain rye will change the texture of an artisan loaf or what buttermilk will do to sandwich bread.
My encouragement to you through this book is that sourdough can be as simple or as complicated as you want it to be. If you are in it for a basic sandwich loaf that will have all of the health benefits of sourdough, but you don’t want to learn the meaning of a levain or get an advanced degree in “baker’s math,” you can master a simple loaf in the baking pans you already have.

Here’s the process for making bread:
1. Starter + flour + salt
2. Knead
3. Rise
4. Shape
5. Bake
It can be as simple as that.
You can whip up sourdough pancakes with very little forethought and absolutely zero kneading. You are welcome to stay right there, and nourish your family with this traditional practice. Or, you can move along into other sourdough endeavors if you find interest and passion in it.
Though the advances in technology over the last 15 years have helped home bakers to expand their skills with more information than my 2008 new-mom self could have ever imagined, I sometimes wonder if I would have been too overwhelmed to even start if I were to become a homemaker in today’s world. Sourdough was simple back then, and it can be now too. So let’s put our phones down for today and dive in!
Baking bread is all about finding your rhythm. Start small and gain confidence and momentum over time. When we try to do or learn too much at once, it can feel overwhelming, and that’s when people tend to give up. That’s why my approach to sourdough has always been to keep things as simple and accessible as possible.
I know there are many complicated and nuanced ways to approach sourdough, but that wasn’t for me. As a mom and wife of a growing and busy family, I needed something straightforward that could still supply my family with nutrient-rich, healthy, and delicious sourdough recipes everyday.
I’ve found my own rhythm and tweaked my recipes over the years so that sourdough has now become an integral part of daily life in our kitchen and house. Now I want to help other people find their rhythm, and their own favorite recipes that will serve their families day in and day out for many years to come.
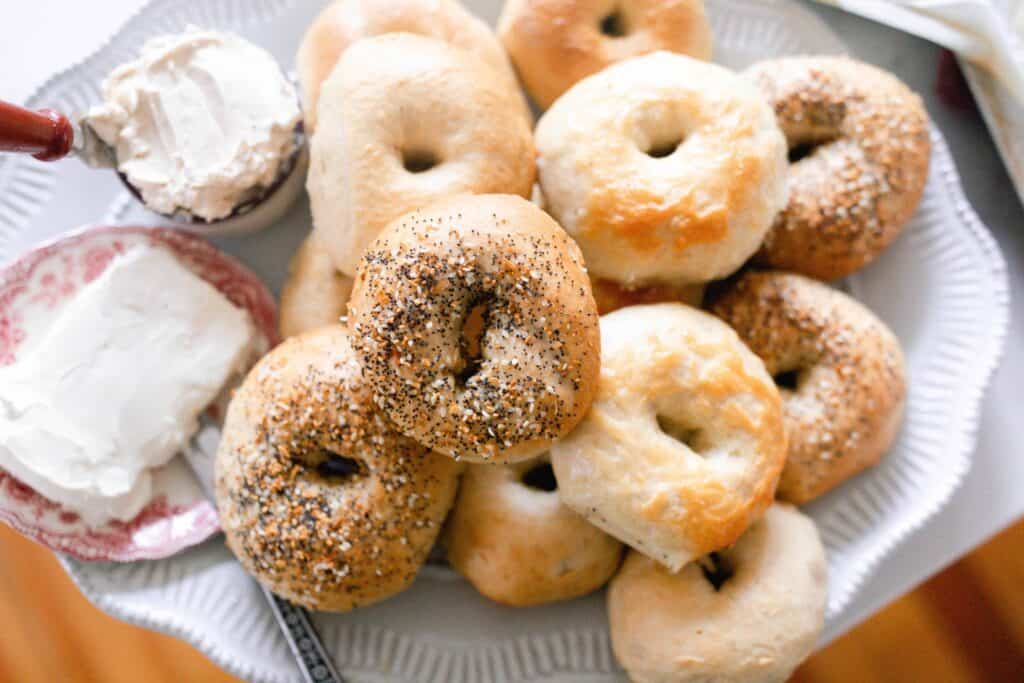
I’ll be sharing many of my favorite sourdough recipes in my upcoming book, but in the meantime here’s a preview of one of the best ways to make use of sourdough discard so that nothing goes to waste.
Enjoy!
Ingredients
- 3 teaspoons active dry yeast 9 g
- 1 cup warm water 236 g
- 1 cup sourdough discard 285 g
- 2 tablespoons honey or maple syrup 42 g
- 2 teaspoons salt 10 g
- 4 cups unbleached all-purpose flour 560 g
For Boiling the Bagels
- 2 quarts water
- 1 tablespoon baking soda
- 1 tablespoon brown sugar
Instructions
- Whisk the warm water and yeast together in the bowl of your stand mixer. Cover and allow to sit for 5 minutes. It should get nice and bubbly
- To the bowl of a stand mixer with the dough hook attachment, add the sourdough discard, honey, salt, and flour. Beat on low speed for 2 minutes. Alternatively, you can turn the dough out onto a lightly floured surface and knead the dough by hand for 5-10 minutes.
- Place the dough in a lightly greased bowl. Cover the bowl with aluminum foil, beeswax wrap, plastic wrap, or a wet tea towel. This keeps it from drying out on top.
- Allow the dough to rise at room temperature for 60-90 minutes, or until doubled in size. The amount of time can depend on how warm your kitchen is.
- After rising, divide the dough into 8 equal pieces. These absolutely do not need to be perfect, but they will each be about 137-140 grams.
- Roll each piece of dough into balls, flatten them down a bit, and poke a hole in the middle with your finger. Stretch the hole a bit to widen. Cover with a tea towel and place the dough in a warm spot for 30 minutes to 1 hour or until puffy.
- Meanwhile, preheat the oven to 425°F (218°C), prepare your water bath, and place parchment paper onto a baking sheet.
- Bring a large pot of water to a boil and add the baking soda and sugar.
- Using a slotted spoon, gently add bagels to the boiling water. Boil for one minute, flip, then boil for another minute.
- Shake off excess water and dip into desired toppings (optional). Place boiled bagels on a parchment-lined baking sheet.
- Sprinkle with sesame seeds, everything but the bagel seasoning, or even some brown sugar.
- Bake for 20-25 minutes or until golden brown on top. Move to a wire rack to cool.
Notes
Do you feel that sourdough mindset beginning to bubble up in your imagination?
If so, you’re now one step further down your homesteading path!
Another question for you … ARE YOU READY TO BECOME THE HERO OF HOME BAKING FOR YOUR FRIENDS AND FAMILY?
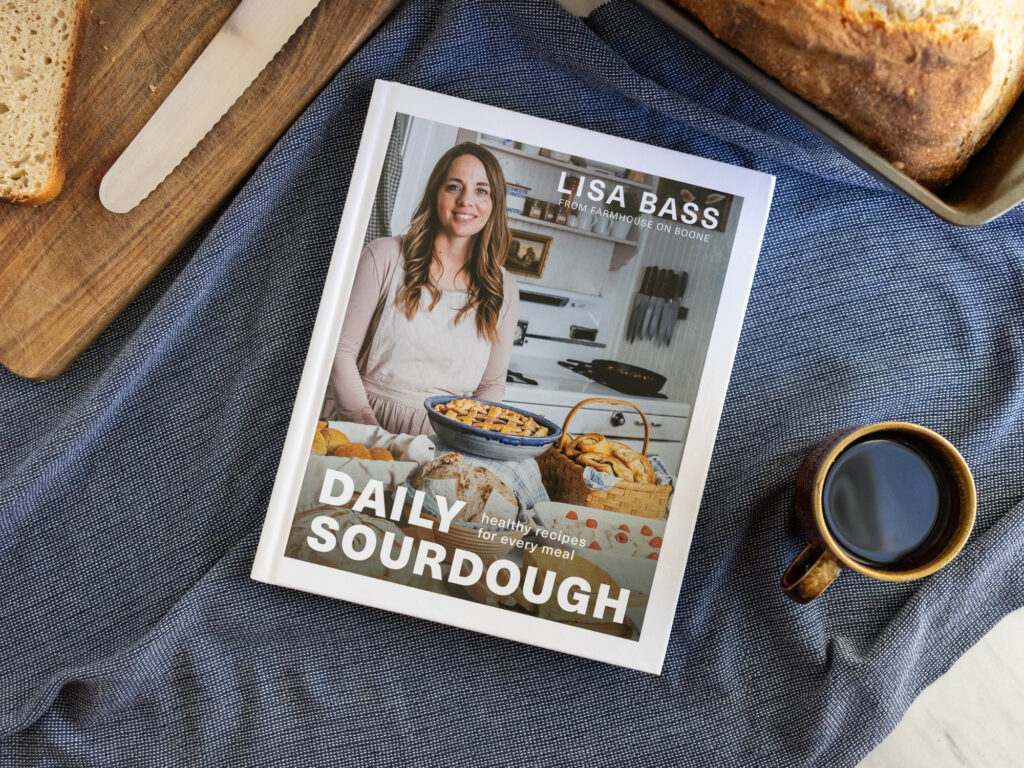
If yes, there’s only one sourdough baking baking book you’ll ever need on your shelf, Daily Sourdough by Lisa Bass.
👉Click here to get your copy of Daily Sourdough today!
*US and Canada Only


Leave a Reply