My journey started at my grandmother’s house with the sticky sweetness of summer blackberries and jars of sunshine-yellow peaches. I didn’t know my journey was beginning, but the feelings from this left a lasting impression.
When I had my children over twenty years ago, I wanted something different from what society presented. I wanted to fill their growing bodies with healthy food. I wanted to know where that food came from, and what was in it. I remembered my days helping my grandmother and knew I wanted to start a garden. I had no land, and we lived in student housing. With four kids under six, I rented a community garden plot. I’ll be honest: I have no memory of harvesting anything, but I was hooked.
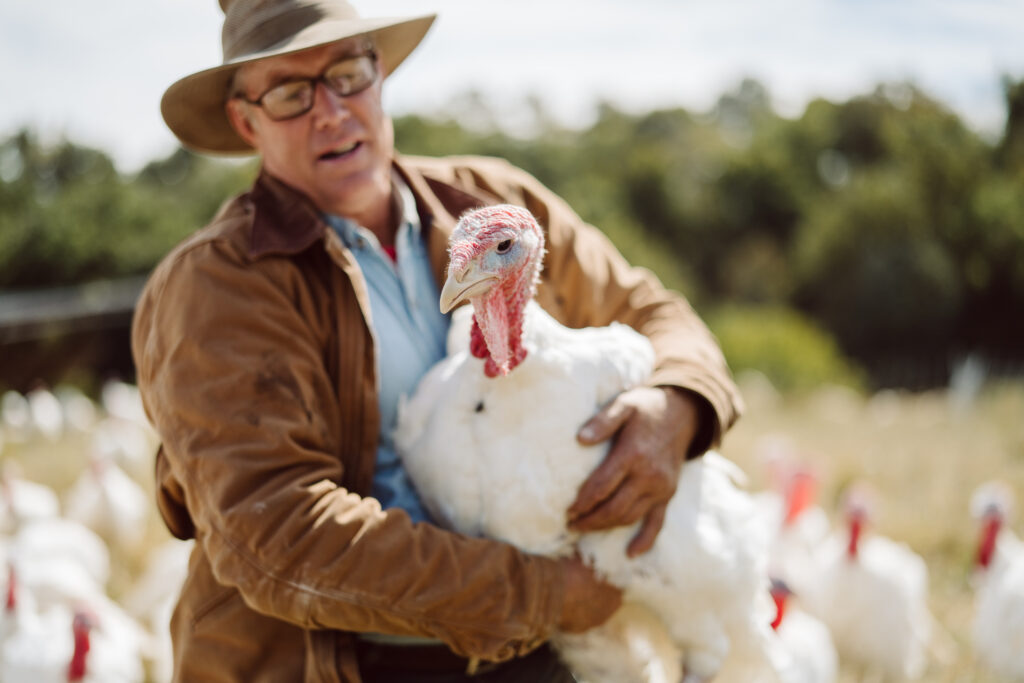
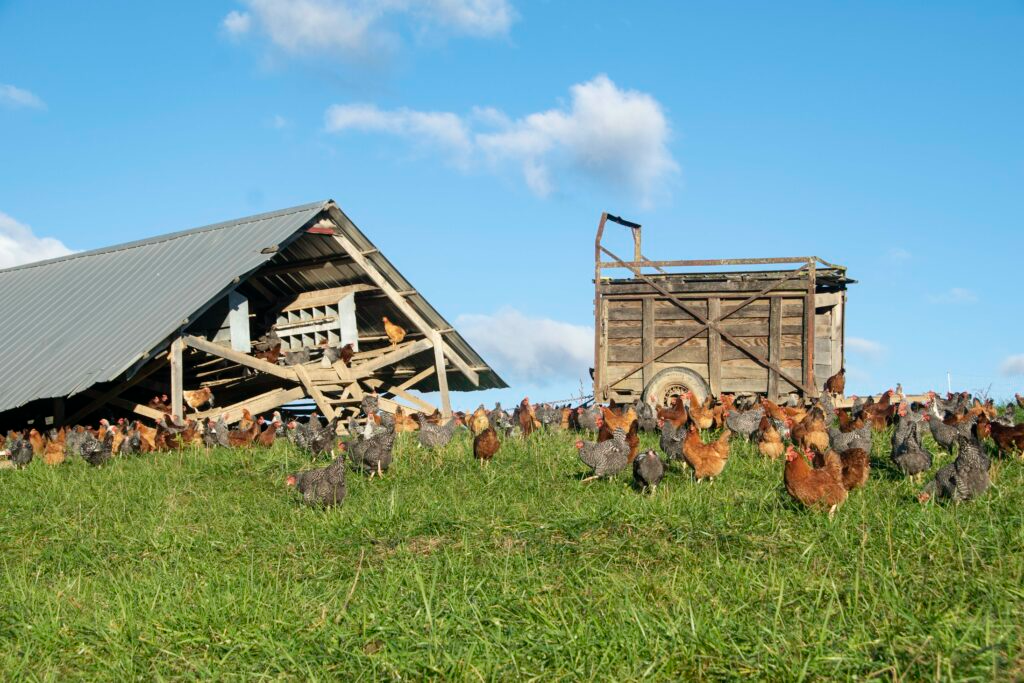
It grew from there. We made do with what we had. We grew in pots, dug gardens in rental houses, and turned master bathrooms into canning pantries. We learned skills, experimented, and made mistakes. We raised poultry for eggs and meat. We raised dairy goats and rabbits, grew vegetables, and learned about root cellars. When we finally bought our first house, we planted fruit trees and all the perennials.
Around that time, my husband Joe asked me to look into prepping. I thought he had gone crazy. Visions of bunkers and wasted buckets of food filled my head. The frugal homesteader in me screamed at the waste. I researched anyway, digging deep past the body armor and bunkers, and realized that preparedness and homesteading go hand in hand.
Living Prepared
Preparedness is nothing more than planning for the things to come. Each of us gets to decide what those things are. Homesteading is doing what you can at home rather than going to the store. The homestead lifestyle we had been building for years worked well with this crazy idea of preparedness.
I already had a stockpile; I just didn’t call it one. I already had preps; I just didn’t call them preps. I called it a well-stocked kitchen pantry. I called it buying in bulk because it’s cheaper, and canning a year’s worth of applesauce because apples are in season.
My research showed me that preparedness makes sense, that my family is my responsibility, and that, as homesteaders, we were already part of the way there. I plan for the most likely over the least likely, and proudly don my tin foil hat. There is no shame in preparedness—or there shouldn’t be—though society often paints a different picture.
I began teaching preparedness and food storage many years ago. I love helping people take their next steps, specifically women. In the prepper world, there is a shortage of women’s voices. My online program—This Prepared Life Membership—was born from this need, and I love every minute of it.
As I began to plan our food storage from a preparedness perspective, my homestead kitchen and pantry became the base. I break my food storage into three layers to help keep things organized, and make sure we have what we need for the short-term, the long-term, and in case of a major emergency.
My three layers of food storage consist of:
Layer 1 – Kitchen pantry (my working pantry)
Layer 2 – Short-term layer (my “home grocery store”)
Layer 3 – Long-term layer (my “SHTF” layer)
Layer 1: The Kitchen Pantry
This layer consists of the food we are currently eating. It’s the perishables in the refrigerator, what’s growing in the garden, or what we purchased at the farmers market. It’s what I pulled from the freezer for that week’s meals, what’s in the cupboards, and what’s in the pantry.
I suggest having one month’s worth of food in your kitchen. How much you store will depend on your available space and your family’s needs. If you can only fit two weeks of food in your kitchen, two weeks is better than no weeks.
You do not need any special packaging for layer one. You are eating these foods; don’t waste your time or energy repackaging them. Layer one gets restocked from layer two, typically once per month. When I need to restock, I make a list of what I need in my kitchen and head to my in-home grocery store.
I have a mental picture of how much of each item I keep in my kitchen. As you build your food storage, you will need to rely less on inventory sheets and spreadsheets because you will understand what goes in and out of your kitchen.
Layer 2: Your Home Grocery Store
Layer number two is my “grocery store,” or my short-term layer. I define short-term as anything I will use before its packaged expiration date, anything that doesn’t store well long-term, or an item I plan to use within the year.
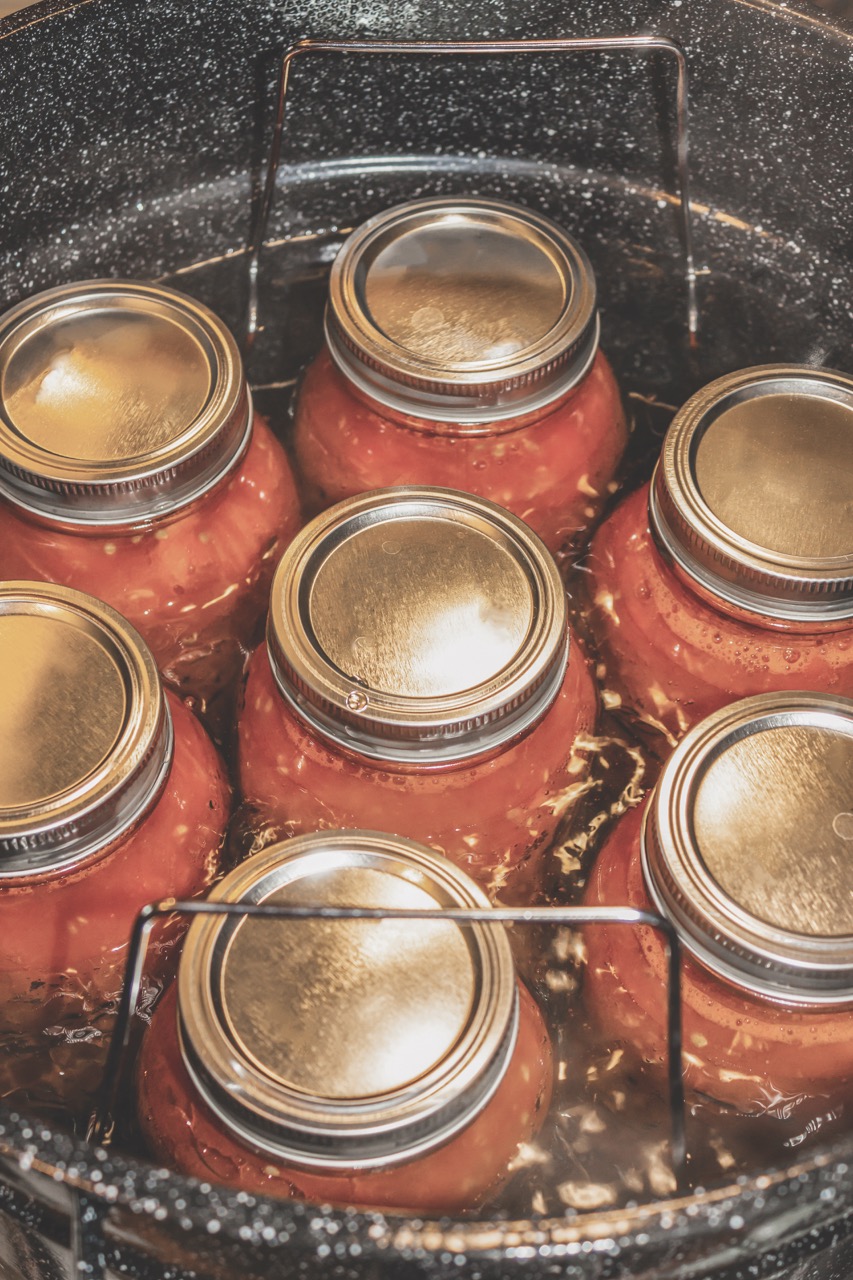
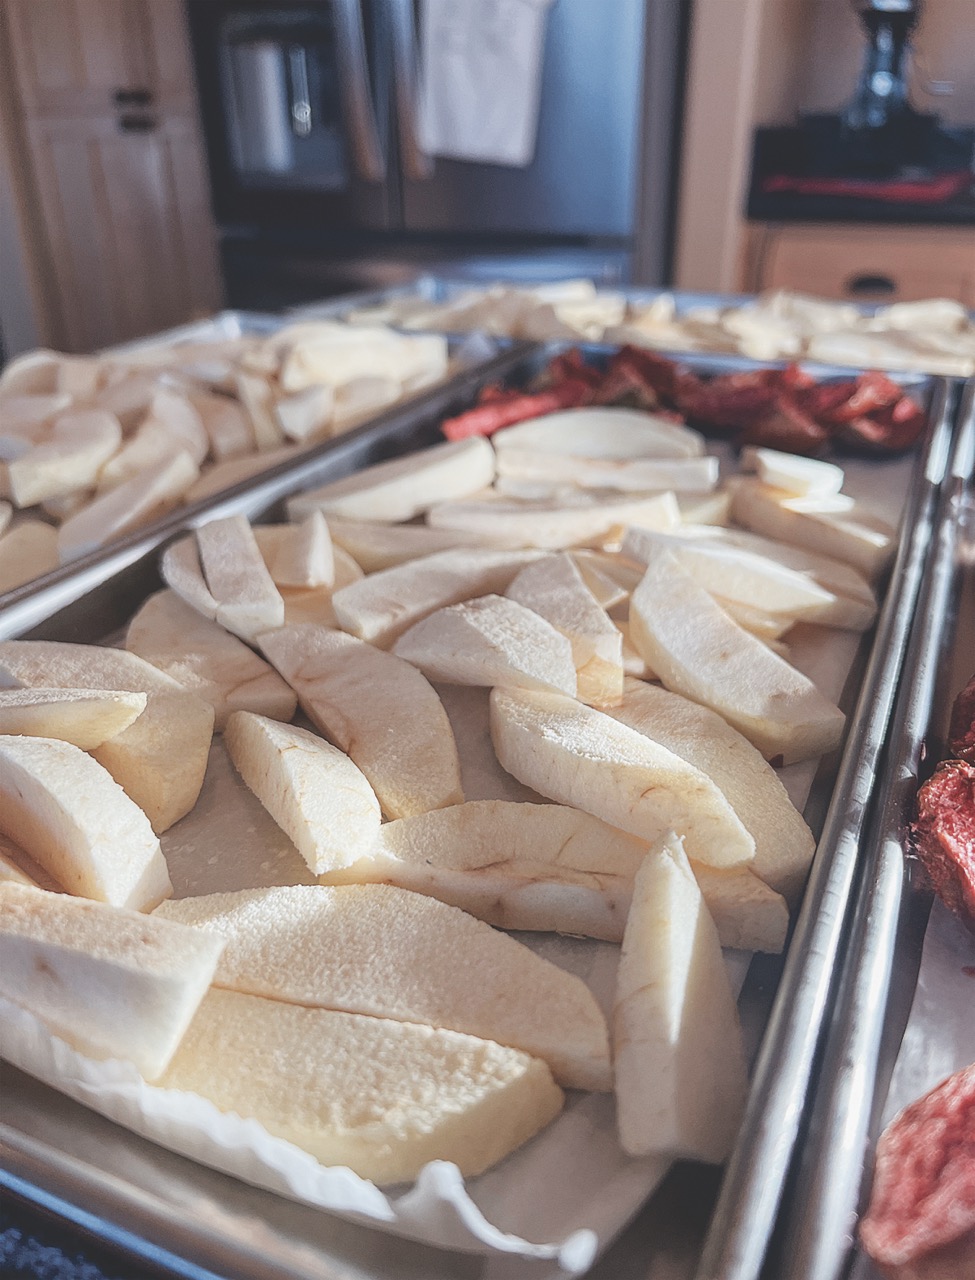
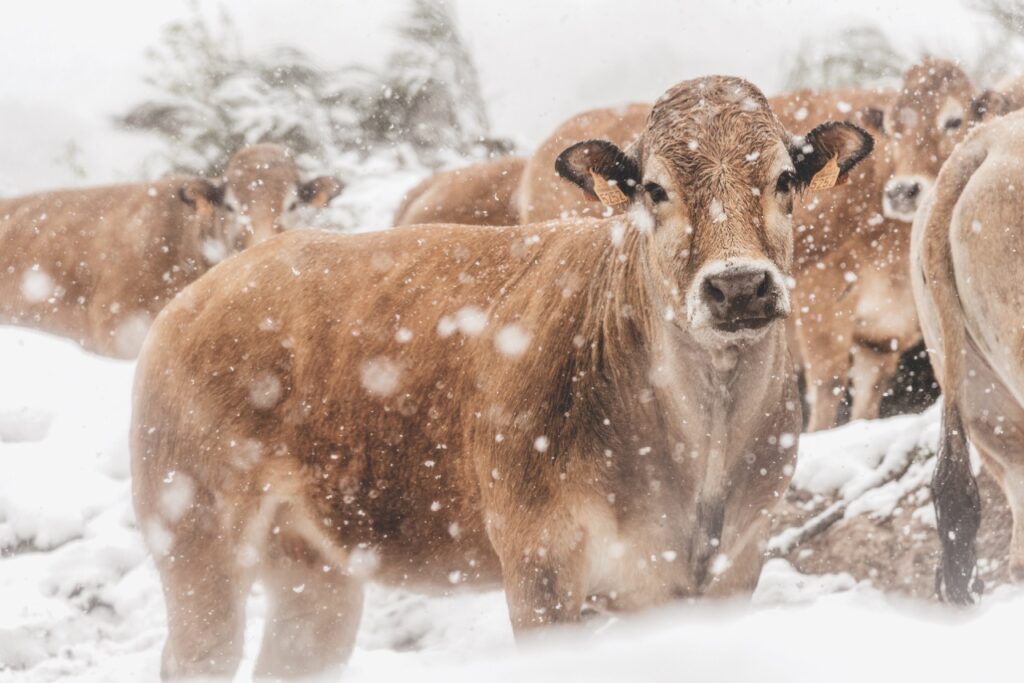
My short-term layer consists of our stock of home-canned and home-preserved foods. It’s the year’s worth of applesauce I put up during apple season or raspberry jam in the spring. It’s the dehydrated fruit I process when it’s in season and the garden carrots filling our freezer. It’s the year’s worth of beef or pork we purchase from local farmers or the year’s worth of poultry we raise. It’s dry goods, canned foods, spices, and condiments purchased from the store. It’s also bulk goods stored in buckets that we use in large quantities, such as flour, sugar, rice, and oats.
Our goal for this layer is to have one year’s worth of the foods that we eat consistently. How much you store in your grocery store layer will depend on what you can fit in your space, what you can effectively track, and the amount you feel comfortable with.
Maybe three months is your short-term layer goal, or six months? There’s no right or wrong answer here. The important thing is to understand how you use your kitchen so that you can rotate the foods.
Prepping what we eat ensures no waste and higher nutritional content. Our food storage is a bank account for hard times, but it is also how we feed our families. I want more than just full bellies in an emergency.
When my husband decided to start his own business 15 years ago, this stockpile allowed us to navigate a year of little to no income and still feed our family well. We had the food and household items we use on a regular basis in layer two. This was such a blessing and reduced the financial stress as his business grew.
A year’s worth of food sounds like a considerable amount, and all together, it is. To make it more manageable, break it down by item. Food storage can be overwhelming, and taking it one piece at a time helps! If you use 20 pounds of flour monthly, you would need 240 pounds for one year. That’s only five fifty-pound bulk bags. Five bags sounds more manageable than 240 pounds, even though it’s the same amount of flour. Set goals and stock up when items are on sale.
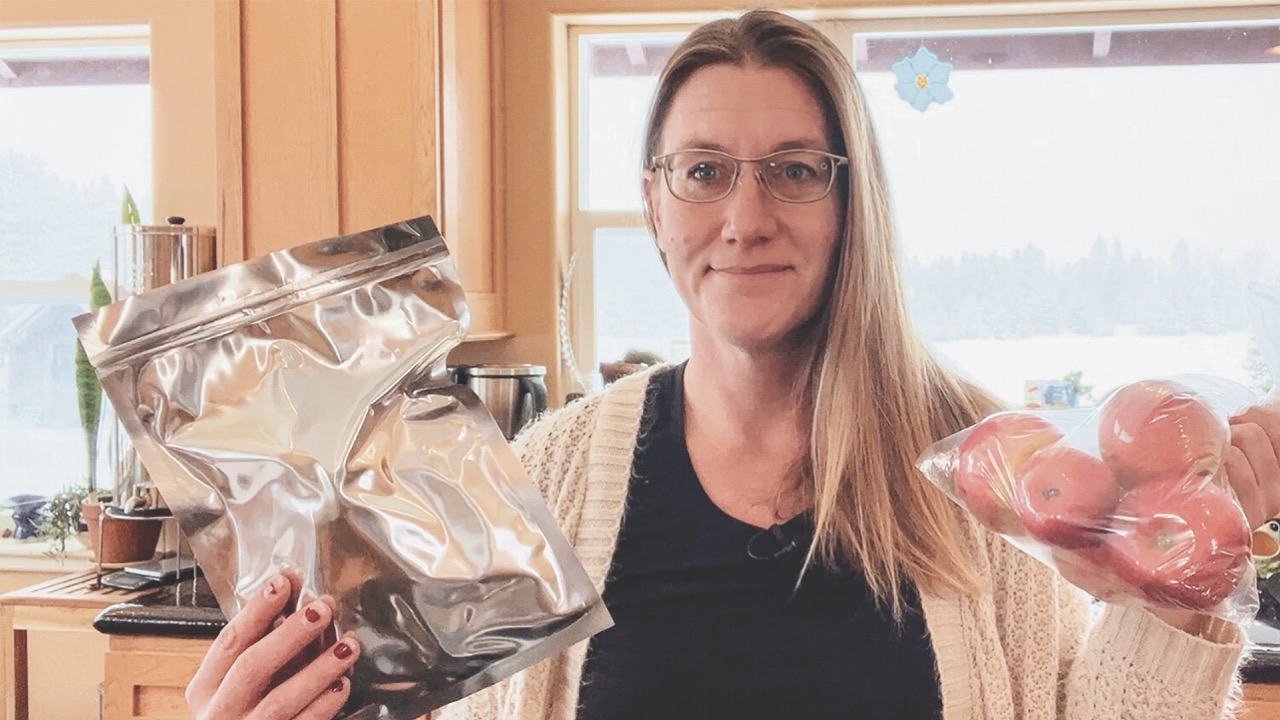
My short-term layer’s packaging looks different than in my kitchen. Items in this layer are stored in their original packaging inside storage bins, glass jars, vacuum-sealed, or buckets. Repackaging this layer is essential to protect against the factors that impact food storage: moisture, light, oxygen, temperature, rodents, and insects. These items are sitting anywhere from one month to a year.
Food storage is an investment. Protect it, but keep it simple. If you know you will eat a food item before it expires, don’t waste your time and money packaging it into Mylar. My short-term layer rotates with a first-in, first-out (FIFO) system. When I restock my kitchen pantry, anything removed from my grocery store goes onto my grocery list. All items are then dated and
rotated accordingly.
Layer 3: Long-Term Food Storage
Our third layer is our long-term layer, which is our “something awful happened” layer (also called our “SHTF” layer). For my food storage system, I define long-term as anything between 2 and 30 years. This layer consists of foods we eat, preserved in a form that’s suitable for long-term storage. Not everything we eat is going to store well long-term.
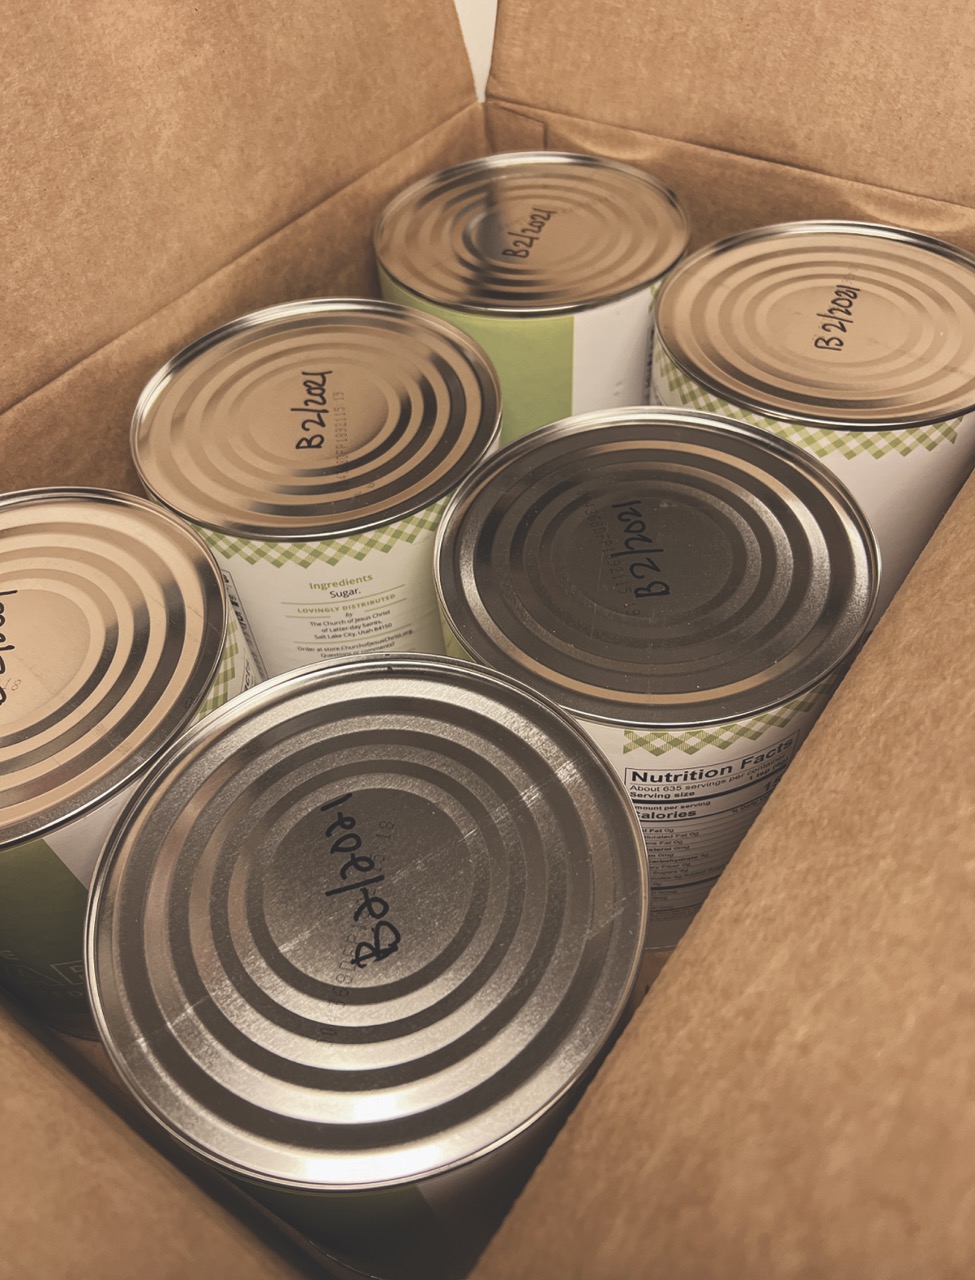
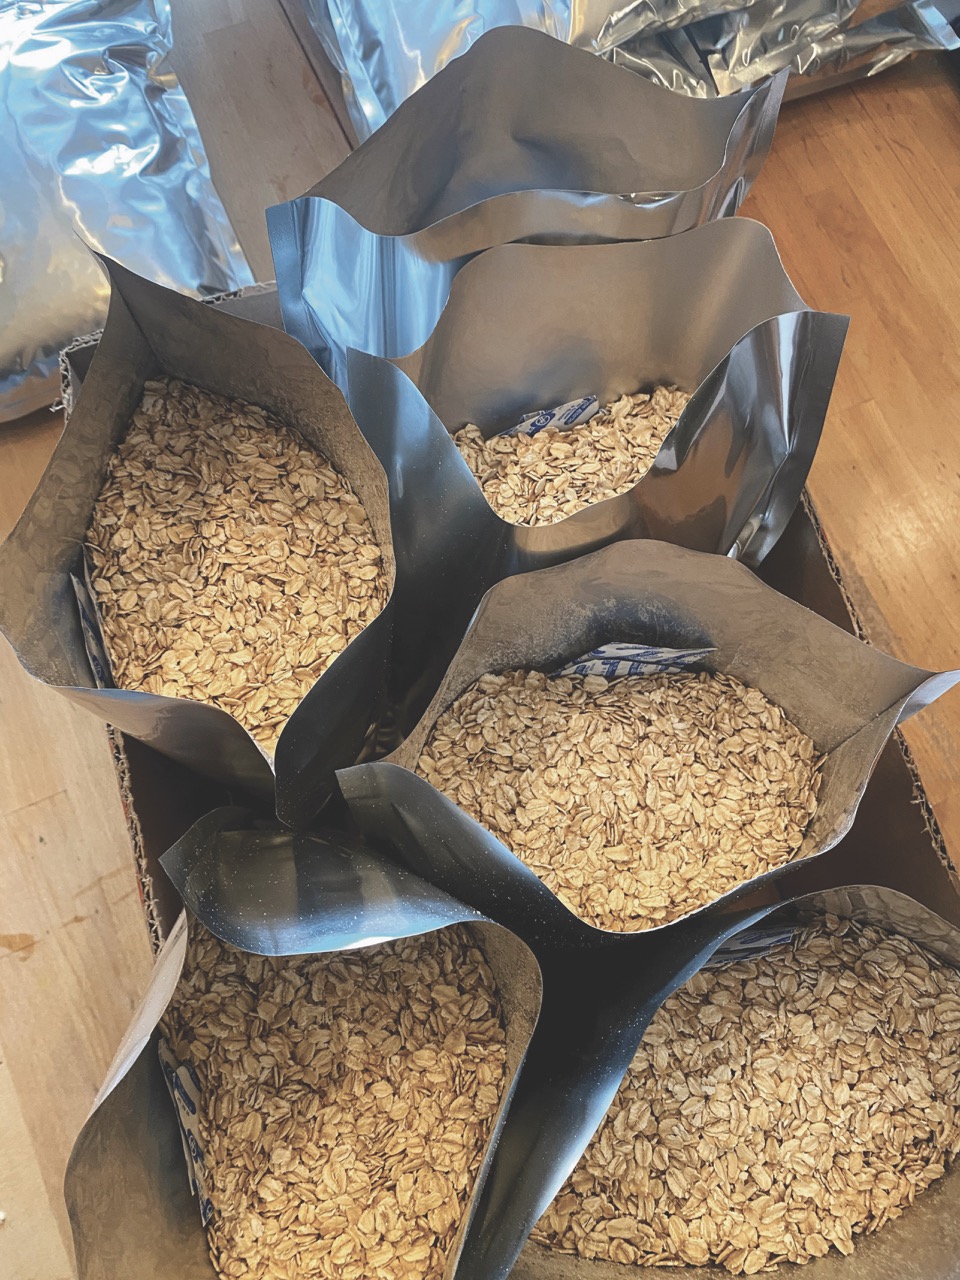
My long-term layer consists of dry goods such as beans, lentils, rice, wheat, corn, oats, sugar, and freeze-dried food. Everything in this layer can be stored long-term, even though I may rotate it into my pantry sooner.
How much to prep is a very personal question. Some may feel comfortable with a few months of long-term storage foods, while others will feel comfortable with years. Again, there is no right or wrong answer. You should choose the number that feels best for your family.
Packaging for my long-term layer is essential because I store these foods for 2 to 10 years. In addition, I don’t regularly inspect my long-term food storage; it is typically out of sight until my spreadsheet tells me it’s time to rotate that item. Due to this, every single item in my long-term layer is stored in Mylar bags (with or without oxygen absorbers), or in #10 cans.
The rotation in layer three looks very similar to the other layers; it just takes longer. Instead of rotating that bucket of oats through in one year, I might rotate it in 10. These items rotate from long-term to short-term and become the working bucket I use to fill my kitchen canisters. Or they rotate into my short-term layer by being preserved in some way. For example, dry beans are pressure canned and become the canned beans we are eating for the year.
As items are rotated from layer three to layer two, a new one is purchased, packaged, labeled, and put back into long-term storage. This rotation ensures that each layer is well stocked and has maximum nutritional content.
How to get started building your food storage
Building my three layers of food storage took many years. This is not a swift process; it takes time. Try not to get overwhelmed and just start where you are at. It will build faster than you think.
To get started, open up your kitchen cabinets and buy more of what you see. Buy foods you know how to cook and that your family enjoys eating. Focus on dry goods, canned foods, and items with a longer shelf life.
Make a list of skills you want to learn and get started. Many skills can be learned for free or inexpensively, and learning skills is the best way to improve your food storage.
Ingredients store far longer than convenience foods. Knowing how to garden, preserve, ferment, make bread, and cook from scratch will allow for better food storage. Preparedness is not just about stockpiling supplies; it’s a mindset. There are three pieces of the puzzle, and each piece is equally important: supplies, skills, and community. Your family is the foundation of all of these.
Your supplies are useless if you don’t have skills, and your skills don’t matter if you don’t have supplies. Community is important because we cannot do it alone, and most importantly, your family matters because they are the reason we have adopted this lifestyle to begin with. We are not meant to live in fear, nor are we meant to live in a place of inaction. No one knows exactly what is coming, but we do know that the only thing we can control is ourselves.
Life happens: job loss, illness, death, economic issues, broken supply chains, and empty store shelves are common. The news is full of escalating conflicts and fearful headlines. You can let that scare you, or take action and focus. Learn skills and do what you can with what you have. You can’t do everything, but you can do something. Preparedness is every day; it is planning for the most likely; it is slow and steady.
Your food storage is a bank account for hard times; it is peace of mind. Remember, on day three of a power outage or when the store shelves are empty, your family will still ask, “What’s for dinner?”
Mylar is a great long-term storage option for dried goods like rice, beans, oats and grains. However, Mylar is not actually a form of food preservation, which involves altering the state of a food item to make it shelf-stable. Instead, Mylar is a form of food storage, and is used for extending the shelf life of dry foods that are already shelf-stable.
What is Mylar?
Mylar is a transparent material used in many commercial and industrial areas. It is a stretched polyester film or polyethylene terephthalate (PET).
The Mylar bags we use for food storage include a layer of PET that is coated with aluminum or another metalized coating.
When to Use Mylar
Mylar is an excellent tool for extending the shelf life of food. Combined with oxygen absorbers, it reduces oxygen, light, and moisture from impacting food storage. Foods that are low in moisture and oil content are suitable for storing in mylar.
When NOT to Use Mylar
Do not use mylar for foods with moisture. Moisture inside a mylar bag can cause mold and bacteria to grow.
Moisture combined with an oxygen absorber is a botulism risk. Botulism (while rare!) occurs in a high-moisture, low-salt, low-acid environment when food is stored without oxygen or refrigeration.
Oily foods can go rancid quickly, so while they could technically be stored using mylar, it will not effectively extend their shelf life. I suggest a steady rotation through your kitchen for oily foods instead of mylar.
Home-dehydrated foods should be crisp or brittle. Do not store pliable foods in mylar.
Purchasing Mylar
Look for 5 mil or thicker mylar bags on each side
Features such as gusseted bags and zip-top bags are personal preference
Purchase high-quality mylar from a reputable source. Read the product description carefully when purchasing mylar.
What about Oxygen Absorbers?
Oxygen absorbers (OA) are small packets containing iron powder that becomes iron oxide when exposed to oxygen. The oxygen molecules adhere to the iron. Using OA can reduce the amount of oxygen to as low as .01%. Do not confuse OA with desiccant packets, which remove moisture.
Your mylar bags may not look “sucked in” due to the remaining air left in the container. Air is 78% nitrogen, 21% oxygen, and 1% other gasses. Nitrogen is good for food storage, and many commercial products are flushed with nitrogen to extend shelf life.
The amount (cc) of oxygen absorbers needed depends on the size of the container and the type of food you are packaging.


Leave a Reply