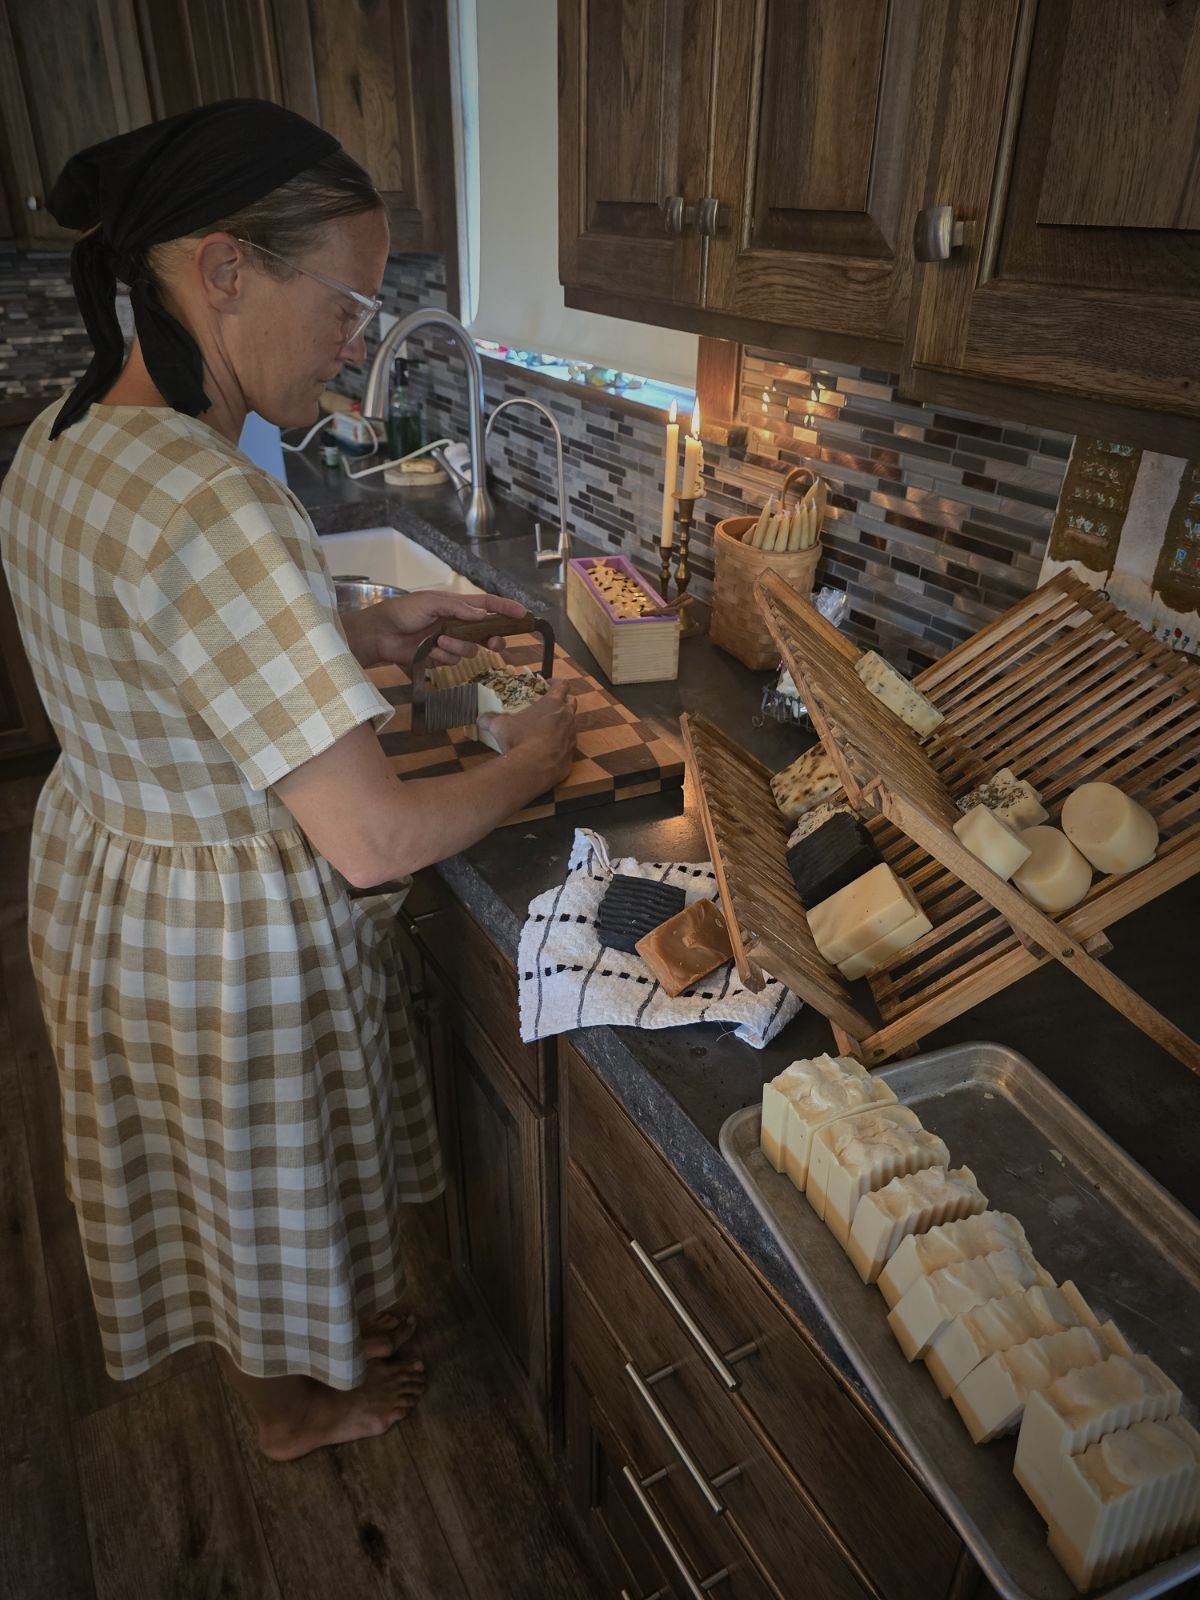
One of the most rewarding ways I have found to serve my family is through soapmaking. Making my own soap using milk from our goats has cut down on the chemicals that enter my home while helping to ensure that none of the milk goes to waste. Plus, it’s a fun and creative outlet for me! I love walking into a room and seeing my soap bars sitting in pretty dishes by the sinks and in the shower.
I began making goat’s milk soap in 2015, when my husband and I brought home four Nigerian Dwarf goats. Excitement was high because these were the first farm animals we had ever brought home besides a few chickens. We chose small goats as, at that time, our property was under an acre, and they needed little space.
The main reason for adding goats to our homestead was for the benefits of raw milk. We especially wanted it for our baby daughter as she grew. However, we quickly learned that this was more milk than a family of three could drink! I researched all kinds of things I could make with it, from cheese to kefir and yogurt, but my favorite product quickly became soap.
Soapmaking wasn’t completely foreign to me. It took me back to when I was a little girl growing up in the Plain community here in Indiana. Wintertime brought butchering which brought lye laundry soap made from lard. I can vividly remember my mom making it in the back room of our basement to keep it out of reach of my sisters and me. She would let us watch her stir it occasionally. We certainly didn’t have an immersion blender or fancy molds, so it was much rougher in texture than the soap bars I make today. It was roughly cut or broken into pieces to use in our Maytag wringer-washer along with some Tide. It worked well in cleaning clothes.
With this history of soapmaking, I didn’t have the fear of lye that some beginner soapmakers have. Even so, it is not something to be careless with; it can cause burns. Leave your gloves on even through clean-up. I use vinegar and water to wash up the dishes. An old sock or washcloth that I can just dispose of is my preference for a rag. Vinegar for clean-up is a bit of a controversy but it has worked well for me.
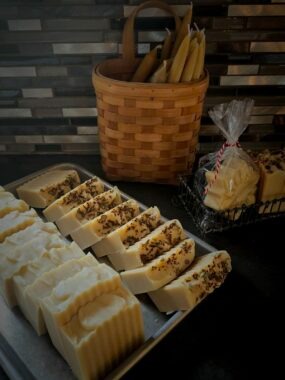
I love the simplicity of a bar of homemade soap. It serves many purposes. It can be used for hands, body, baby wash, and laundry. Rubbing a bar across stains as a pre-wash treatment is effective as well. When a batch doesn’t end up looking quite the way I would like, I will grate it up and toss it into the washer to give the laundry a pleasant, clean scent. It is also a fun addition to gifts and the perfect stocking stuffer for Christmas!
Overall, it’s not a difficult or time-consuming process. It’s my favorite project for a chilly, blustery day. I hope this inspires you and gives you the confidence to try making your own soap. In my opinion, this nearly lost art is making a comeback, and I am here for it!
Benefits of Goat’s Milk Soap
An obvious motive for choosing to make goat’s milk soap is having an abundance of milk. Upon delving further into the benefits of this key ingredient, I found that people with sensitive skin often have success with it. It is gentle due to the pH of the soap being similar to that of our skin. The milk contains vitamins that are beneficial for our skin, especially vitamin E.
Cold Process Vs. Hot Process
There are two ways to make soap: the cold process and the hot process. I use the cold process method. It does take patience—cold process soap requires weeks of curing. However, the texture is smoother than hot process soap. Because you aren’t heating the ingredients, it preserves their quality and properties, so you can use high-quality ingredients and expect them to stay that way.
Tips on Choosing Oils
In the recipe that follows, I’ve included the combination of oils that I like to use. You can research other oils and amounts to use if there are others you would prefer, however the total weight of the oils needs to remain the same. Here are my choices and the reasons behind them.
Olive Oil
I use mostly olive oil because it creates a hard, long-lasting bar; however, if you use olive oil alone, your soap would be low in lather.
Coconut Oil
Coconut oil is full of antioxidants and vitamins. This oil will add lather as well as hardness to the bar. Contrary to popular belief, using too much coconut oil in your soap can actually be drying to your skin.
Shea Butter
I use organic shea butter. I had to find a way to include this because it seems so luxurious. Shea butter gives your soap a rich, creamy lather as well as being gentle and moisturizing to your skin. It has vitamins A and E and promotes collagen production. It is expensive so I only use a small amount.
Castor Oil
Castor oil will produce a nice lather while adding moisturizing properties. Use in small quantities to avoid a soft bar.
Optional Ingredients
You can make plain, unscented soap, or you can add fragrance and color to your soaps with a variety of optional ingredients like dried herbs and essential oils.
When using essential oils, I always use less than the recommended amount. Our family prefers to not have strong scents. Each essential oil has a different overall percentage that is deemed safe. Too much can irritate your skin. Some of my favorites are lavender, eucalyptus, spearmint, peppermint, and patchouli. Citrus oils and some others need to be paired with a base-note oil or the scent will fade during the saponification process. Some base-note oils are patchouli, ylang ylang, and vetiver.
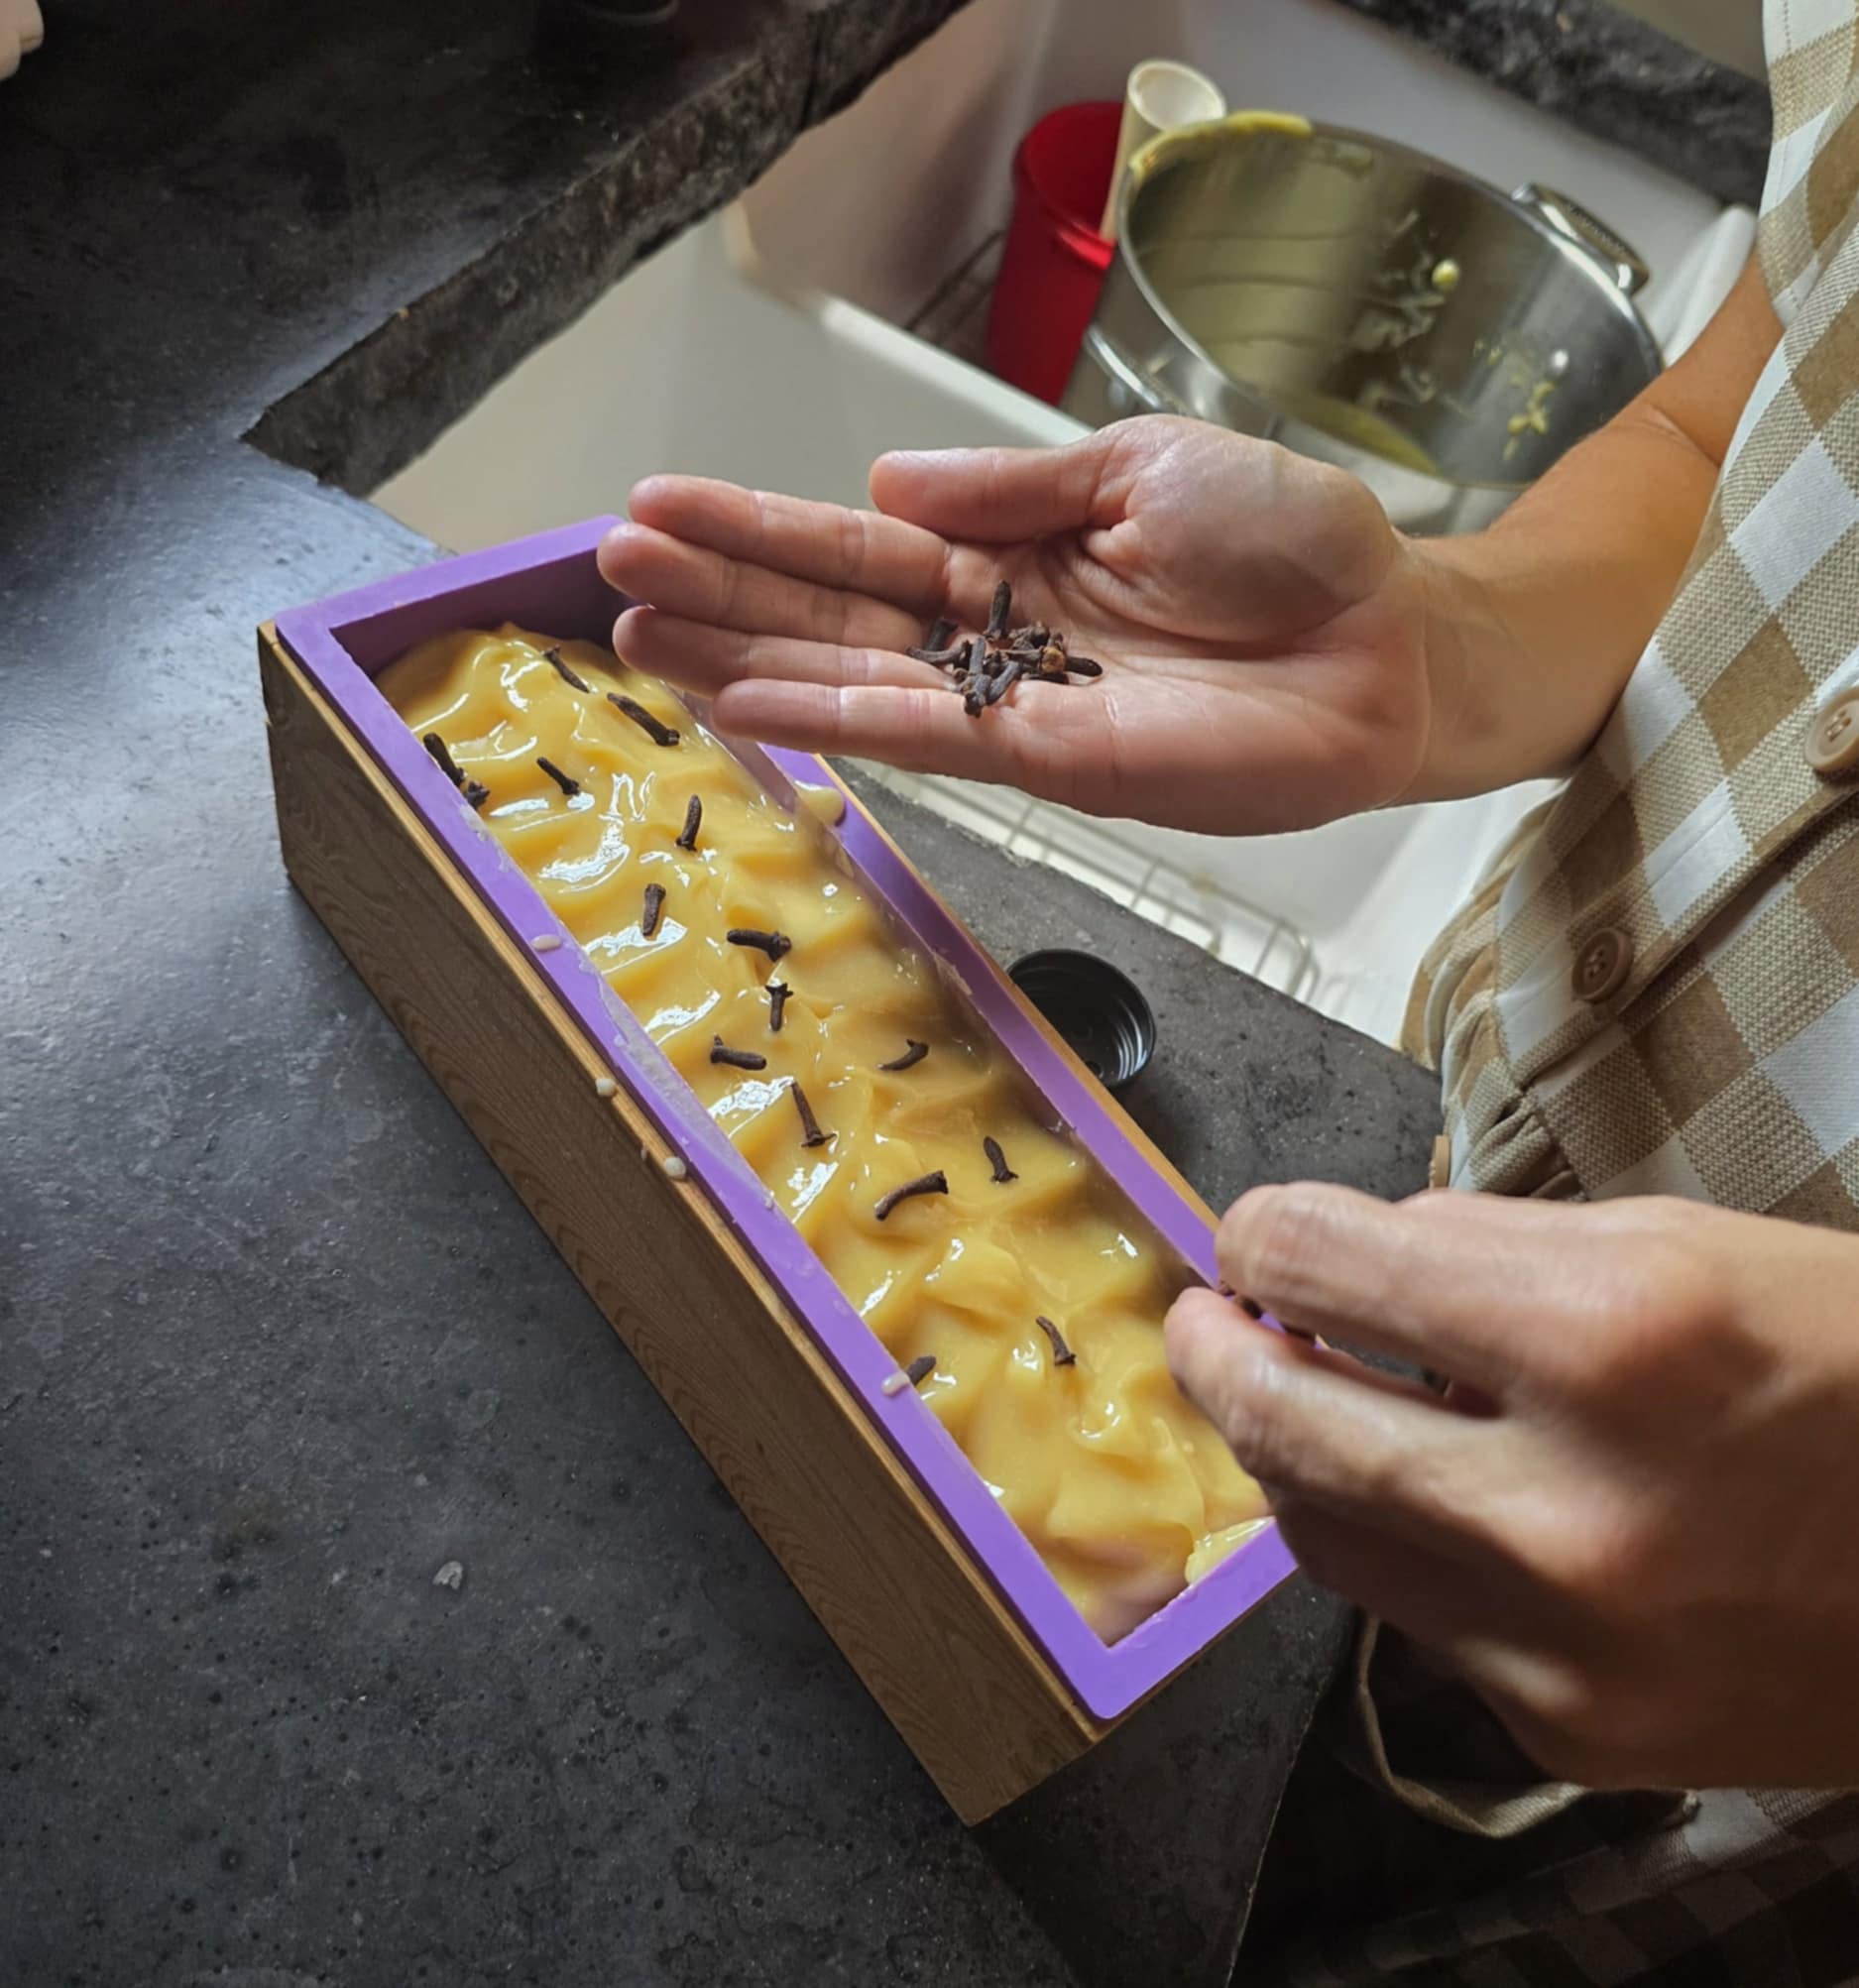
Dried herbs are optional of course. I occasionally use a small amount for aesthetic purposes as I don’t feel they would add much to the scent. Fragrance oils and dyes are also optional, but I avoid those because we try to keep our home as free from them as possible.
Equipment
- Digital kitchen scale
- Thick plastic or stainless-steel bucket
- Stainless-steel stockpot
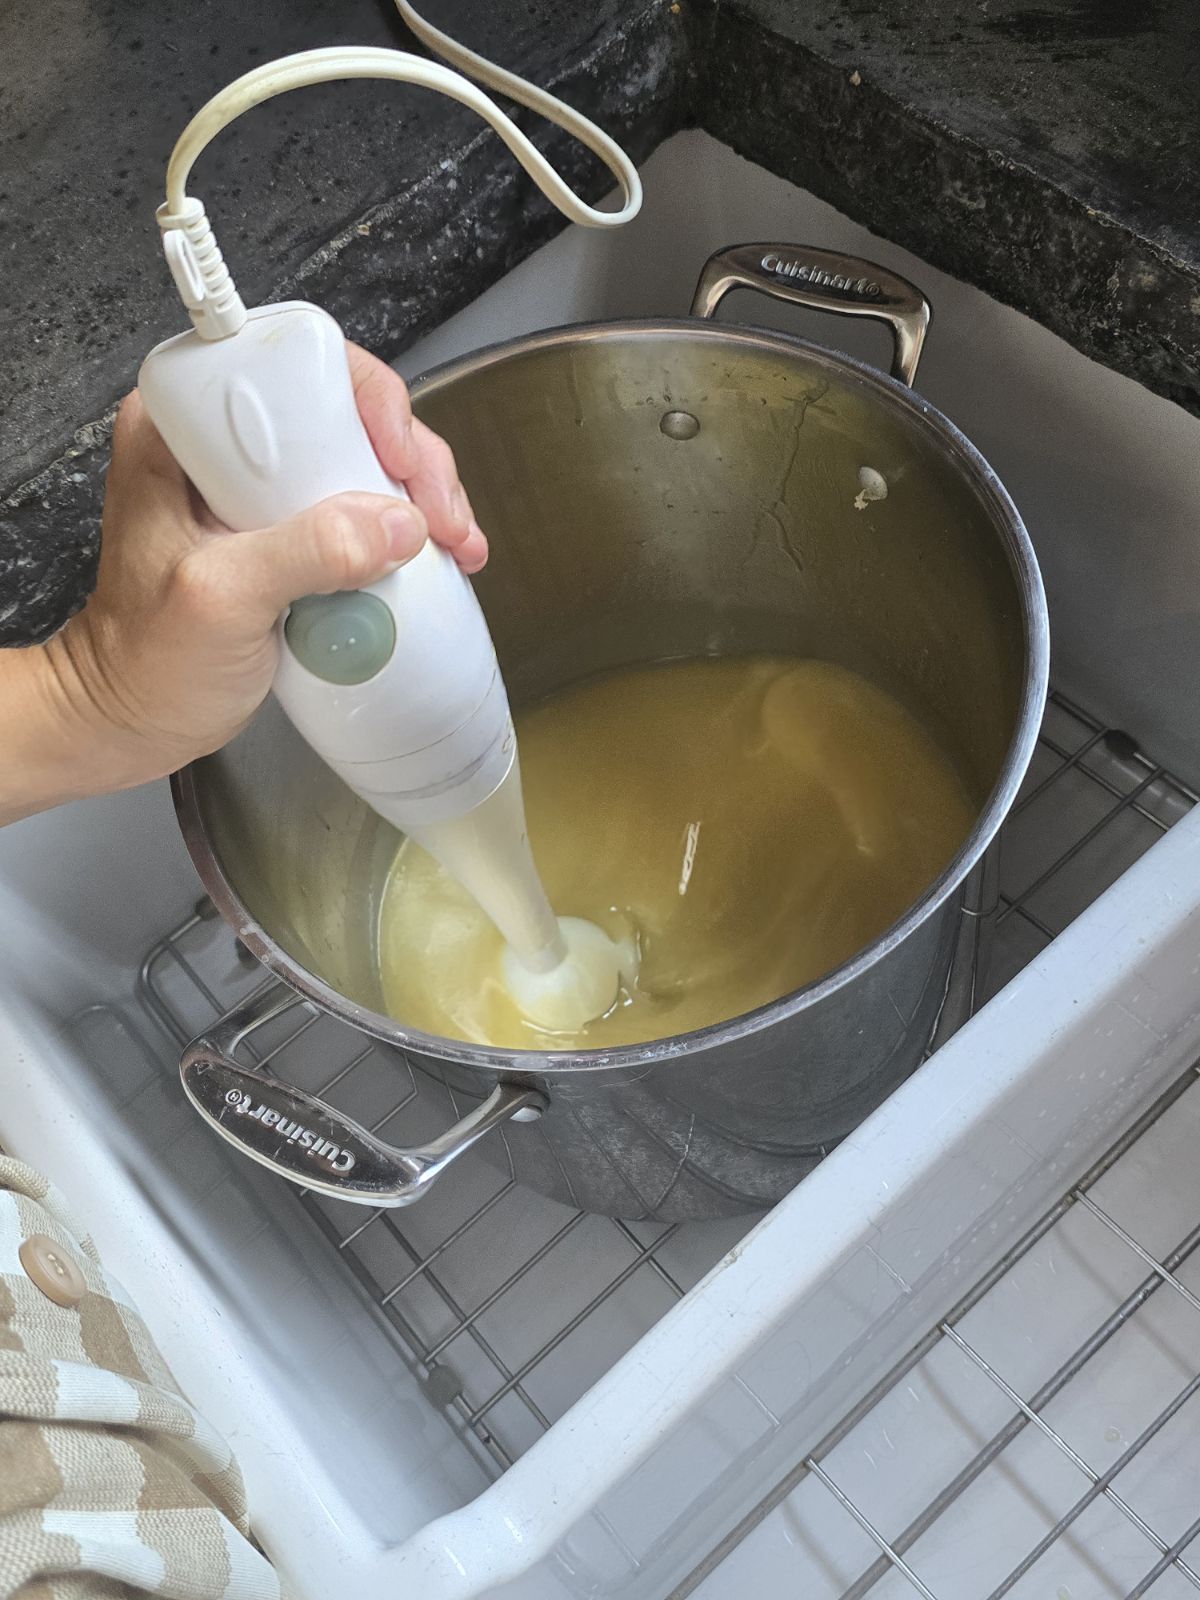
- Immersion blender
- Spatulas or spoons for stirring
- Rubber gloves
- Silicone molds*
- Safety glasses (optional)
- * For hand-cut soap, a rectangle mold set in a wooden box is perfect. Amazon and soapmaking websites carry these. One batch will fill it just right. The molds with individual cavities shaped like rectangles, ovals, snowflakes, flowers etc. are fun, too. These can often be found on the clearance racks at craft stores for different seasons and holidays.
Ingredients
- 22 ounces olive oil
- 7 ounces coconut oil
- 2 ounces shea butter
- 1 ounce castor oil
- 9 ounces goat milk frozen or slushy
- 4.5 ounces sodium hydroxide lye
- Essential oils and/or dried herbs optional
Instructions
- First, I always begin by weighing out my milk and then freezing it so that it is at least slushy. I like mine frozen almost solid. This is to prevent the milk from burning as the lye heats it up. Transfer the frozen milk into the thick plastic or stainless-steel bucket.
- While the milk begins to thaw a bit, mix the oils in the stockpot and heat just until the coconut oil and shea butter are melted. Remove from heat. I have a double kitchen sink and it works well to put the milk in one side and the stockpot of oils in the other.
- At this point, I put on my gloves to protect my hands from possible splatters. Weigh out your lye into a dry container. Slowly begin adding small amounts of lye to the milk while stirring. (A spatula or a stainless-steel spoon works well for this.) Continue stirring until the milk has thawed a bit, then add a little more. I repeat this step five or six times until all the lye has been added. NEVER add your milk to the lye, always add lye to milk. When the lye is completely dissolved, stir it into the oil mixture.
- Using an immersion blender, blend the mixture until the soap has been brought “to trace.” Trace is when the oils, milk, and lye have emulsified and the mixture is thick enough to easily see the marks of the blender after lifting it out. Be sure to turn the immersion blender on for a bit and then off for a bit as you blend, as using the blender constantly can create a false trace.
- Add any essential oils or fragrance oils at this point, along with any dried herbs. Mix well with a dedicated soapmaking spatula or spoon, and pour into molds.
- I like to pop my molds into the freezer, so the soap doesn’t darken during saponification (the chemical reaction in which the oils react with lye to form soap). I usually leave it in the freezer for a day and then at room temperature for another day before removing the soap from the molds. To help the soap pop out cleaner and with less smudging, stick it back into the freezer for an hour before removing the soap from the molds. At this point, if your bars require cutting, the next few days are best. In my experience, waiting too long can make cutting difficult as the bars harden. A crinkle cutter blade adds a fun touch.
- Let bars of soap cure in a dry place at room temperature for at least 4 weeks before using or gifting.


Leave a Reply