
Expert Advice for Preserving a Year’s Worth of Food Without the Overwhelm
Households of old depended on their winter pantries in a way most of us have never had to. At the end of the day, if we don’t preserve all of our own food, there are grocery stores, online ordering, or local farmers to help fill the gaps.
In all honesty, that’s not a bad thing. However, it does mean the knowledge of how much to put up—and how to do it—is no longer something children learn from their mother’s instructions. Or at least, not most children.
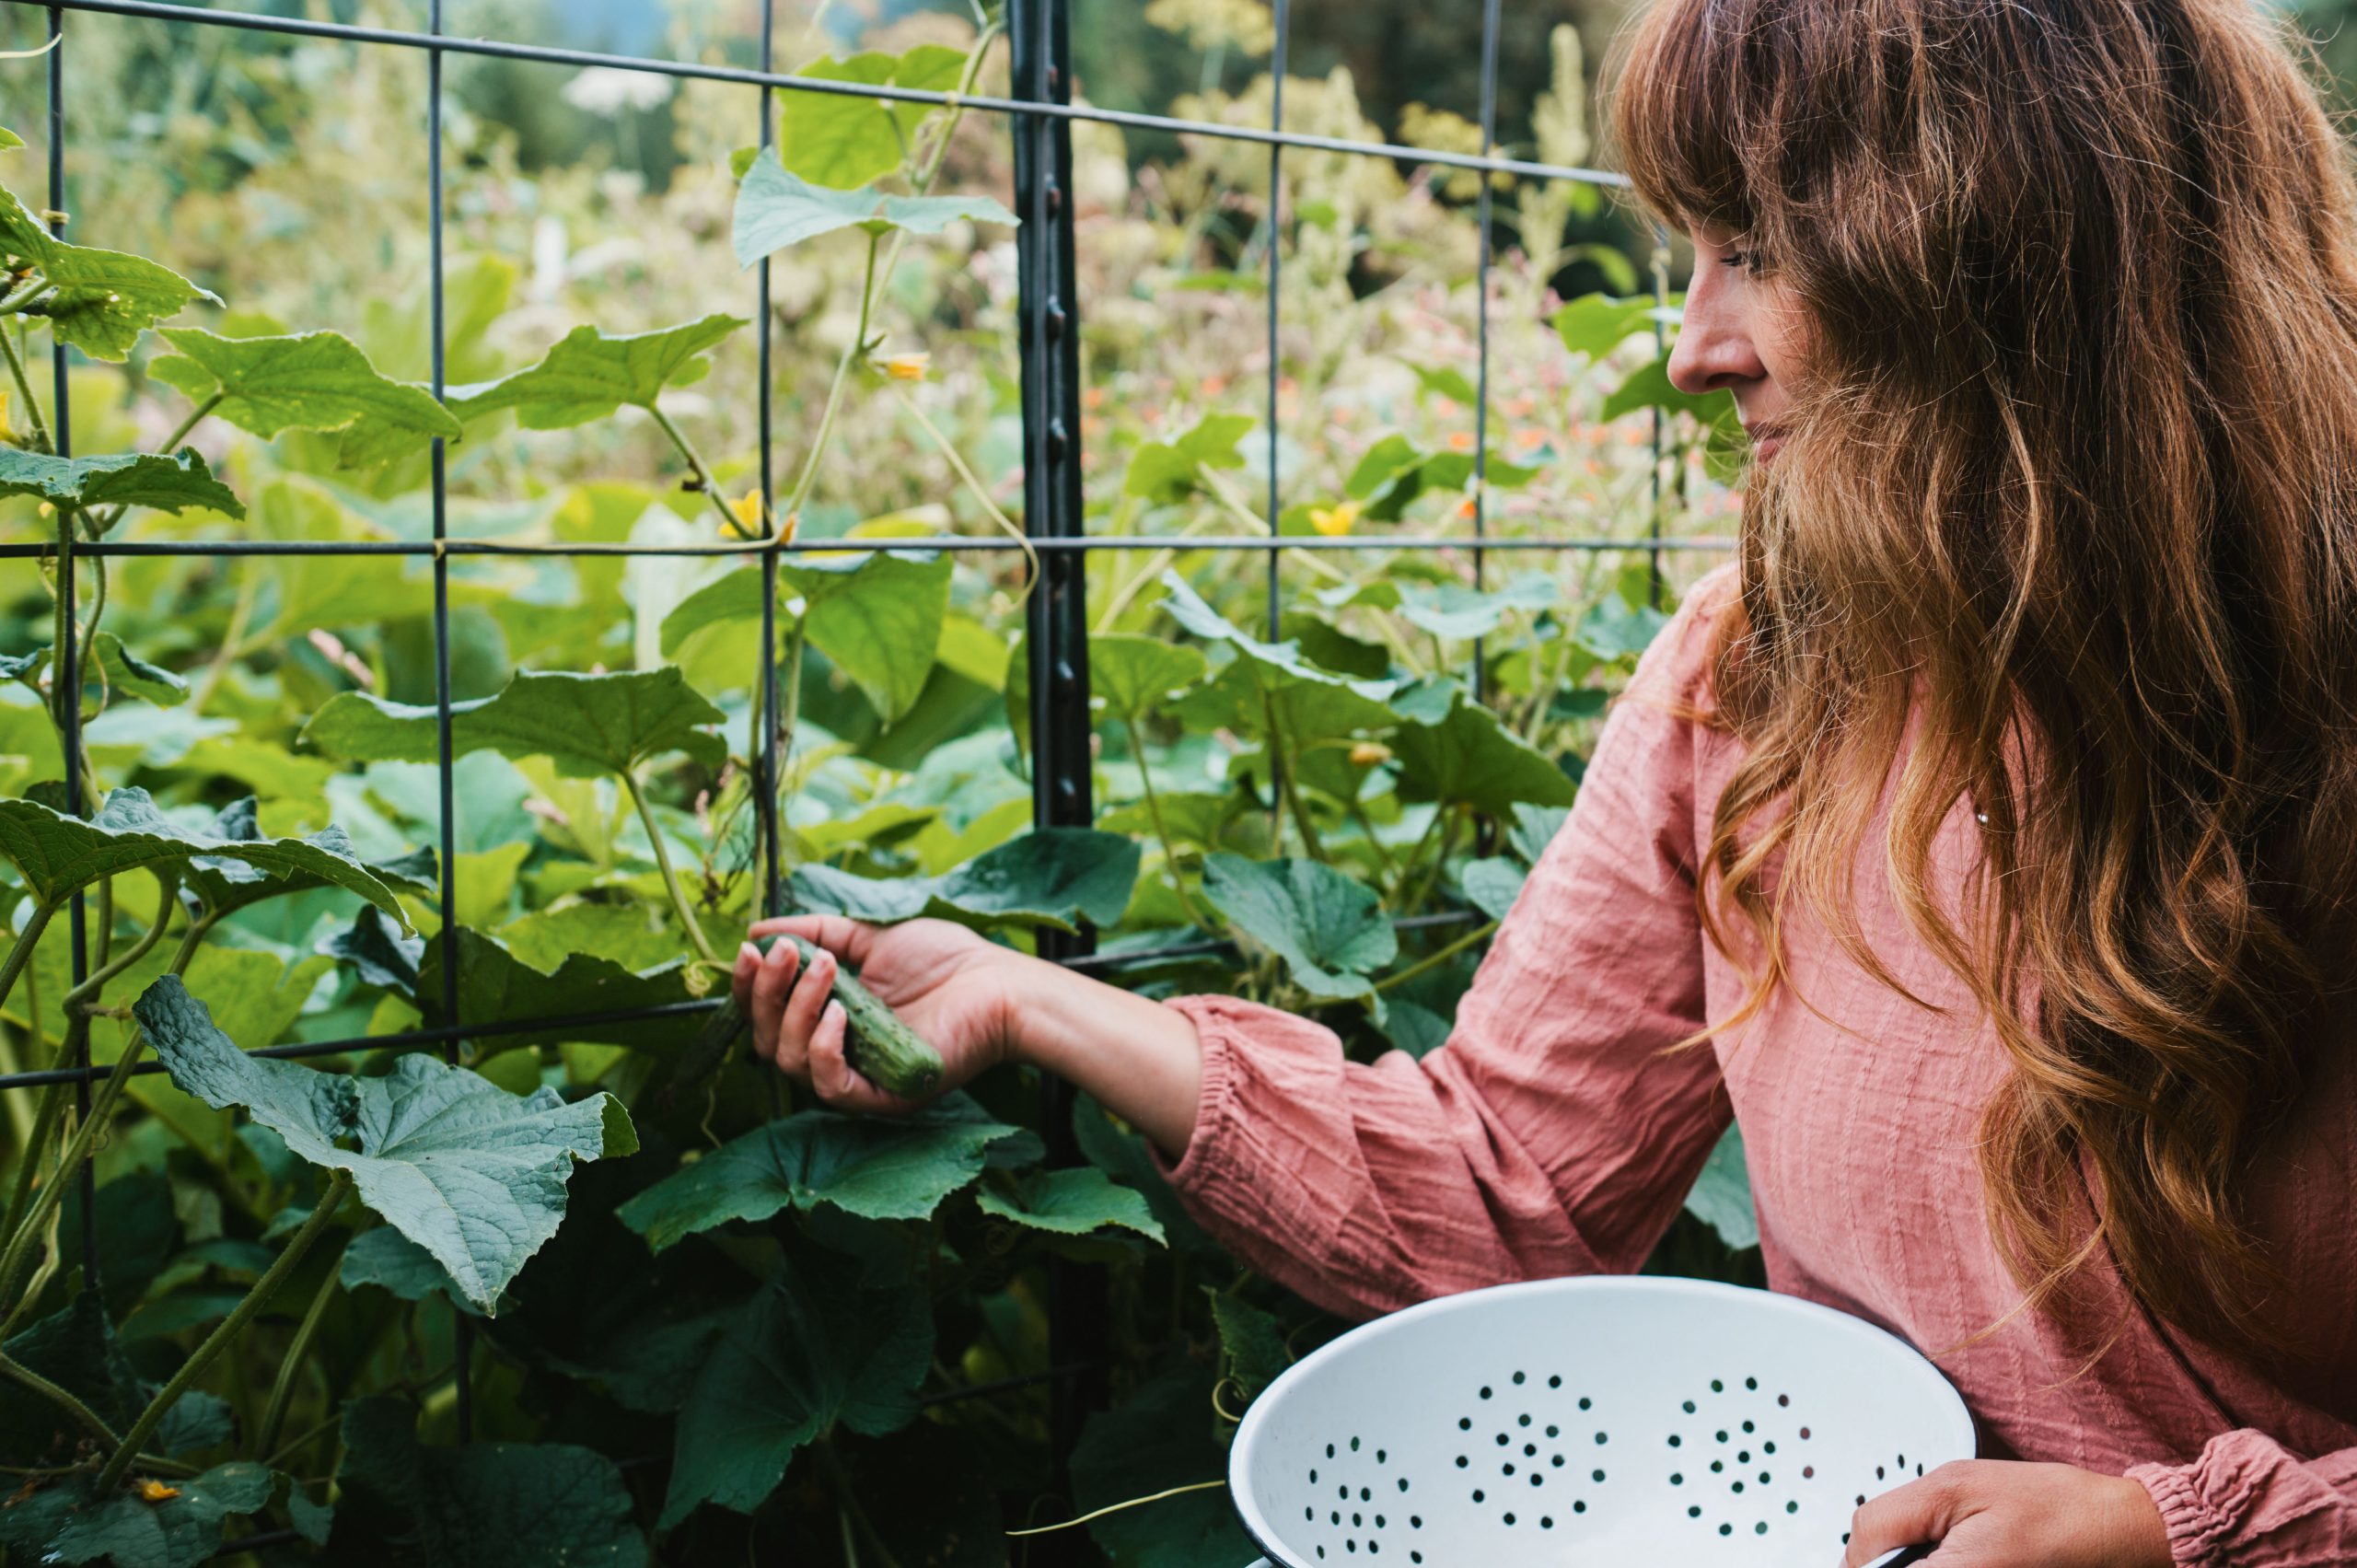
While not all preserved food has to come from your own garden, many homesteaders aim to grow enough for fresh eating in season—with an abundance left to preserve for the rest of the year. After all, we don’t go through all the effort of seed starting, planting, cultivating, and harvesting just to let that food languish on the counter or in the fridge because we’re not prepared to preserve it.
We’ve probably all experienced years when we simply weren’t ready for the bounty from the garden, and much of that precious food went to waste. It’s sad, but true—life gets busy, and without a preserving plan, the harvest can catch us off guard.
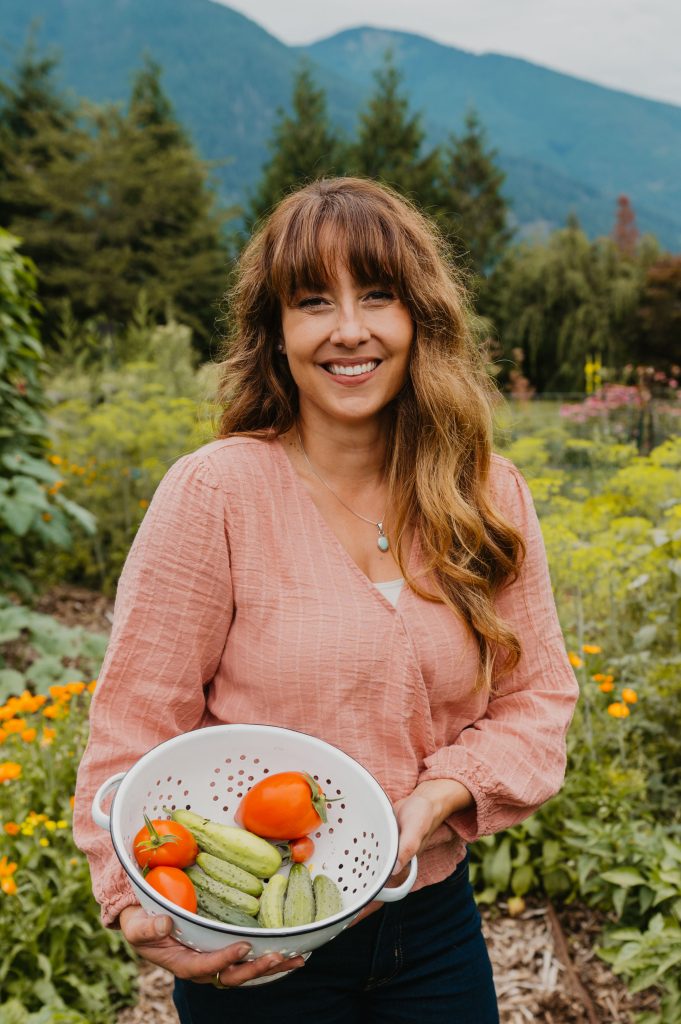
We produce almost all of our own protein needs here on our homestead and close to 75 percent of our fruits and vegetables while running multiple businesses (including a website and podcast) for decades now, so I’ve learned a few things about how to tackle preserving season without wasting a ton of time, money, or food. Here are some of my best tips for putting up a year’s worth of food without feeling totally overwhelmed.
Take Inventory and Make a List
The first step in creating a food preservation plan is to go through your pantry. Take inventory of both your home-canned/preserved items from last year and store-bought items to create a customized plan for the foods your family eats.
As you take inventory, make note of what your family ate the most—what items have you completely run out of, or only have a few jars left? At the same time, notice what foods didn’t get eaten as much. What did you preserve last year that you still have plenty of? What did you preserve just the right amount of? Gaining a clear understanding of what your family actually eats throughout the year will help you plan more accurately for this year’s preserving.
Decide what your mainstays are. For us, that means tomato sauce, green beans, pickled asparagus, garlic, onions, winter squash, cucumber pickles, salsa, jams and jellies, as well as dried sage, mint, oregano, thyme, and dill. I never purchase these items from the store, and we raise and preserve enough of them to last an entire year.
Focus first on the items your family eats regularly. I’ll often do smaller batches of other foods, especially if they’re new items or recipes, but those only get done when our mainstays have been taken care of.
Once you decide what you want to preserve, make a list and write down approximately how many jars of each item you will need for your family for the year.
Decide Which Preservation Techniques You Will Use
Next, decide which preservation methods you’ll use. If you’re new to preserving, start with something simple, like fermenting, dehydrating, or water bath canning. These are easier to master (and less intimidating) when just getting started.
The main food preservation methods we use are water bath and pressure canning, dehydrating, fermenting, freezing, and root cellaring techniques (we don’t have a proper root cellar but you don’t have to in order to have success with garlic, onions and winter squash).
Each preservation method has pros and cons, but what’s most important is that you pick the method or methods that work best for you. Regardless of the method, make sure you’re following updated safety guidelines for food preservation, especially for canning. My book, Everything Worth Preserving, is an excellent resource for updated information on all forms of food preservation.
Organize by Crop Type
Decide which methods you’ll be using for each crop. This is important for several reasons—one of which is to know how you’re going to preserve these foods and how much each type will require.
For example:
- I know I need at least 50 jars of tomato sauce to last us a year, and that’s the most important form of tomato preservation for me because I can add it to chili or soup, turn it into pasta sauce, pizza sauce, BBQ sauce, etc. I make sure I’ve allotted enough tomatoes to make those jars before I can any tomatoes whole or dehydrate the rest.
- I know I need at least 50 jars of canned green beans. That gets done first. Then, I’ll let the rest of the crop mature into seed—or dry beans—and can vegetable soup.
- For blueberries, I know I want at least four quarts of blueberry pie filling, six jars of blueberry syrup, and about 10 jars of blueberry jam. When I have enough berries, either frozen or canned for these items, I dehydrate the rest of the crop to add to quick breads, muffins, granola, etc.
- Don’t forget your herbs! I mainly freeze-dry/dehydrate most of them, but I plan on using some fresh herbs to turn into pesto and compound butter. I’ll dehydrate the minimum to keep my spice cabinet full for the year, then use the rest fresh or dry as whole as possible. Dehydrated herbs will later get turned into infused oils.
Decide What Can Wait and What Can’t
The next step is to figure out which items have to be preserved fresh. That may sound strange, but hang with me—not all crops have to be processed in their finished form right now. There are ways of “hitting the pause button” on certain crops so you can preserve them later.
For example, all of your berries and cherries can be tossed in the freezer to deal with later. Especially fruit that you plan on making into jam, jelly, syrup, pie filling, or even dehydrating. Amazing, right? This frees up your time and kitchen for the things that must be processed as they come on.
Tomatoes that will be made into sauce or canned can also be frozen. This works especially well if you don’t have enough all at once for a full batch of sauce, if you’re short on time, or if you’d rather wait for cooler weather before canning. Freezing tomatoes actually saves time too because those skins slip off when they thaw without having to dunk the tomatoes in boiling water. Double win!
Check Supplies
Well before you’re ready to start preserving, make sure all your supplies are in stock. The last thing you want is to have everything prepped and ready only to realize you’re out of wide-mouth canning lids, you don’t have enough salt to make your brine for fermenting, or you’re short on vinegar. Yes, all of the above have happened to me at one time or another.
Go through your supplies and stock up for the season. I keep a minimum of 100 wide-mouth lids and 100 regular-size canning lids in stock at all times, not counting my backup reusable Tattler lids. I also stock a 25-pound bag of Redmond’s Real Salt for cooking, canning, and fermenting brines.
Write It Down
Having a plan is great, but not if it’s only in your brain! We all think we’ll remember precise information months down the line, but the truth is, having your plan written out on paper means you don’t have to remember it!
If you have my book, The Family Garden Planner then you’re all set, because there are charts for you to fill out each year! If not, a simple Google spreadsheet will do the trick. It doesn’t have to be fancy or expensive, but just get something written down.
Be Strategic!
If you know that making home-canned pickles is one of your top priority foods, then when the cucumbers are on, you know picking them in the cool of the morning is important for crisp pickles.
You may not have time for making pickles that morning (many of us have a day job, homeschooling, or other life tasks), but if you pick in the morning and prep the cucumbers (cold ice water bath with salt), then in the evening when you get home, you can drain and process the pickles when you have more time. Breaking larger tasks into smaller tasks like this helps so much when you’re short on time.
Utilizing modern conveniences—like refrigerators—on our homesteads really can help us fit this lifestyle into our daily routines. Harvest early in the morning and put everything in the fridge to stay cool until you can process it later that day. This is better than leaving things in the garden or on the vine, especially if they are close to becoming overripe.
Gather Recipes
Have your preserving recipes ready to go so that when the time comes, you can easily access them. Also, make sure you’ve read through the recipe in its entirety so you don’t miss a critical step, ingredient, or procedure.
By following these eight steps, you’ll be ready for the preserving season when it hits and have everything you need on hand to preserve a year’s worth of food.
All of that aside, my biggest tip is this: Start slow and DON’T GET OVERWHELMED! Even if you begin by preserving just one item, that small step can help you slowly transition from a pantry full of store-bought items to one stocked with homegrown, home-canned food.
The first thing I started with was green beans and then tomatoes. By growing and preserving a year’s worth of tomatoes, I removed a large portion of grocery store items that I no longer buy.
Start with what your family loves most this year, then next year add on one more item. Before you know it, growing and preserving your family’s food for the year will be second nature!
“Having a plan is great, but not if it’s only in your brain! We all think we’ll remember precise information months down the line, but the truth is, having your plan written out on paper means you don’t have to remember it!”


Leave a Reply