Cooking outdoors is a wonderful way to keep the house cool during the summer months, but mastering outdoor cooking can also help you in an emergency power outage or survival situation. Learning how to cook outdoors is just one more feather in your self-sufficiency cap.
Not only that, there are other benefits to cooking outside. The smells, the atmosphere, the flavor (which you cannot replicate in a kitchen setting)… There’s just something to it all that creates lasting memories with
the family.
Setting Up Your Outdoor Kitchen
There are several options for outdoor cooking, from a BBQ, smokers (charcoal and pellet), and of course, a good old-fashioned fire pit with a wood burning fire. However, there are a few things that should not be overlooked when setting up your outdoor kitchen. If you want your experience to be enjoyable and efficient, then don’t skip these tips.
Choose the Right Location
Choosing a good spot for your outdoor kitchen is key. You don’t want it to be too far away from your house and kitchen, nor do you want it right up against the house. That could be a fire hazard.
Also, think about which way the wind blows, not only to keep smoke from blowing right back into the house, but also because the number one hazard to a fire blowing up and spreading is high winds. Plus, with a lot of wind it’s hard to maintain an even temperature. You can create natural wind blocks, but choosing an area that’s not in a high wind path to begin with is helpful.
Make sure you choose a safe and level area, especially when using live coals. You don’t want a grassy or brushy area with any type of fuel that can easily catch on fire. I recommend a fire pit, a gravel area, or, at the very least, a layer of tin foil, placing your live coals on top of the foil
for Dutch oven cooking. A fire ring is best. This helps
block the breeze as well as protect animals or people walking by from your cookware and Dutch ovens as they’re cooking. The cast iron will be very hot.
Giving some forethought to the location and general safety considerations of your outdoor cooking setup can make all the difference in your outdoor kitchen’s enjoyability and practicality.
Prep Your Prep Area
You’ll want somewhere to place food, dishes, and utensils while you’re cooking. This could be a permanent countertop, a simple folding table, or a picnic table. Make sure it’s within easy reach of your cooking surface. We installed a post that has both a solar light for late evening cooking as well as hooks to hang pot holders, towels, spatulas and/or other utensils.
You can keep your prep area minimal or you can get fancy with a permanent outdoor setup. This will depend on your budget and preference, but there is lots of inspiration to be found in magazines and online if you are looking to go all out!
Supplies for Outdoor Cooking
Having the right supplies and stations makes outdoor cooking fun and easy. Whether you’re grilling burgers or making a fancy meal, the right supplies help make it all go smoothly.
Here are some top supplies every outdoor chef needs:
Cooking Utensils
Get good cooking tools made for outdoor cooking. A spatula, tongs, grill brush, and skewers are a few must-haves. If cooking over an open fire, longer handled utensils are nice to keep your hands away from the hot coals/flames.
Fuel
Make sure you’ve got ample fuel, from pellets to charcoal, and dry seasoned wood to propane.
Cutting Board/Prep Area
You need a strong cutting board for outside use. Get one that’s large but easy to carry. Then, be sure you have a prep station set up nearby. This could be a folding table or a permanent countertop that allows for adequate prep space.
Cookware
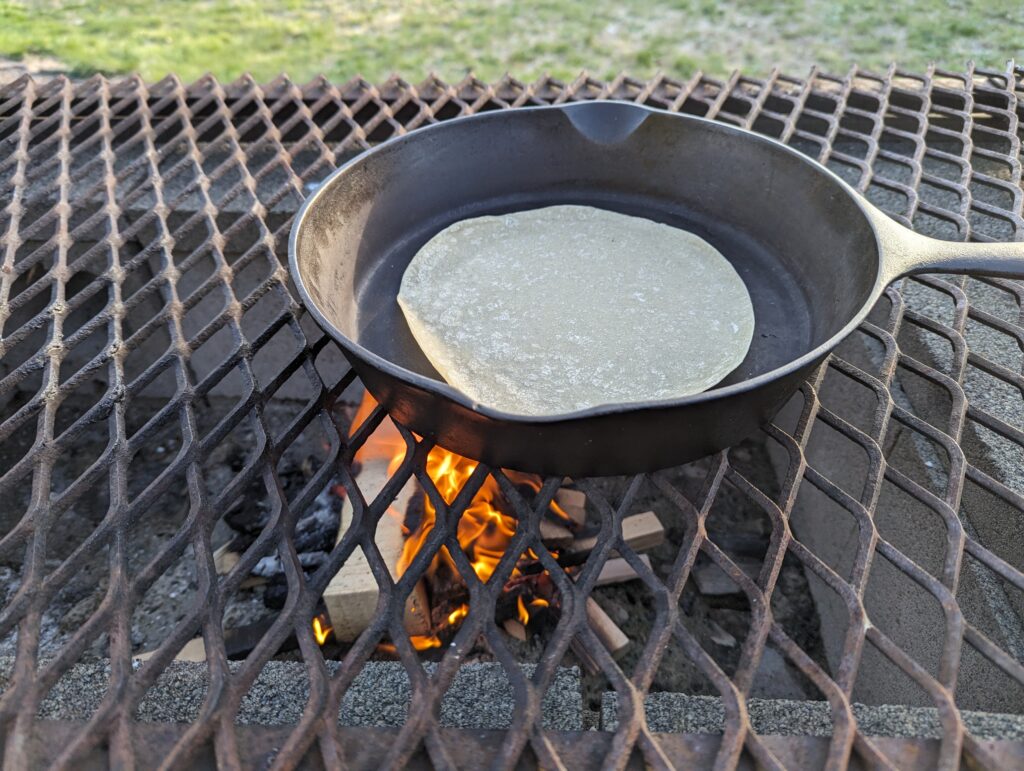
Pick cookware that’s tough, easy to clean, and works outside. Cast iron skillets and Dutch ovens are my go-to choices for outdoor cooking.
Fire Starters
Have something to start your fire easily. This could be matches, a lighter, or even a magnesium flint and steel.
General Tips for Cooking Outdoors
Cooking outside isn’t like cooking in the kitchen. There’s a bit of a learning curve, and it takes some practice. These tips should help lessen the learning curve significantly.
Mastering Temperature Control
Controlling temperature is a big deal when cooking outside. It’s key to know how your grill, griddle, smoker, or campfire works. Try different heat areas and ways to cook to get the right taste and doneness. Always use a meat thermometer to make sure your food is cooked just right.
Here are a few tips to keep in mind:
When cooking over a grill, the flame is your friend (but not too much).
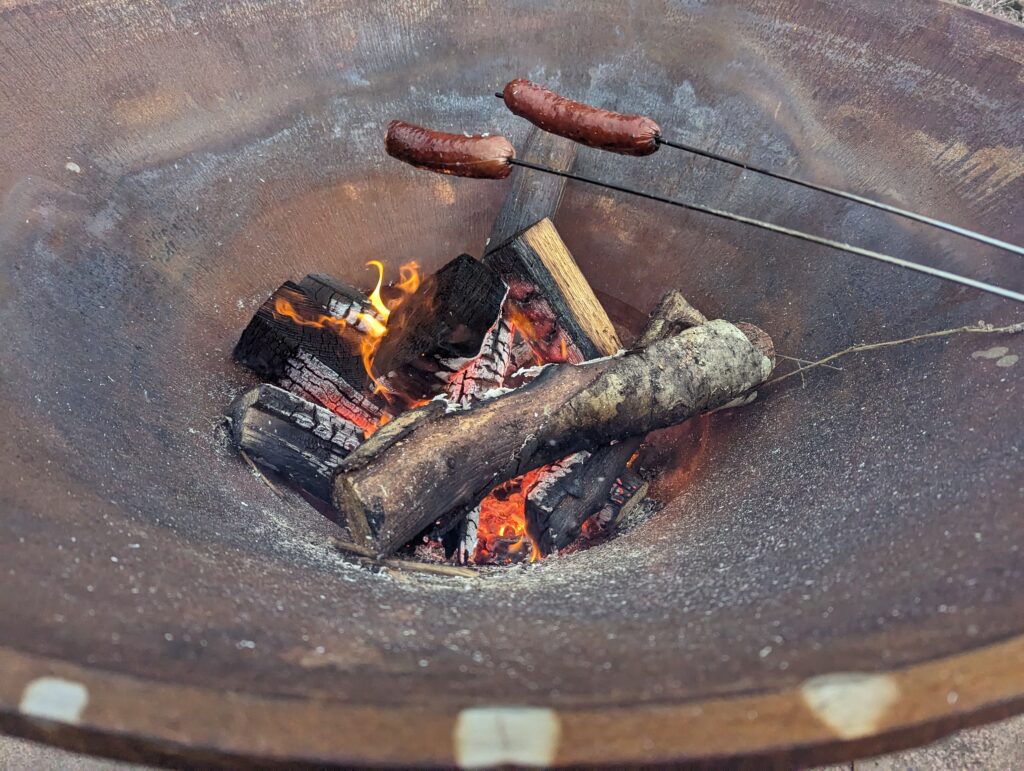
When cooking over a campfire, the coals are the best heat source. Having a larger cook surface so you can move your skillet or Dutch oven away from the coals for cooler temps is ideal.
Block the wind. No matter what you’re cooking on, the wind can make all the difference between a successful or a frustrating cook.
Exploring Different Cooking Methods
The right method matters for outdoor cooking, whether grilling, smoking, or baking. It lets you try different cooking methods outside.
Portable Grills
Many people love portable grills. They are small and easy to carry, perfect for cooking outdoors. You can choose from gas, charcoal, or electric grills, each suitable for different cooking styles. However, for setting up a permanent outdoor cooking station, I’d recommend a larger, more permanent grill. It can still be on wheels, but this will generally give you a larger cooking surface to work with.
Pellet Smokers
Pellet smokers use hardwood pellets for smoke, which gives meat, fish, and veggies a unique taste. The smoker also has temperature control for consistent cooking.
Tabletop Burners
Tabletop burners add ease and flexibility to outdoor meals. They are perfect for boiling, sautéing, or simmering. Compact and portable, they are ideal for camping or backyard fun.
Do keep in mind that many tabletop burners require electricity. If you’re setting up an outdoor cooking station, having additional power is recommended. This not only allows you to use a tabletop burner, but also a crockpot, Instant Pot, or other electric cooking equipment.
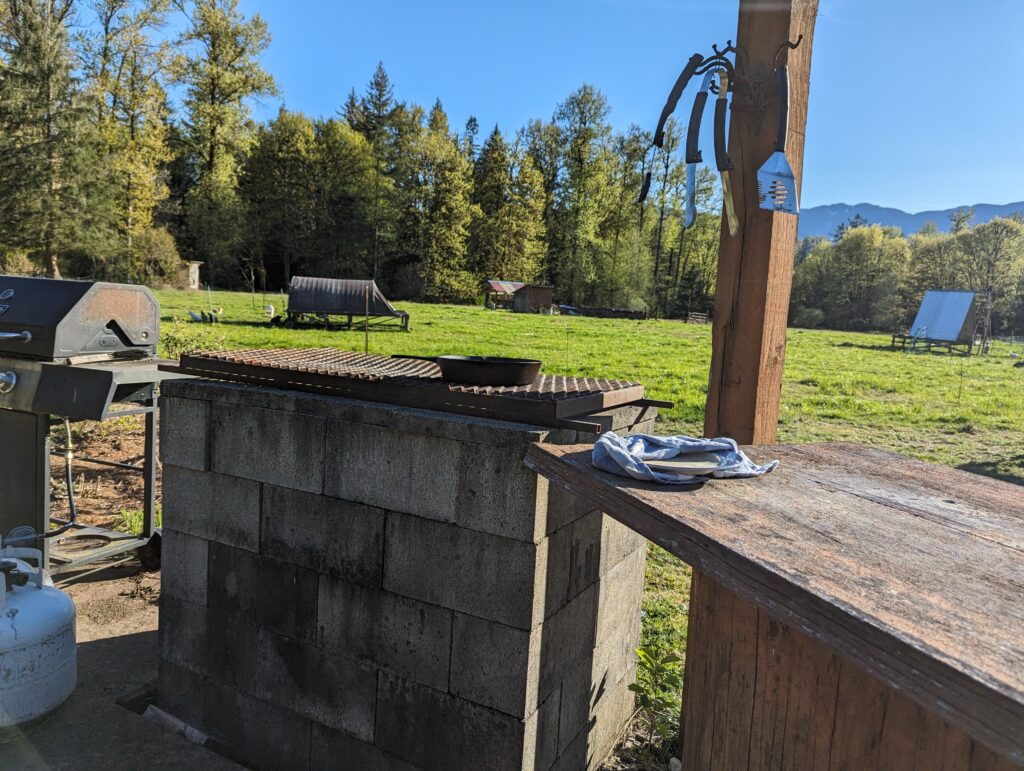
DIY Wood-Burning Cooktop
For frying or grilling, having something that’s waist high makes for a much more enjoyable cooking experience. Plus, it’s extremely easy to build. Simply use cinder blocks to create a waste-high base. Once you’ve reached the desired height of the fire base, make an outer row with the cinder blocks to help block the wind and provide a base for your grill.
Propane Burners
A stand-up propane burner can be an excellent option for canning food outdoors. It’s much easier to maintain steady heat on a propane burner than it is over a wood burning fire, which is crucial when it comes to pressure canning.
Make sure you choose an area that is flat and has a wind block. If your flame blows out during the canning process, you have to start over. I prefer to choose a spot that’s in the shade, as I only can outdoors when it’s hot out and I’m trying to keep our house cool. Also, keep in mind that your propane burner should not be over 12,000 BTUs or you run the risk of damaging your pressure canner.
Have a working surface set up beside your propane stove. I recommend using a bus box lined with a towel for transporting jars from the house. The towel folded over helps to protect the jars and keep any dust or bugs from getting in your jars as you’re filling them. Once you’re finished canning, the towel can be placed around your jars to protect them from drafts, which can cause thermal shock issues.
Cast Iron Dutch Ovens
A cast iron Dutch oven is great for slow-cooking and even baking over a fire. You can make stews, bread, and desserts. These pots add rich, smoky flavors to your food and are one of my favorite options for outdoor cooking. Keep in mind that enameled cast iron pots are not ideal for cooking over an open flame.
When cooking with a Dutch oven, you really want to focus on getting the coals (aka. briquettes) heated and spread out just right. Here are some pro tips I’ve learned from many years of outdoor Dutch oven cooking:
- Use a charcoal chimney starter to light your coals. Put the briquettes in the chimney, place the chimney on top of crumpled-up paper, light, and allow them to burn for about 15 to 20 minutes, until the briquettes are gray/white.
- Prepare your recipe while the briquettes are getting hot.
- When briquettes are mostly gray/white, carefully pour them out where you’ll be cooking, either in your fire ring or on top of your square of tin foil. Use your tongs to spread them out in an even layer the size of your Dutch oven.
- Place your Dutch oven over the coals, either with your food already in it, or preheat the Dutch oven while you continue prepping the recipe.
- Once the food is in the Dutch oven and placed over the coals, begin your cooking time. Remember, outside temperature and wind can affect the cooking time, especially if it’s colder out.
- After the initial cook time is up, lift the lid to check your food.
- If it’s not quite done, place the lid back on and allow it to finish cooking.
- Carefully remove from heat when finished. Remember, with cast iron, the entire pot and handle will
be hot.
When cooking with cast iron over a fire, you’ll want to consider investing in some of the following supplies:
Lid Lifter
While a hot pad would work, a lid lifter is safer and not very expensive.
Long, Heavy-Duty Tongs
These stainless steel tongs are great for arranging or rearranging the coals.
Chimney and Charcoal
Purchase a charcoal chimney starter to get the coals heated quickly.
Lodge Combo Cooker
The lid doubles as a 10” skillet. I make everything from homemade cinnamon rolls to flaky buttermilk biscuits in this!
Spider Dutch Oven
(5 or 8 quarts)
The legs on the bottom of this Dutch oven allow it to straddle the coals and remain stable.
Cast Iron Tripod
This allows you to suspend your pot above the flame, and is great for slow cooked foods like chili, soup, or stew.
4-in-1 Dutch Oven Tool
This tool folds up and can be used as a lid stand, a lid lifter, a cook stand, a trivet, or a veil lifter.
Long-Handled Wooden Spoon
or Spatula
This will save your arm hair from burning over the fire. Wood is better because metal will heat up and burn your hand.
Leather Gloves
Cast iron will get very hot and takes quite a while to cool off. A pair of leather gloves or welding gloves will help protect you. Always be careful with hot cast iron, especially with young children around!
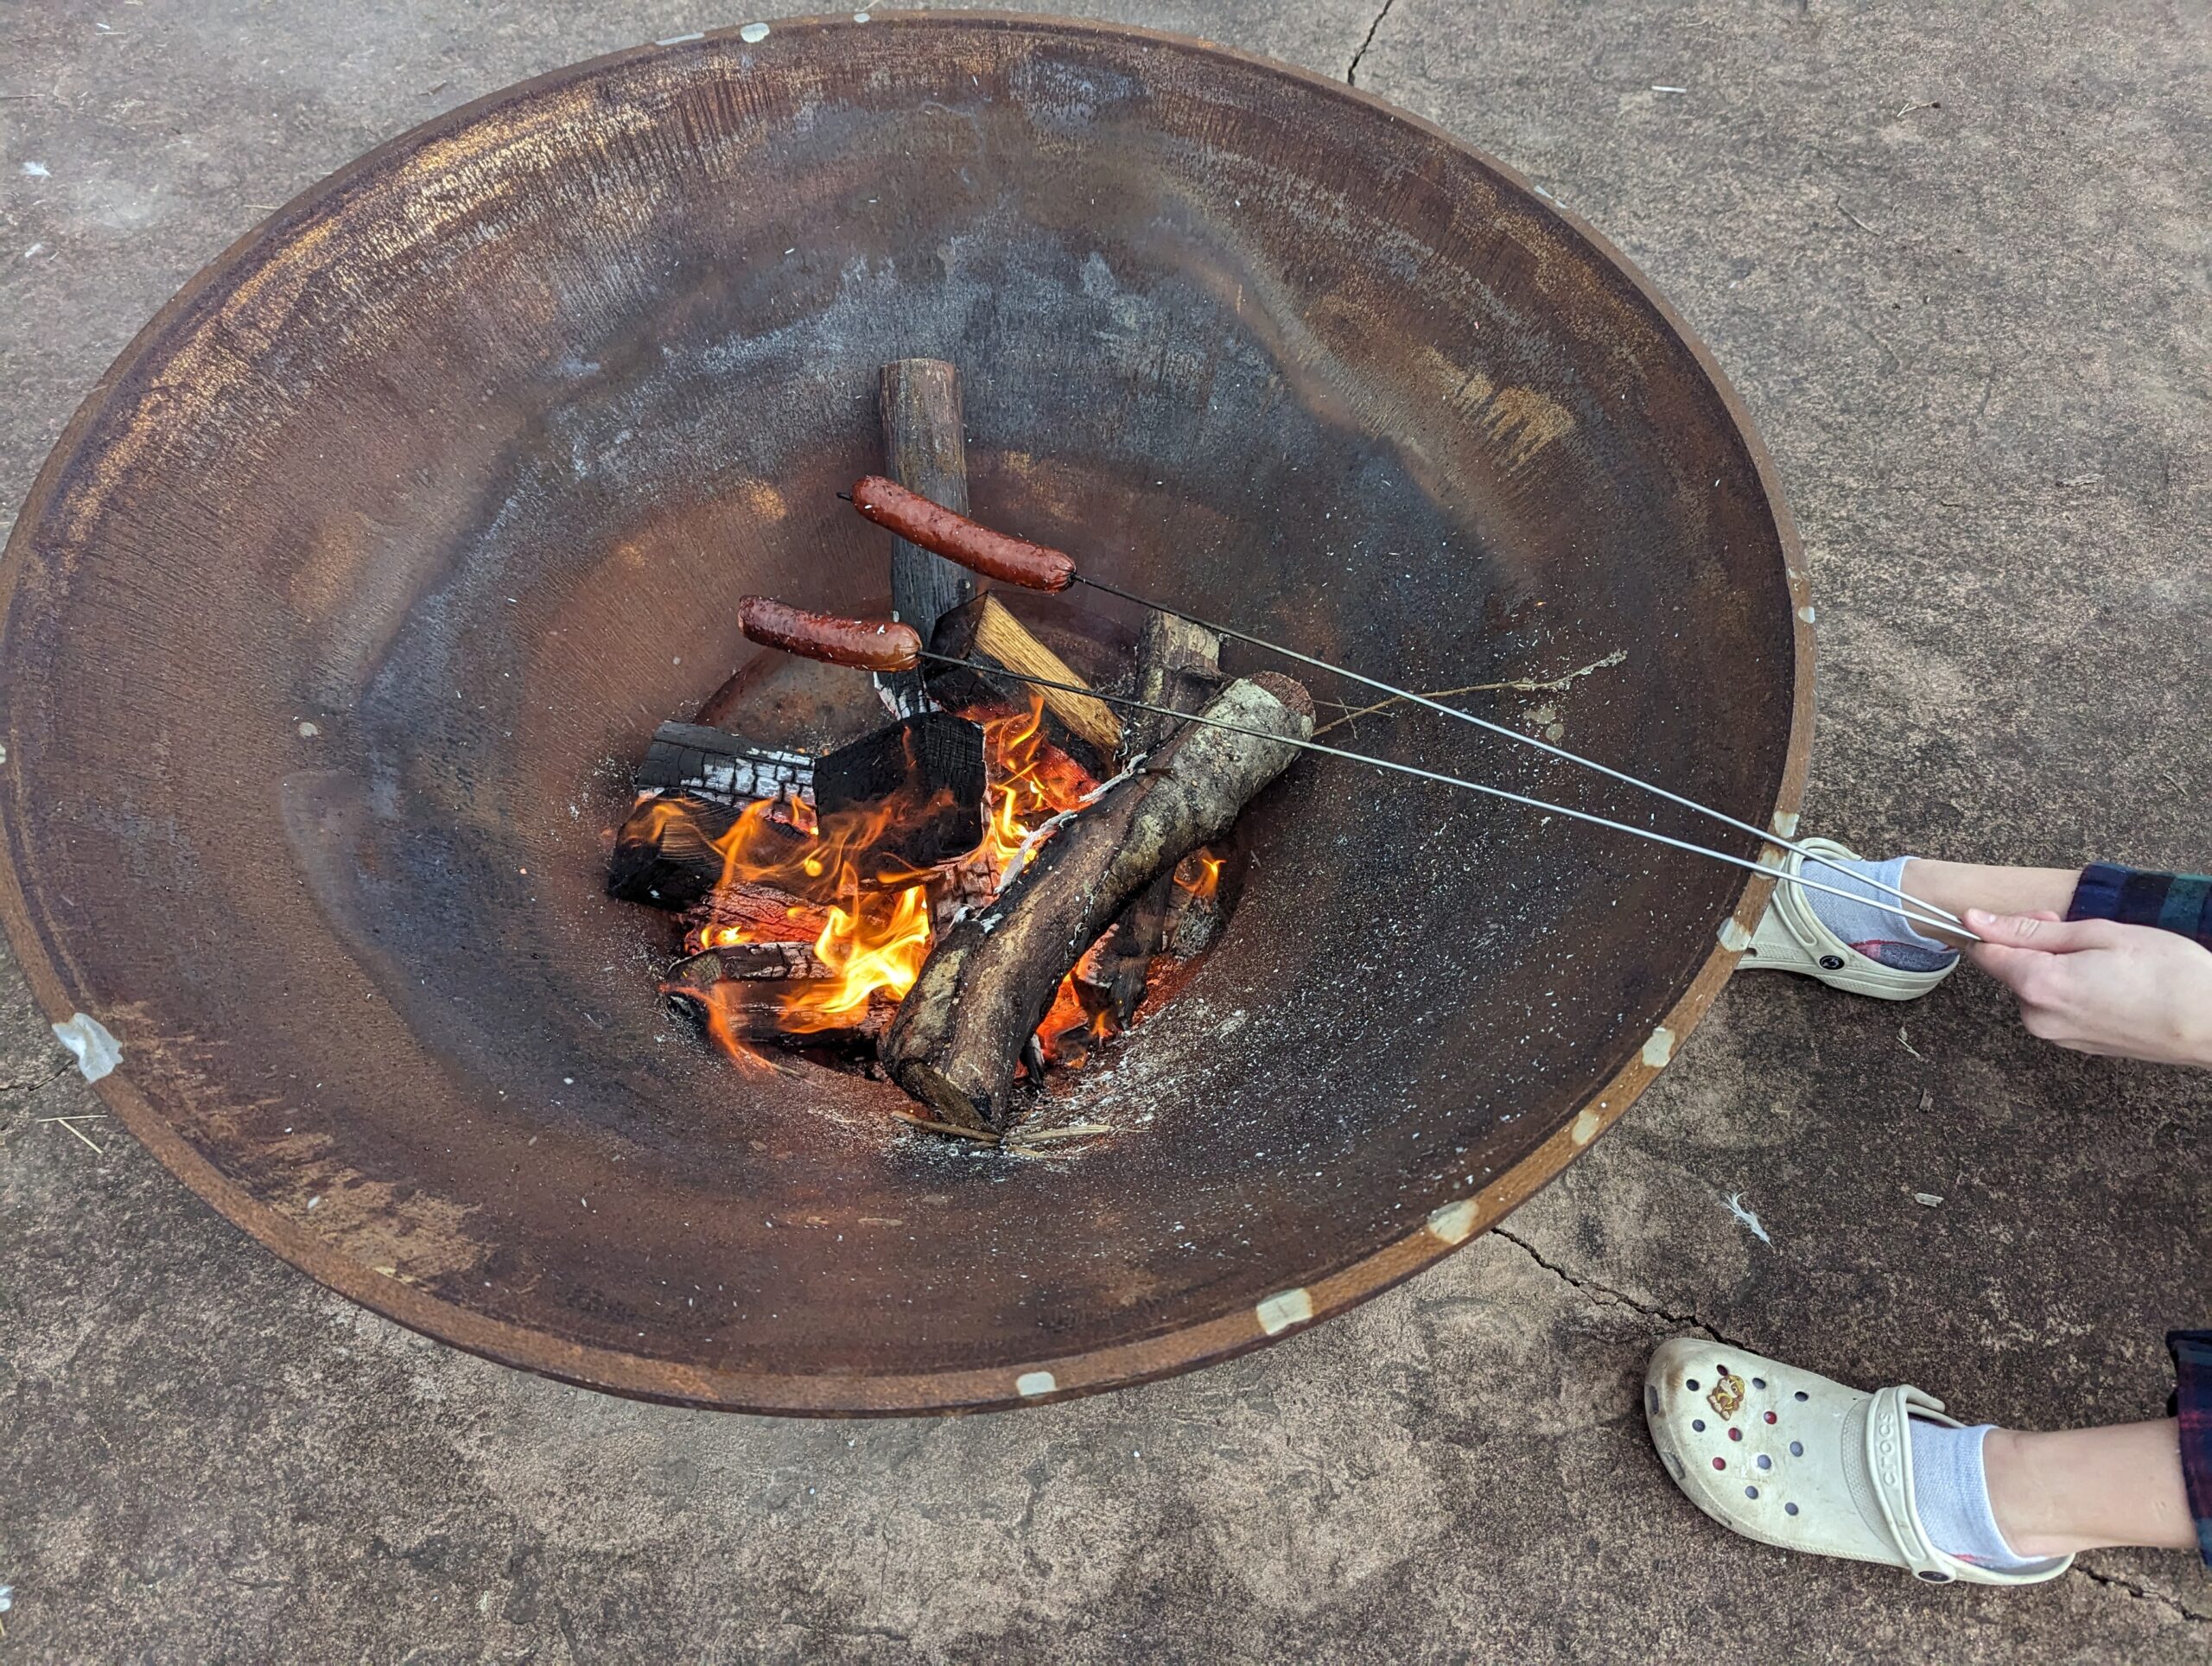
Mastering the Open-Fire Grill
Grilling outside over an open fire is a thrilling, almost primal experience. The flames crackle and the smoky smell fills the air. Food cooked this way tastes rich and delicious. However, this can be one of the trickiest ways to cook outdoors as there are so many variables that are hard to control. The following tips will help you master cooking over an open-fire grill.
- Choose the right kind of wood: Different types of wood impart different flavors on your food. Hickory, mesquite, or fruitwood (cherry, apple, etc.) add particularly special smoky flavors. Try different woods to discover what you like but always use dry or seasoned wood for even heat with less smoke.
- Create a well-built fire: A good fire means even cooking. Stack wood or charcoal well. This creates proper airflow, and the fire burns correctly.
- Control the heat: Adjusting the heat on an open fire takes skill. Move the grill grates up or down or have a larger horizontal surface so you can move skillets off to the side where temperature is cooler. For Dutch ovens, you’ll remove some of the coals to reduce temperature.
- Preheat the grill or pre-build the fire: Heating the grill first makes food sear better and locks in tasty flavors. Let the fire get hot before you start cooking. For wood-built fires, start the fire ahead of time so you have time for the coals to get established.
- Use the right tools: Use long tools made for open-fire cooking. Without the right tools, cooking over an open flame can get frustrating and even dangerous.
- Keep it simple: Keep flavors and ingredients simple. Oftentimes, a nice cut of meat, some good quality salt, and an open flame are all you need.
Now that you have this handy guide, grab your favorite food, light up the grill, and start your outdoor cooking journey. Explore the joys of cooking outdoors this summer, and with some practice you’ll soon be an expert. Not only will you keep your house cool and enjoy countless extra hours of fresh air and sunshine, you’ll sleep better knowing you are well versed in cooking outdoors without electricity should an emergency ever arise. Oh, and your food will taste better too!


Leave a Reply