
Not that long ago, root cellaring was the norm when it came to storing food. Before electricity and refrigeration, using a root cellar was efficient and didn’t require the purchase of equipment like canning does (although I still love canning).
Today, home food preservation is seeing a resurgence, but I’m still astounded that more folks aren’t talking about root cellaring as it is one of the easiest ways to preserve food. Perhaps it’s because people think you need an actual root cellar in order to use this method, and while that can be helpful, there are many techniques you can use that do not require a root cellar or even a basement.
This guide will cover everything you need to know about root cellaring, from picking the best location and controlling temperature and humidity to choosing which vegetables to store and how to store them. You’ll also learn about keeping everything properly organized. Whether it’s an outdoor root cellar, a basement conversion, or utilizing nature to create root-cellar-like conditions, there’s an option for every situation.
Before we begin, let me be the first to admit that I don’t have a proper root cellar. Some day I’d love to construct one, but when we looked into the cost, it didn’t make sense for us. Thankfully, even without a root cellar, I’ve managed to implement root cellaring techniques to work with my situation and still manage to store crops nearly all winter long.
What is a Root Cellar?
A proper root cellar is a storage space meant for keeping root vegetables and crops fresh throughout the winter months. This method of keeping food fresh has been around for centuries, long before refrigeration was commonplace.
Root cellars are usually built underground. Think of them like a windowless room dug into a hillside. The earth naturally keeps the temperature cool and the lack of windows keeps it dark. The walls are thick and typically made of stone, brick, earth, or wood. The floors are often layered with gravel or simply packed earth (dirt).
Because soil is a poor conductor of heat, the temperature just a couple feet underground generally remains cool and constant throughout the year. This setup makes it easy to maintain the proper temperature and humidity for stored food.
A root cellar’s main goal is to keep crops fresh. Food stays fresh longer when it’s stored at the proper temperature and humidity. Get the temperature right but the humidity wrong and you’ll see shriveled apples, potatoes, and carrots. Get the humidity right but the temperature wrong and produce will begin to decay even if it doesn’t shrivel. The key is knowing the temperature and humidity for each crop you’re trying to store.
Building Your Own Root Cellar
If you’re thinking about building a true root cellar, there are a few key things to consider: location, location, location!
When choosing the location for your root cellar, first consider your land. Do you have a space on your property that naturally slopes and faces north? This might make digging a root cellar a bit easier.
Also, consider how far away from the kitchen the root cellar is. Will you want to walk out to your root cellar on a daily basis? Choosing a location that’s still close to your home might make more sense than the perfect slope on a hillside that’s not easily accessible.
You also need to consider your budget. Many plans for root cellars will cost you a pretty penny, but you may already have a perfect solution without doing any work at all.
If you lack outdoor space or a proper root cellar (or the budget to build one) but you have a basement, it may work well as a makeshift root cellar. However, you must think about a few things first:
Insulation & Ventilation
These are two key factors for a good root cellar. Insulation will help maintain the temperature. If you have the means, insulate the walls, ceiling, and floor to help prevent temperatures from suddenly going up or down. A good ventilation setup is also important. This system keeps the air fresh and moving, avoiding a build-up of ethylene gas, which can cause fruits and vegetables to spoil quicker.
Humidity & Air Circulation
Keeping the humidity level high—between 85 to 95 percent—is also ideal, though not always possible in a basement where you’d like the humidity to stay low to avoid unwanted mold. Basements usually have cement, and for a root cellar, gravel or soil is preferred for humidity reasons. You might need a humidifier to help keep the moisture levels up, but you’ll need to decide what’s more important to you: a non-humid basement, or a basement that mimics a root cellar. Proper air circulation is just as important as it helps maintain temperature and humidity. Plus, it helps prevent mold and mildew from growing.
Sunlight
Sunlight breaks down food and causes temperature fluctuations. Make sure you’re not storing food near windows if your basement has them.
Using Your Garden as a Root Cellar
If you don’t have the ideal conditions to store your crops in a root cellar (or basement), consider leaving them in the ground! Living in the Pacific Northwest, my winter temperatures average 20 to 30°F (-6 to -1ºC). Occasionally we’ll see the temperatures dip even lower. Last winter our low was 5°F (-15ºC), but even with our low temperatures and moderate snowfall, I can still store my potatoes and carrots in the ground all winter long!
To do this, I simply add a hefty layer of mulch (straw, leaves, bedding from the chicken coop, etc.) to insulate the crops. If they’re sticking out of the ground a bit (like the tops of the carrots or beets), you may want to layer a little extra soil on top before adding mulch. The plants’ greens will die back, and your veggies will stay tucked in the soil until you’re ready to harvest them for dinner.
Keep in mind that if you live in an area where you get more rainfall throughout the winter, this may not work as well, especially if your soil isn’t well-draining. Also, if you live where the ground constantly freezes and thaws, this may also cause heaving which can push vegetables out of the ground, exposing them to the cold.
The garden may not be the “perfect” storage solution for your crops, but it’s worth a try if you’re looking for ways to maximize your crop storage options. I’d recommend testing a small amount the first time to see how it does. I’m able to overwinter potatoes and carrots in the ground with a six-inch layer of straw or leaf mulch. Because beets are closer to the surface, they only last about two months. Anything I haven’t harvested by then, we pull up and can.
Best Vegetables for Root Cellaring
Not all vegetables will keep well using root cellaring techniques. Soft fruits and vegetables like tomatoes, peaches, and cucumbers should be preserved using other techniques, as they will quickly rot in a root cellar. However, hardier fruits and vegetables like apples, cabbages, potatoes, root vegetables, and winter squash can last quite a long time if you follow a few simple rules.
Carrots, Beets, and Parsnips
Carrots, beets, and parsnips are perfect for the root cellar. Carrots will last four to six months in 90 to 95 percent humidity, and in temperatures of 32 to 40°F (0 to 4°C). Beets stay good for three to four months in those conditions. Parsnips need 95 percent humidity and can last four to six months if stored correctly.
If you’re having trouble keeping humidity up, I recommend dampening wood shavings or sand and grabbing a wooden crate. Start with a layer of damp wood shavings/sand, then add a layer of root vegetables, keeping space between each one so they don’t touch. Add another layer of wood shavings/sand. Repeat this process until the crate is full.
Check your crops often to ensure the wood shavings/sand are still damp (you can always keep a spray bottle nearby to mist the wood shavings as needed).
Potatoes
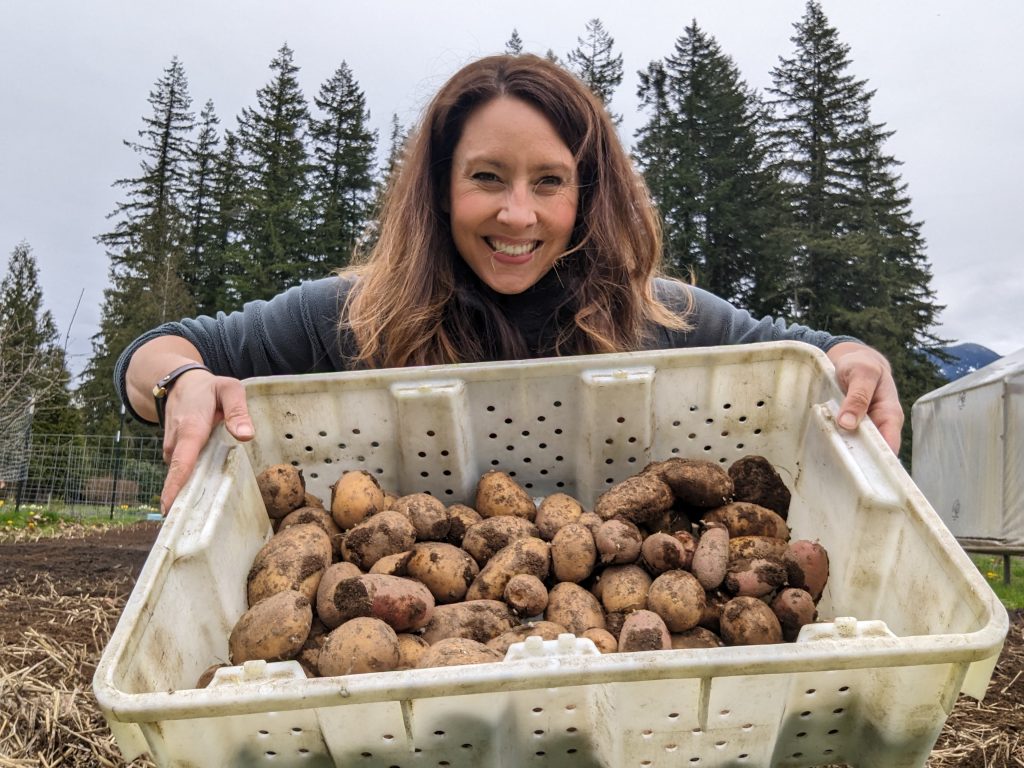
Potatoes are a must for your root cellar. Good storage varieties keep for six to eight months at 90 to 95 percent humidity and 40 to 50°F (4 to 10°C).
One tip when storing root vegetables is to store them unwashed. You can brush off any excess dirt, but you don’t want to scrub them clean. That layer of soil acts as a protective barrier. For potatoes, you’ll also want to make sure to cure them properly before storage.
How to cure crops for root cellar storage
Curing is the process of leaving the crop out at a higher temperature than you would store them, right at harvesting time. During curing, the skin of the food is hardened and excess moisture is drawn out, which helps extend the storage life.
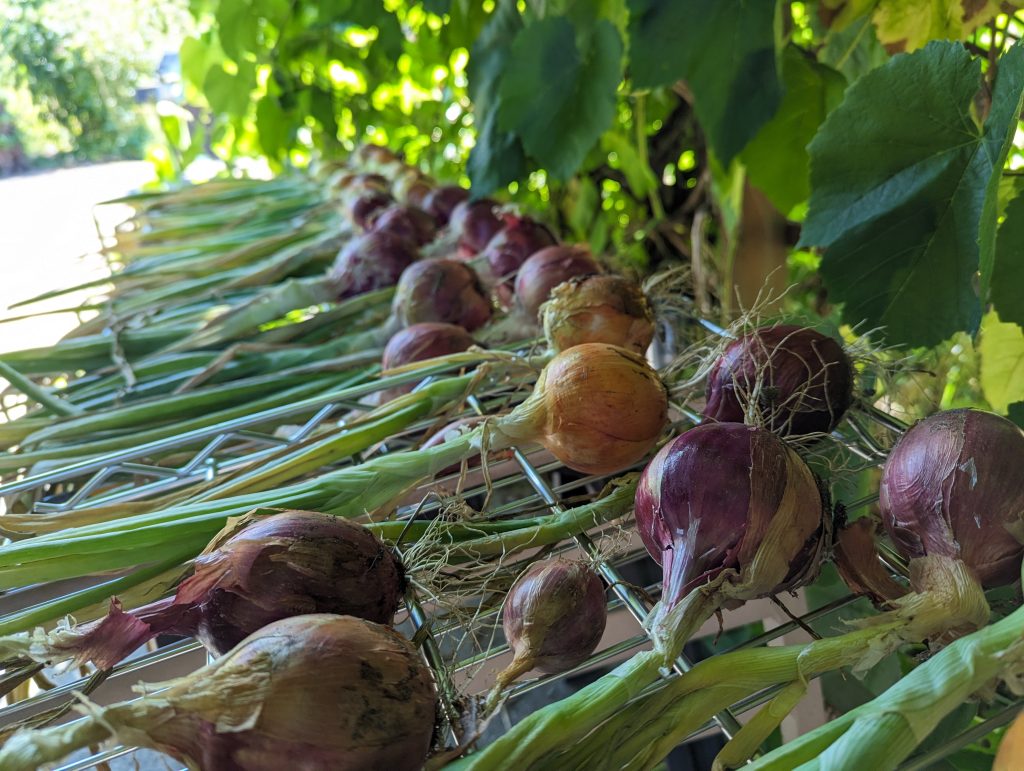
Crops that need to be cured are garlic, onions, potatoes, sweet potatoes, and winter squash. Depending on the moisture and humidity level where you live, the curing process generally takes two to four weeks.
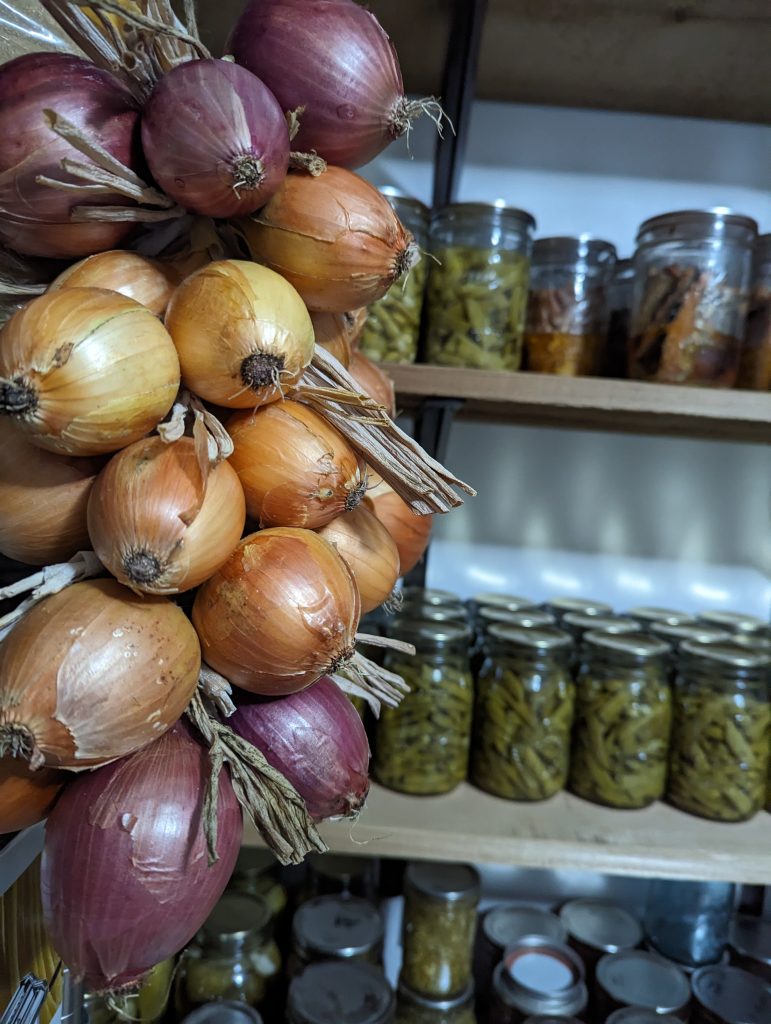
Spread the crop out so there’s even air flow. Don’t cure in direct sunlight, especially onions and garlic, as you can sunburn the crop. We’ve used old screens or even wire stretched out over a sawhorse to cure our onions and garlic.
Don’t wash crops before curing or storing. If there’s a lot of dirt, brush it off, but as the food cures, the dirt will dry and become easier to remove. Washing introduces more moisture and pushes it through the skin down into the crop, which will cause food to spoil more quickly. For winter squash, however, you can wipe down the outside of the squash with vinegar before storing.
Other Vegetables
Rutabaga, winter radish, and hardy leafy greens like cabbage, Chinese cabbage, and kale also love it in the root cellar. They all need cold and humidity to keep well. Though these options may not last as long as root crops, they will keep for quite a while and free up precious refrigerator space.
Vegetables that Store Well at Room Temperature
I know this is a root cellar article, but temperatures vary in root cellars. Heat rises, so these crops were stored on the higher shelves or hooks from the ceilings where temperatures were warmer and humidity levels lower. I’ve had incredible success storing these crops on open shelves in our kitchen, and in a back closet before we added an additional pantry room to our home.
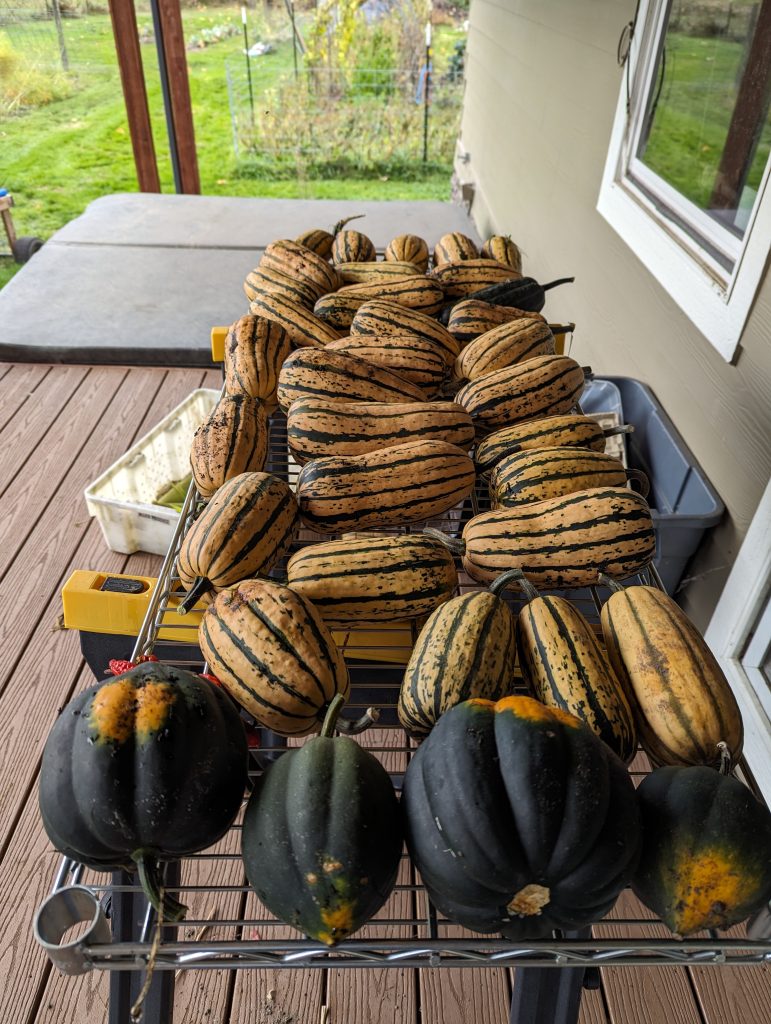
I’ve successfully kept garlic, onions, and winter squash (specifically delicata, spaghetti squash, butternut, and Long Island cheese) for an entire year, from harvest to harvest. The key is making sure everything is properly cured and that the stems remain on the winter squash.
For onions and garlic, make sure you’ve selected storage varieties. Sweet onions do not store well, so don’t try root cellaring Walla Walla onions or other sweet varieties. Soft neck garlic stores longer than hardneck, though hardneck will usually last four to five months. For the majority of the crop, store it in a room that doesn’t receive direct sunlight, and ideally stays at 60ºF (15ºC) or cooler. Our back storage does get up to the mid 60’s by late afternoon, but cools back down again overnight.
How Long Will Crops Last in a Root Cellar
This one is tricky because the answer depends on so many factors. First off, there are many crop varieties that are known as “storage varieties.” When growing crops specifically for long-term storage, make sure you’re growing the right variety (the seed packet or catalog should say something like “good for storage”).
Furthermore, having the proper temperature and humidity plays a large role in how long your crops will last. If you’re not working with ideal conditions, your food may not last quite as long. But we’re not searching for perfection here, just ways to maximize our storage potential, always working with what we have available.
For reference, in ideal storage, the following chart shows the average storage time for the crops listed. If you’re working with less desirable conditions, you can expect your storage time to be less than what’s listed here:
Average Storage Duration in A Root Cellar
Carrots: 4-6 months
Beets: 3-4 months
Parsnips: 4-6 months
Potatoes: 6-8 months
Organizing and Storing Produce
Proper storage and organization are also important for keeping produce fresh in a root cellar. Ensure there’s enough room for air to flow between items to avoid rotting. Good organization is the key to preventing spoilage and making your produce last longer.
Checking on your crops regularly is also key. You’ve heard the saying, “One bad apple spoils the whole bunch.” This is true of most other crops as well. As your produce nears the end of its shelf-life, you’ll want to remove it from storage and use it up.
Proper Storage Techniques
Here are a few more tips and tricks to keeping your harvest as fresh as possible for as long as possible:
- Be gentle with your produce. Bruising causes faster spoilage.
- Sort and store root vegetables like carrots, beets, and parsnips separately.
- Choose wooden shelves or crates. They let air move around, which helps maintain the proper temperature and moisture levels.
- Try not to stack too deep as this causes pressure on the lower layers, causing bruising and spoilage.
- Check the root cellar’s temperature and humidity often. Adjust them to stay as close to 32 to 40°F (0 to 4°C) and 85 to 95 percent humidity as possible. This may require a fan, proper venting, a humidifier, or other methods for keeping the temperatures steady.
By using these tips for storing and organizing your root cellar, you’ll increase the lifespan of your produce. Root cellaring (and root cellar techniques) are a great way to store root vegetables and crops for long-term storage, keeping them fresh without the need for refrigeration.
Remember that properly storing our harvest isn’t just about saving money, but it also ensures that all of our hard work during the summer months doesn’t go to waste with early spoilage of our crops. Plus, we’ll always have food when we need it.
Different fruits and vegetables cure best at different temperatures.
However, even if you don’t have perfect temperatures for curing, just do your best with what you’ve got. We rarely have a full two weeks of temperatures above 75ºF (24ºC) come fall, and I still cure my winter squash by adding more time or bringing it indoors next to our woodstove, depending on the weather.
Curing temperatures:
Garlic and onions cure at 68 to 85ºF (20 to 29ºC) for up to two weeks
Potatoes should be cured at 45 to 60ºF (7 to 15ºC) for two weeks
Sweet potatoes should be cured at 80 to 85ºF (27 to 29ºC) for two weeks
Winter squash should be cured at 80ºF (27ºC) for 10 to 14 days


Leave a Reply