
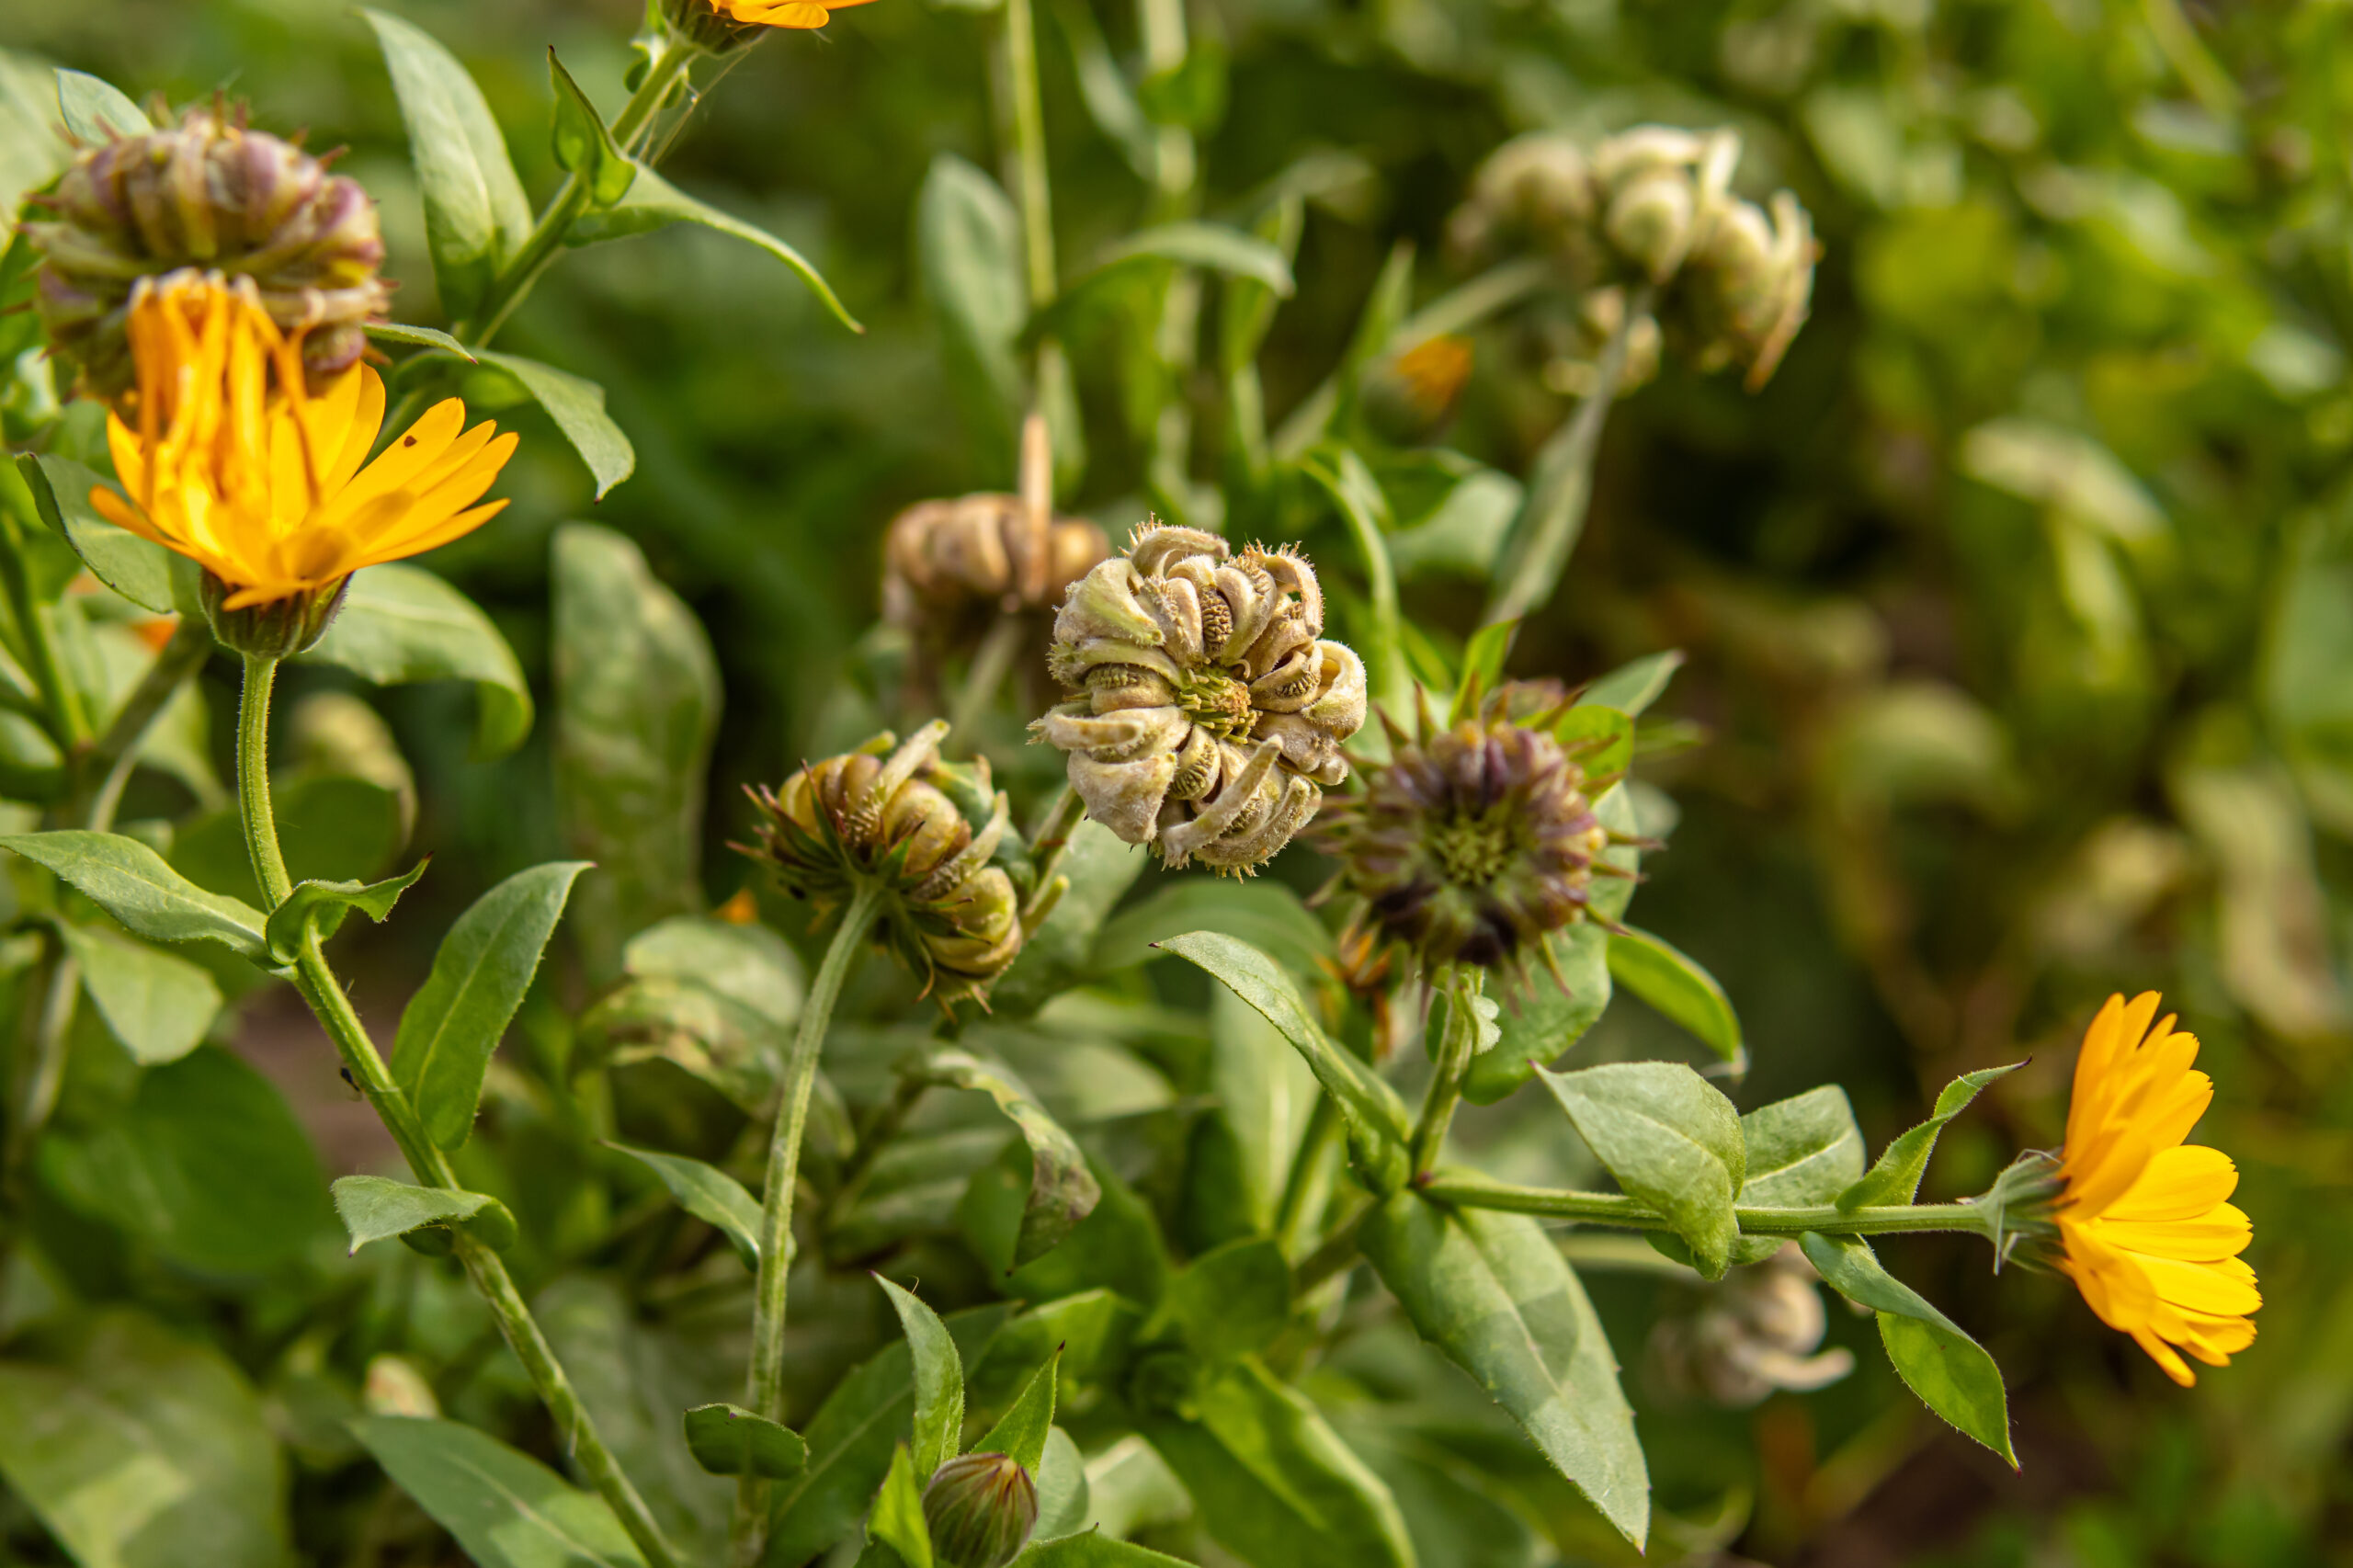
Autumn is a great time to propagate herbs and there are a few simple techniques we can use to expand our gardens quickly and easily. Whether we use root division, stem cutting, or layering, there’s a propagation method that is suitable for every plant in your garden. Not only is propagation simple and beneficial, it’s also a fun way to stay active in the garden despite harvest season winding down soon.
When we separate clumping plants in early autumn, they’ll still be able to settle into their new home before the cold of winter arrives. This saves us from having to do this chore in spring when our garden to-do list is already longer than we would like it to be.
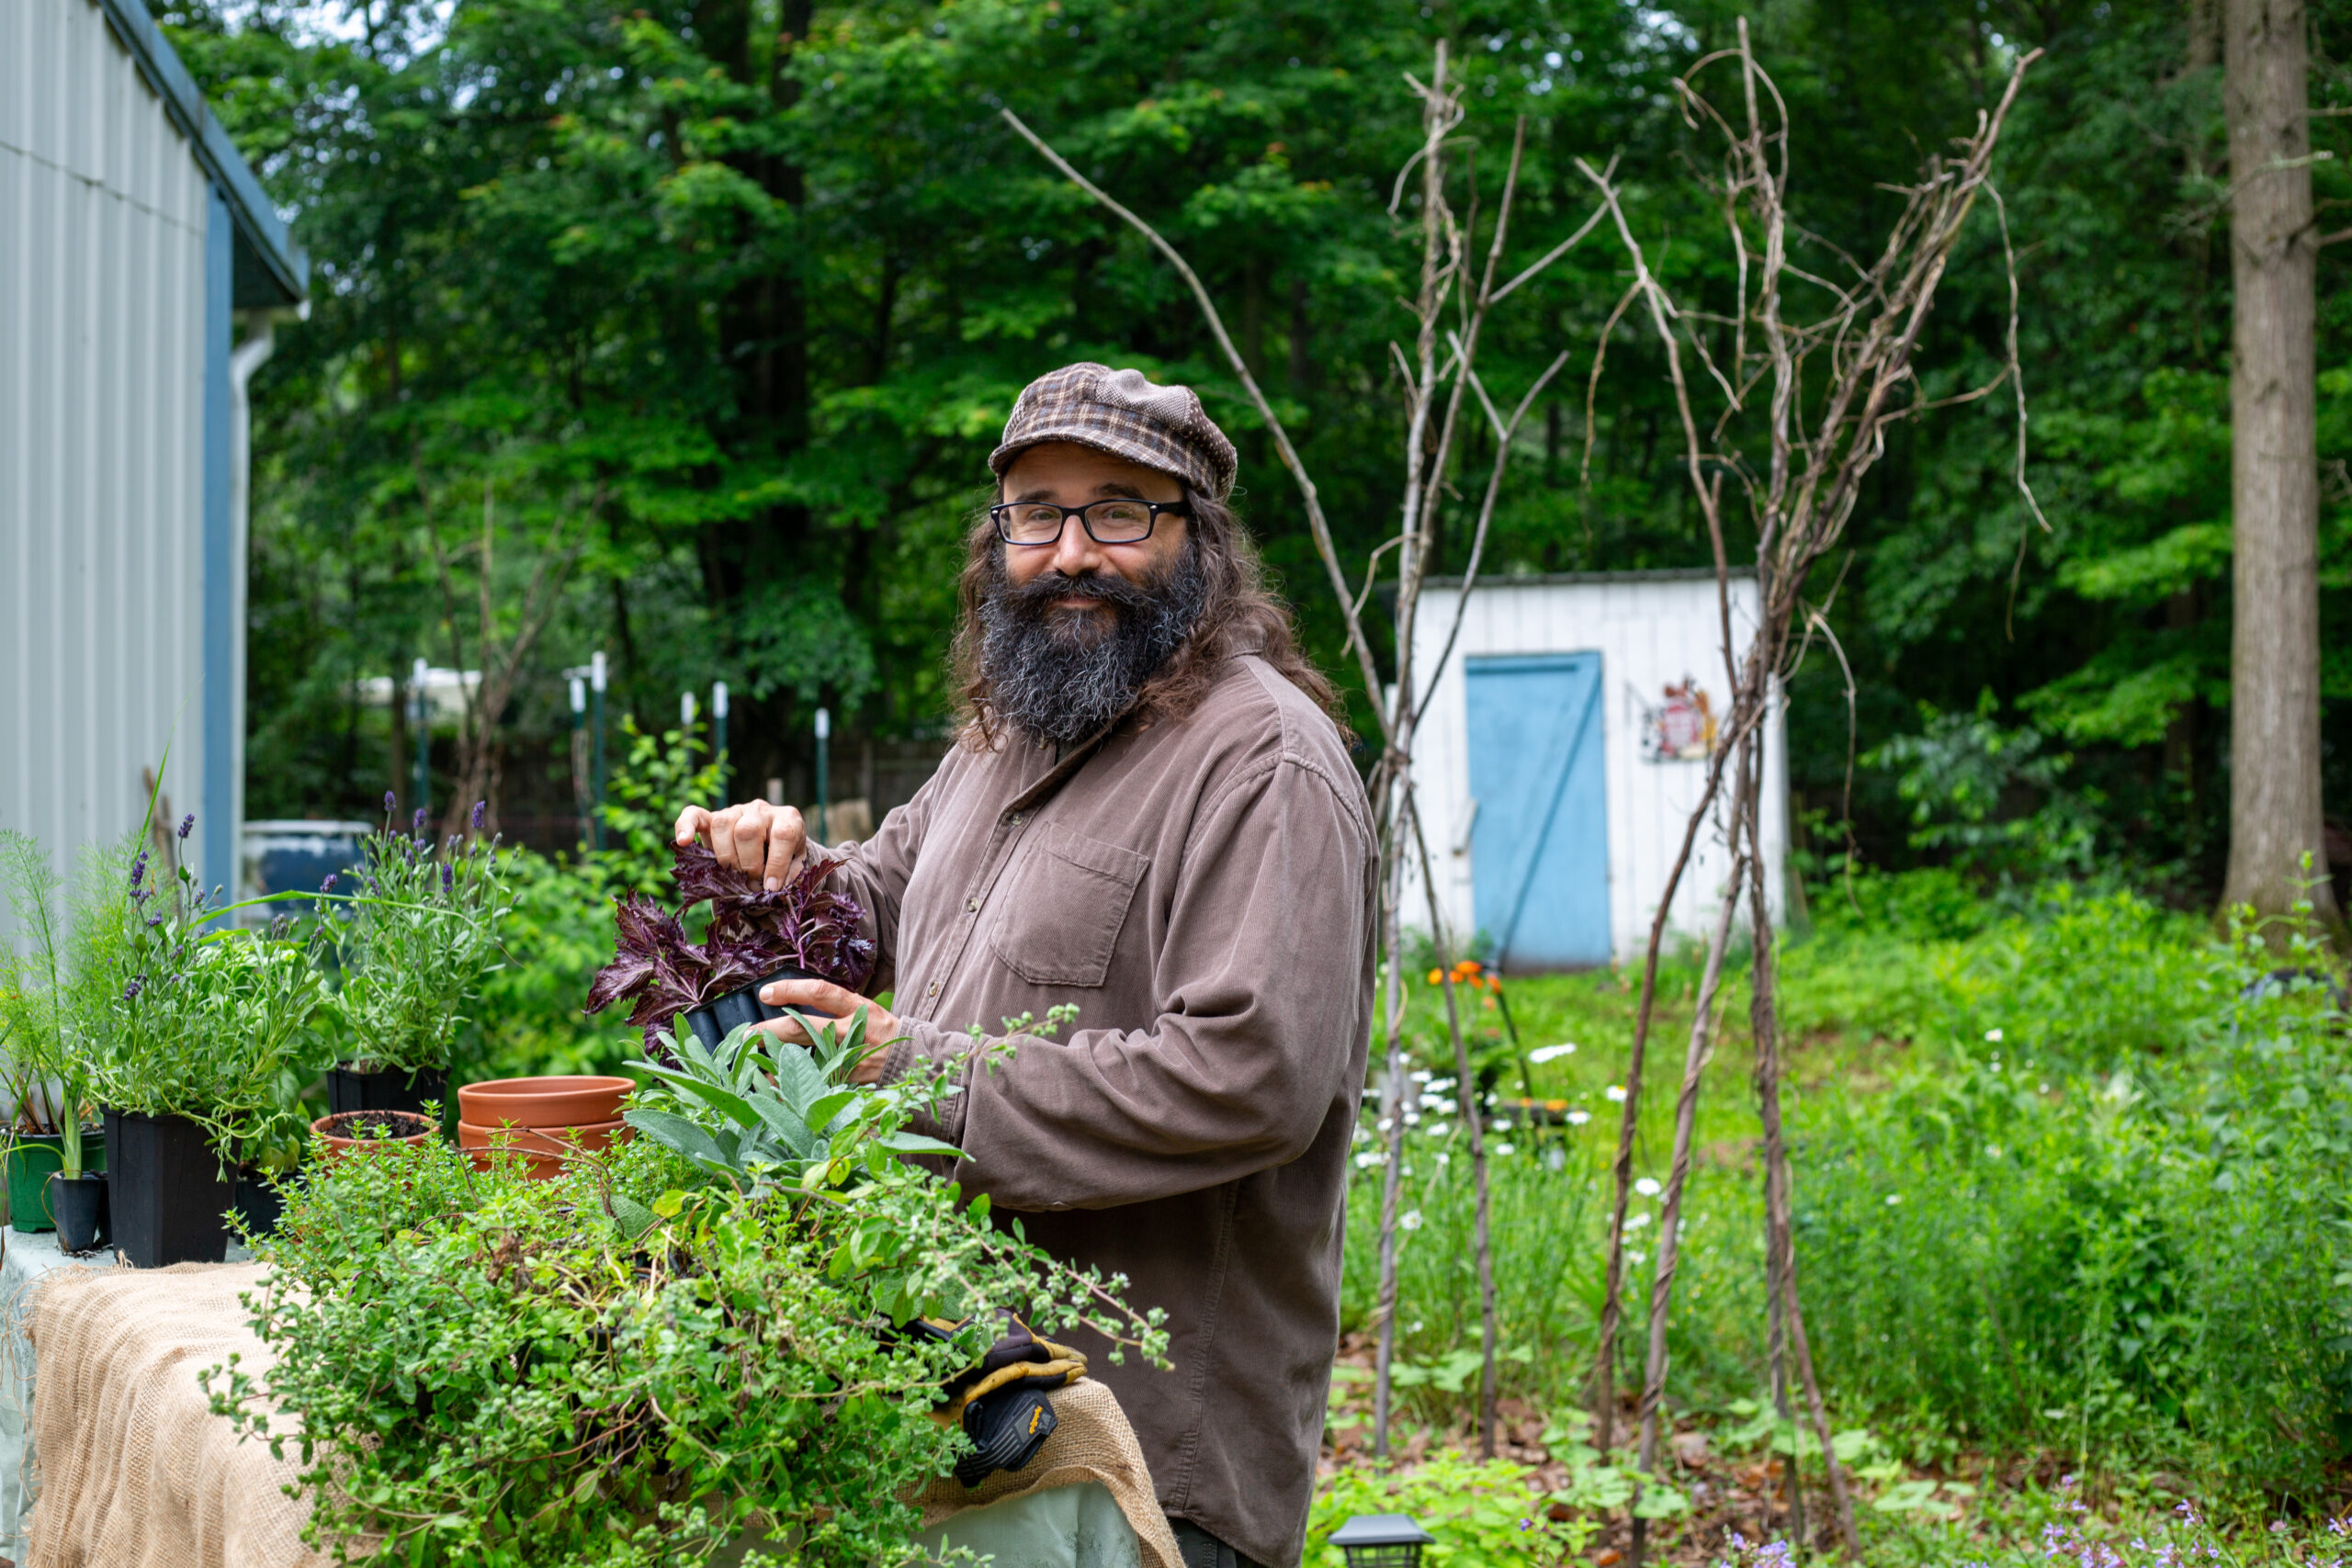
And while there’s not enough time in autumn for a cutting to mature before frost, we can always bring these young plants indoors to enjoy throughout winter. I love having plenty of green things growing in my house during the dreary cold months, especially tender new plants that need my love and attention. Regardless of the season, propagating herbs is easy to do, whether through root division, stem cuttings, or layering. Each method is considered asexual reproduction, and the new plants that we grow are simply genetic clones of the parent plant.
Root Division
Root division is an easy and effective way to separate larger, well-established plants into smaller plants. This technique works especially well with hardy plants, such as members of the mint family. Not only does root division multiply the amount of herb plants that you have, but it also invigorates the plants and encourages new growth.
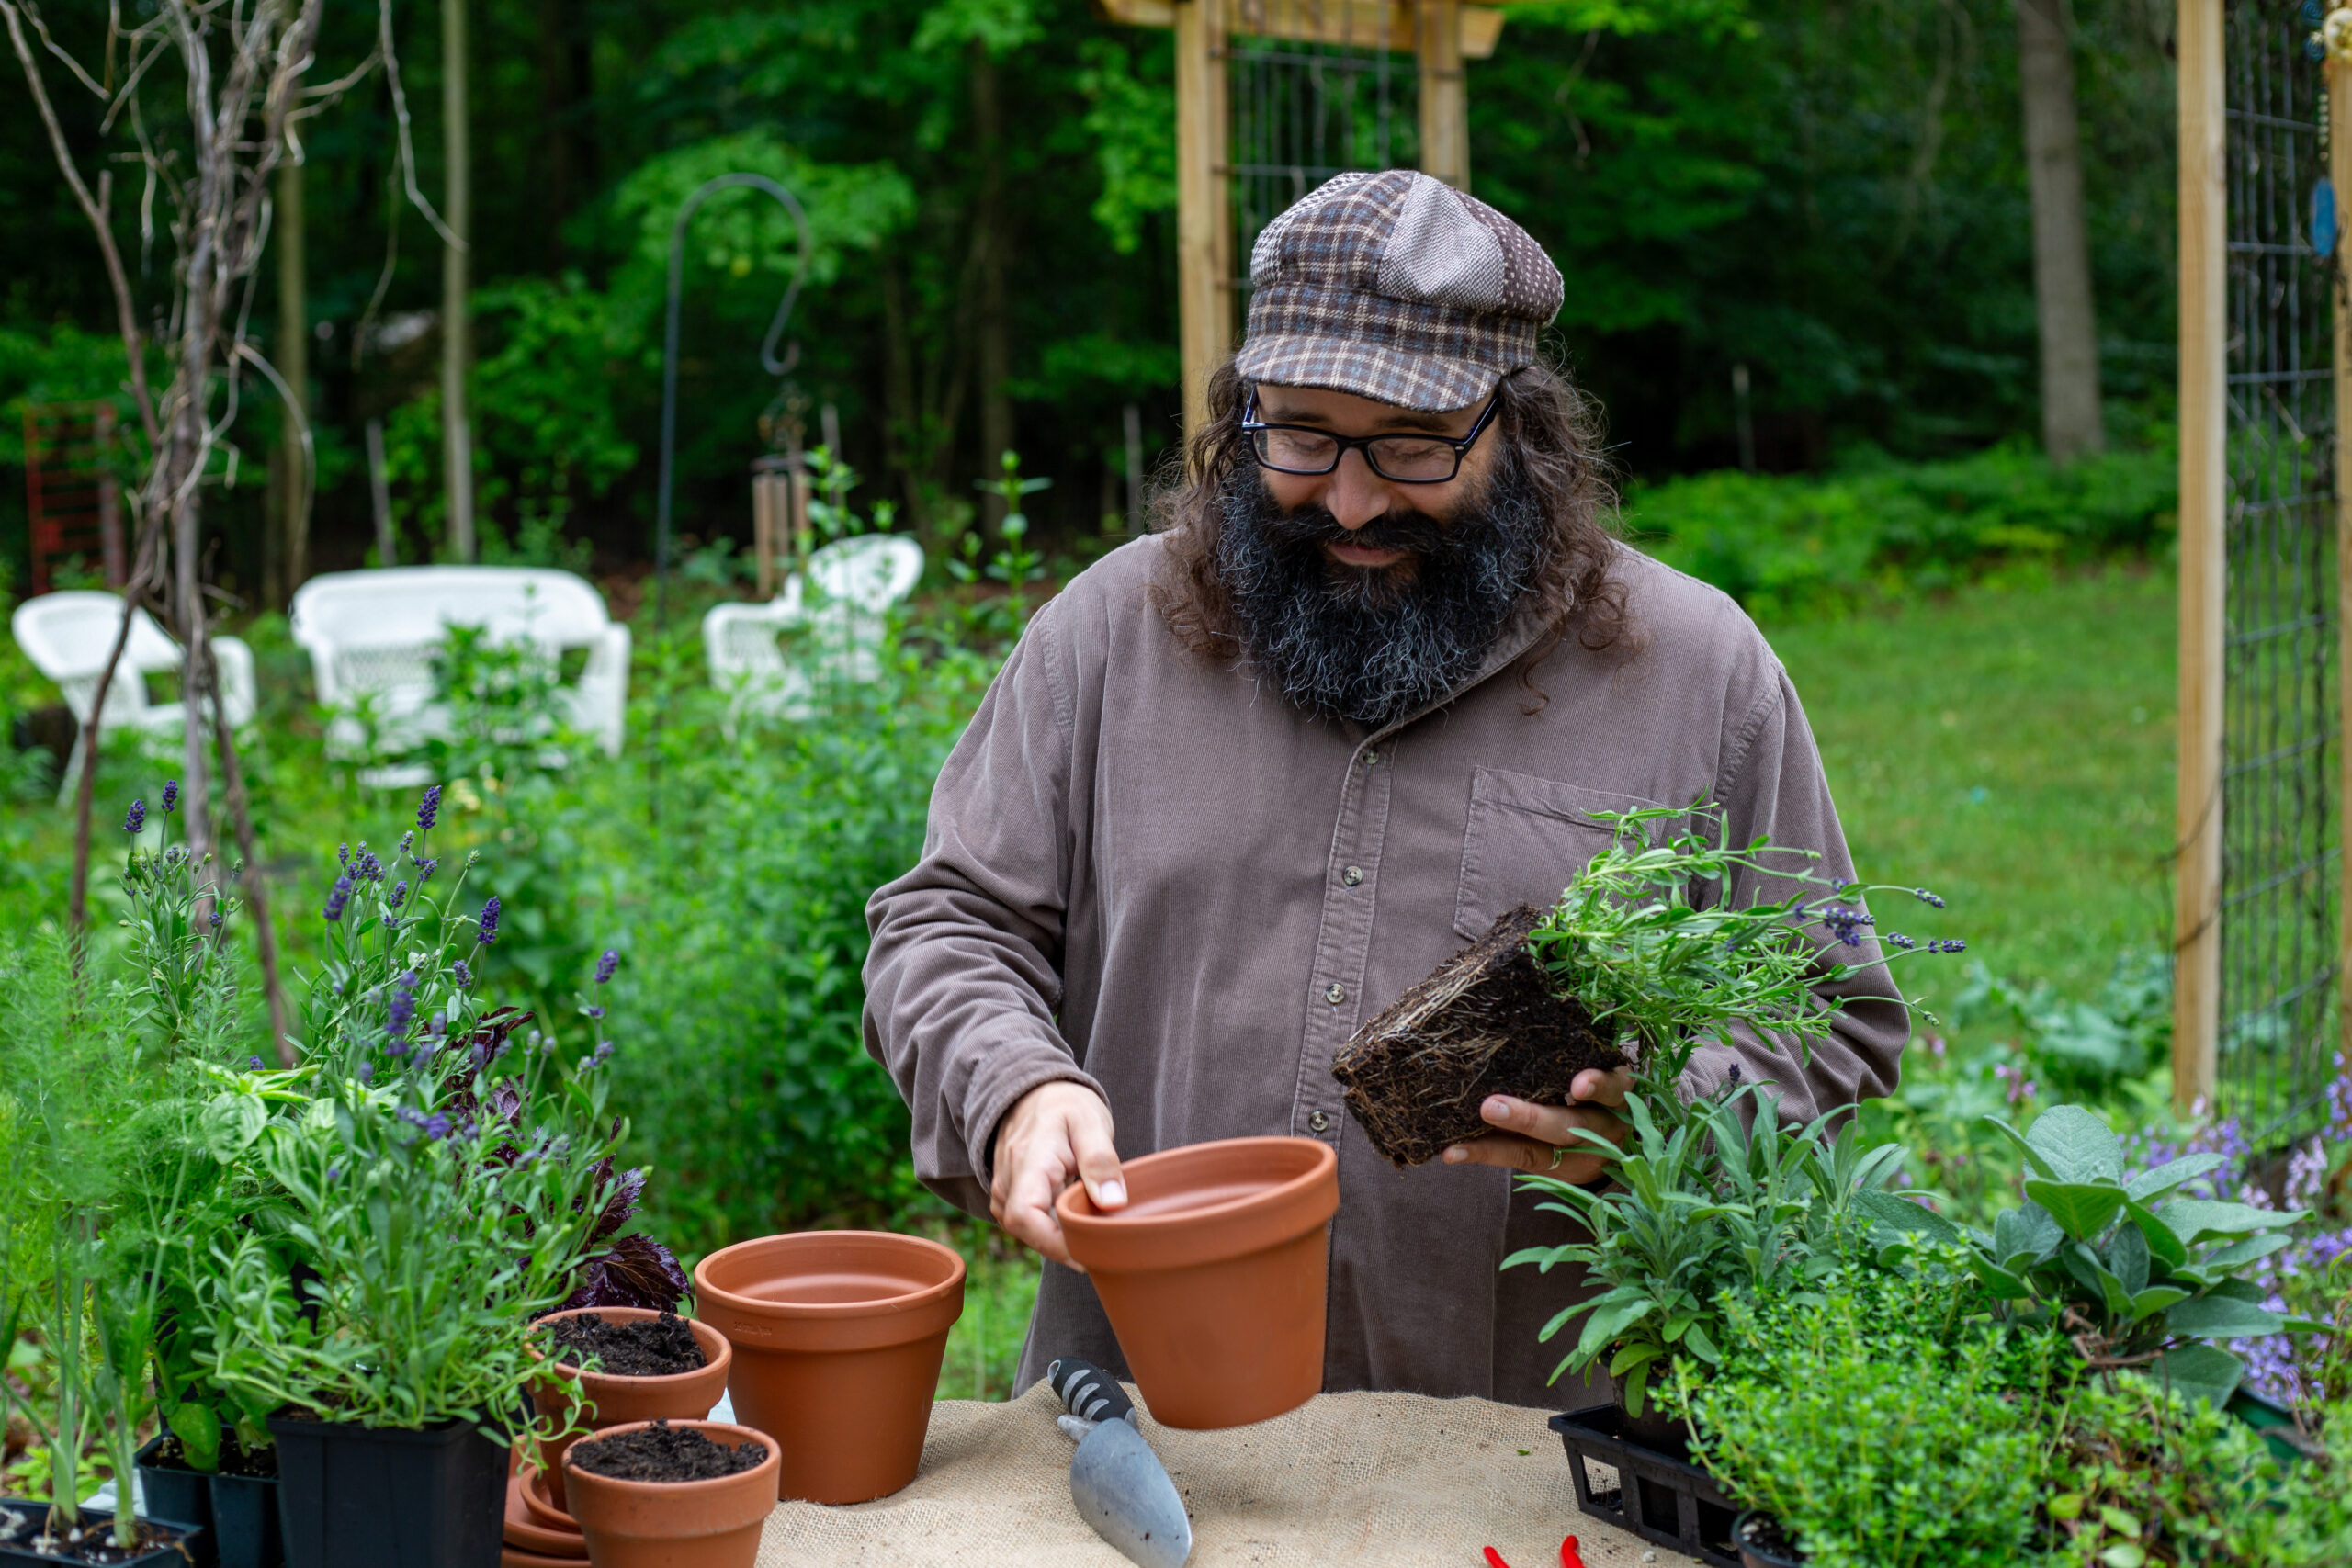
Simply dig up a chunk of the herb with a shovel and pull it apart into smaller clumps, making sure each new piece has plenty of roots attached. Replant the herb wherever you’d like it to live—back in the garden, or in a pot to bring indoors or to share with a friend. Trim off some of the leaves so the plant can focus its energy on root growth, and keep it well watered until it is settled into its new home.
Stem Cutting
Propagation by stem cutting is the most common technique to asexually reproduce herbs. As the name implies, it involves simply snipping off a bit of stem from the plant, and then helping that cut stem establish roots to become a new plant. This method works best on tender, new green growth as opposed to older, woody stems.
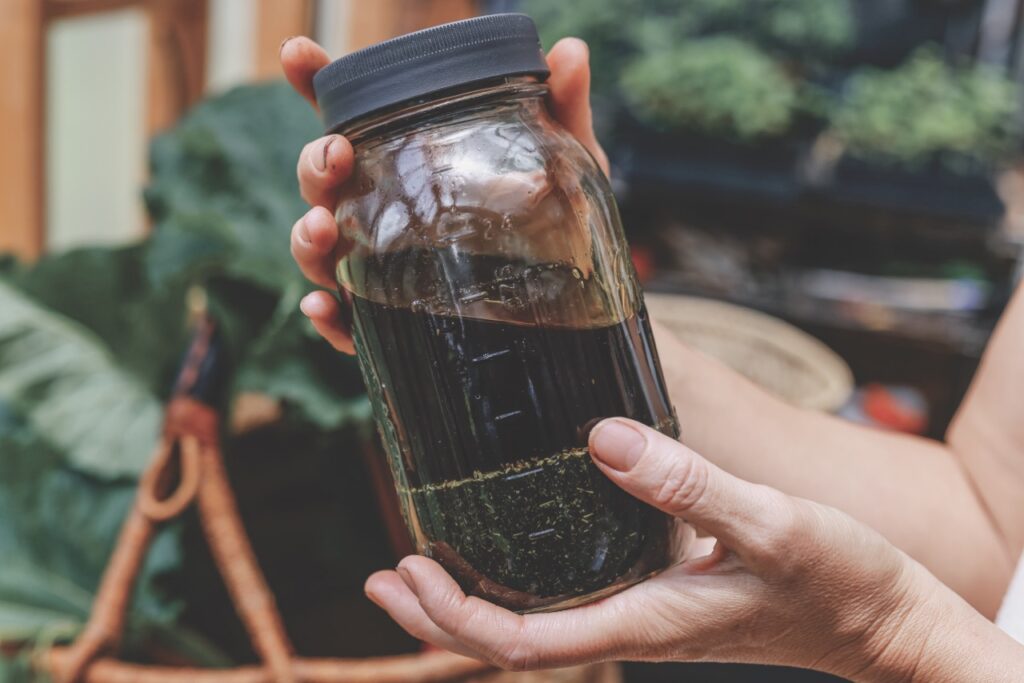
Snip off the stem just above the leaf node. This encourages branching on the parent plant where it was cut. The stem can be dipped in rooting hormone, although many times I find this to be an unnecessary step. Many growers do recommend using it when attempting to propagate plants with woody stems, but it’s certainly not mandatory for success. A strong tea brewed from willow bark can be used in place of commercial rooting hormone if you’d like to avoid purchasing anything.
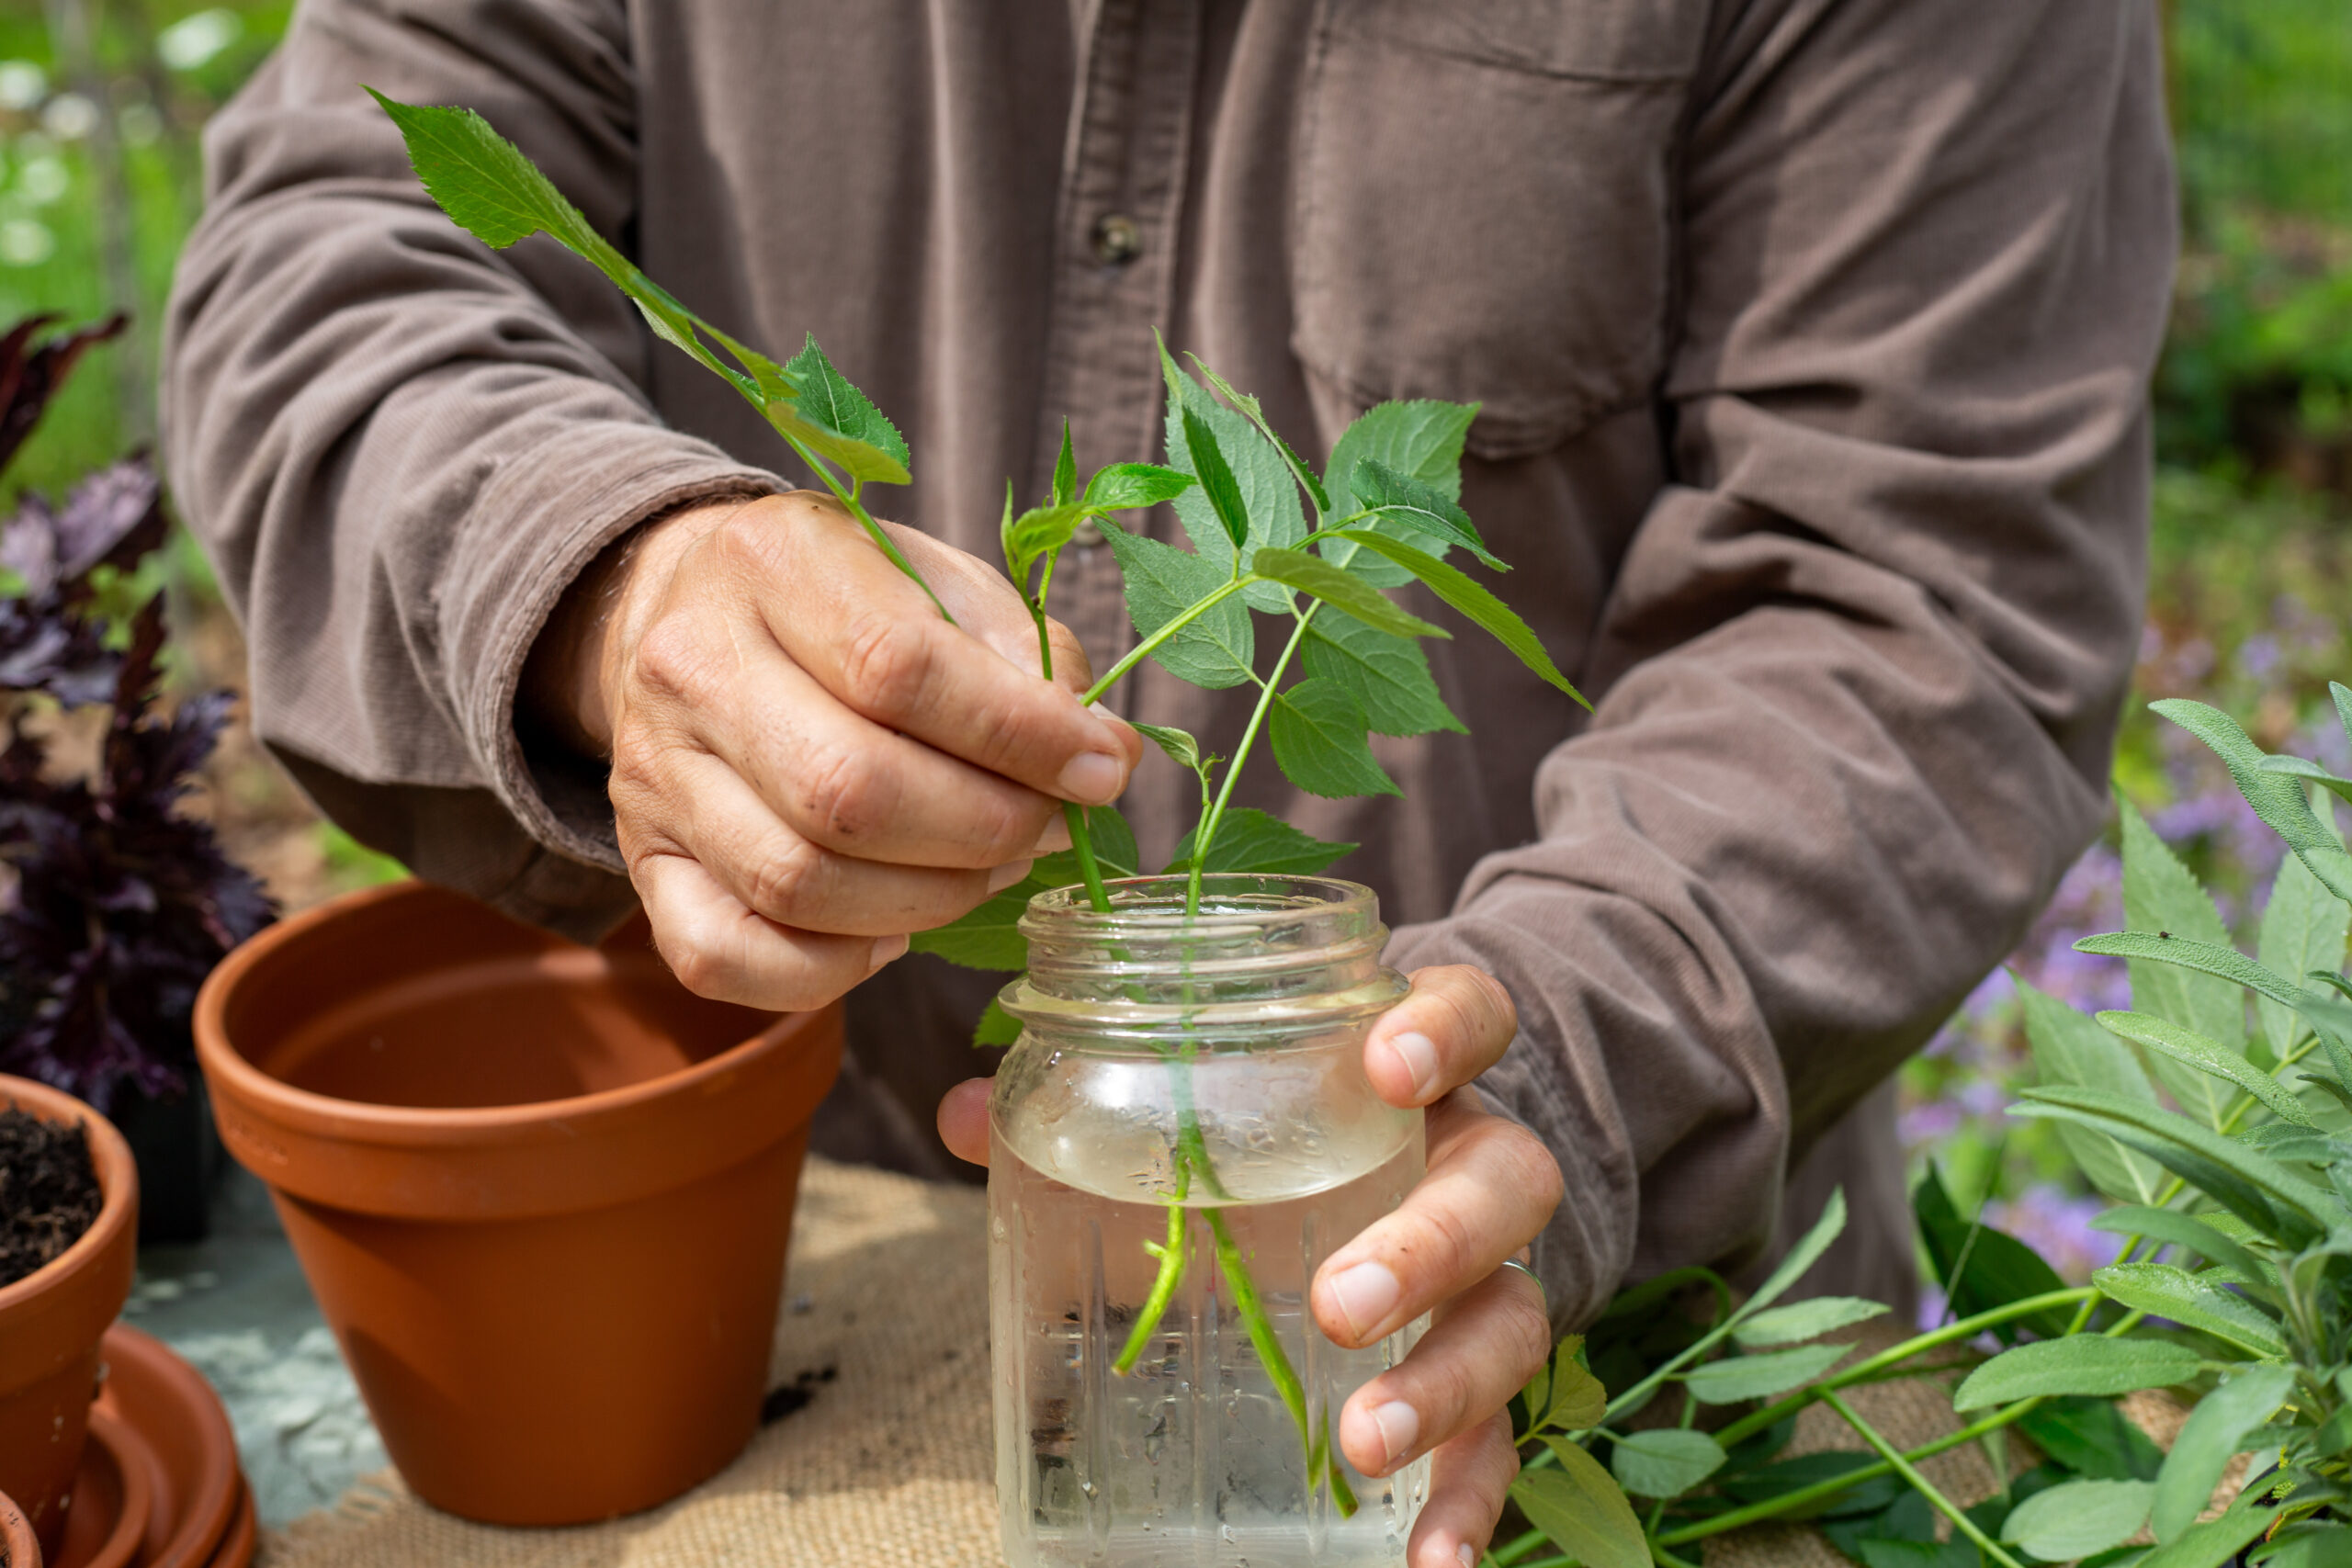
Place the cut stem directly into the soil or into a jar of water. If using water, be sure it is room temperature and changed often. Keep the plant out of direct sun and, within a week or so, you’ll see new root growth. Transplant your new herb into a pot and water it in nicely.
Layering
The third method of asexual reproduction is known as layering. This form of propagation can often be found in nature. When longer, sprawling branches find themselves in contact with the ground, and even sometimes partially covered by the soil, they will send out roots from this point of contact. We can reproduce this by laying the branches of our herbs down along the ground and burying them slightly in soil. Once the new roots become established, this “new” plant can be dug up and transplanted somewhere else.
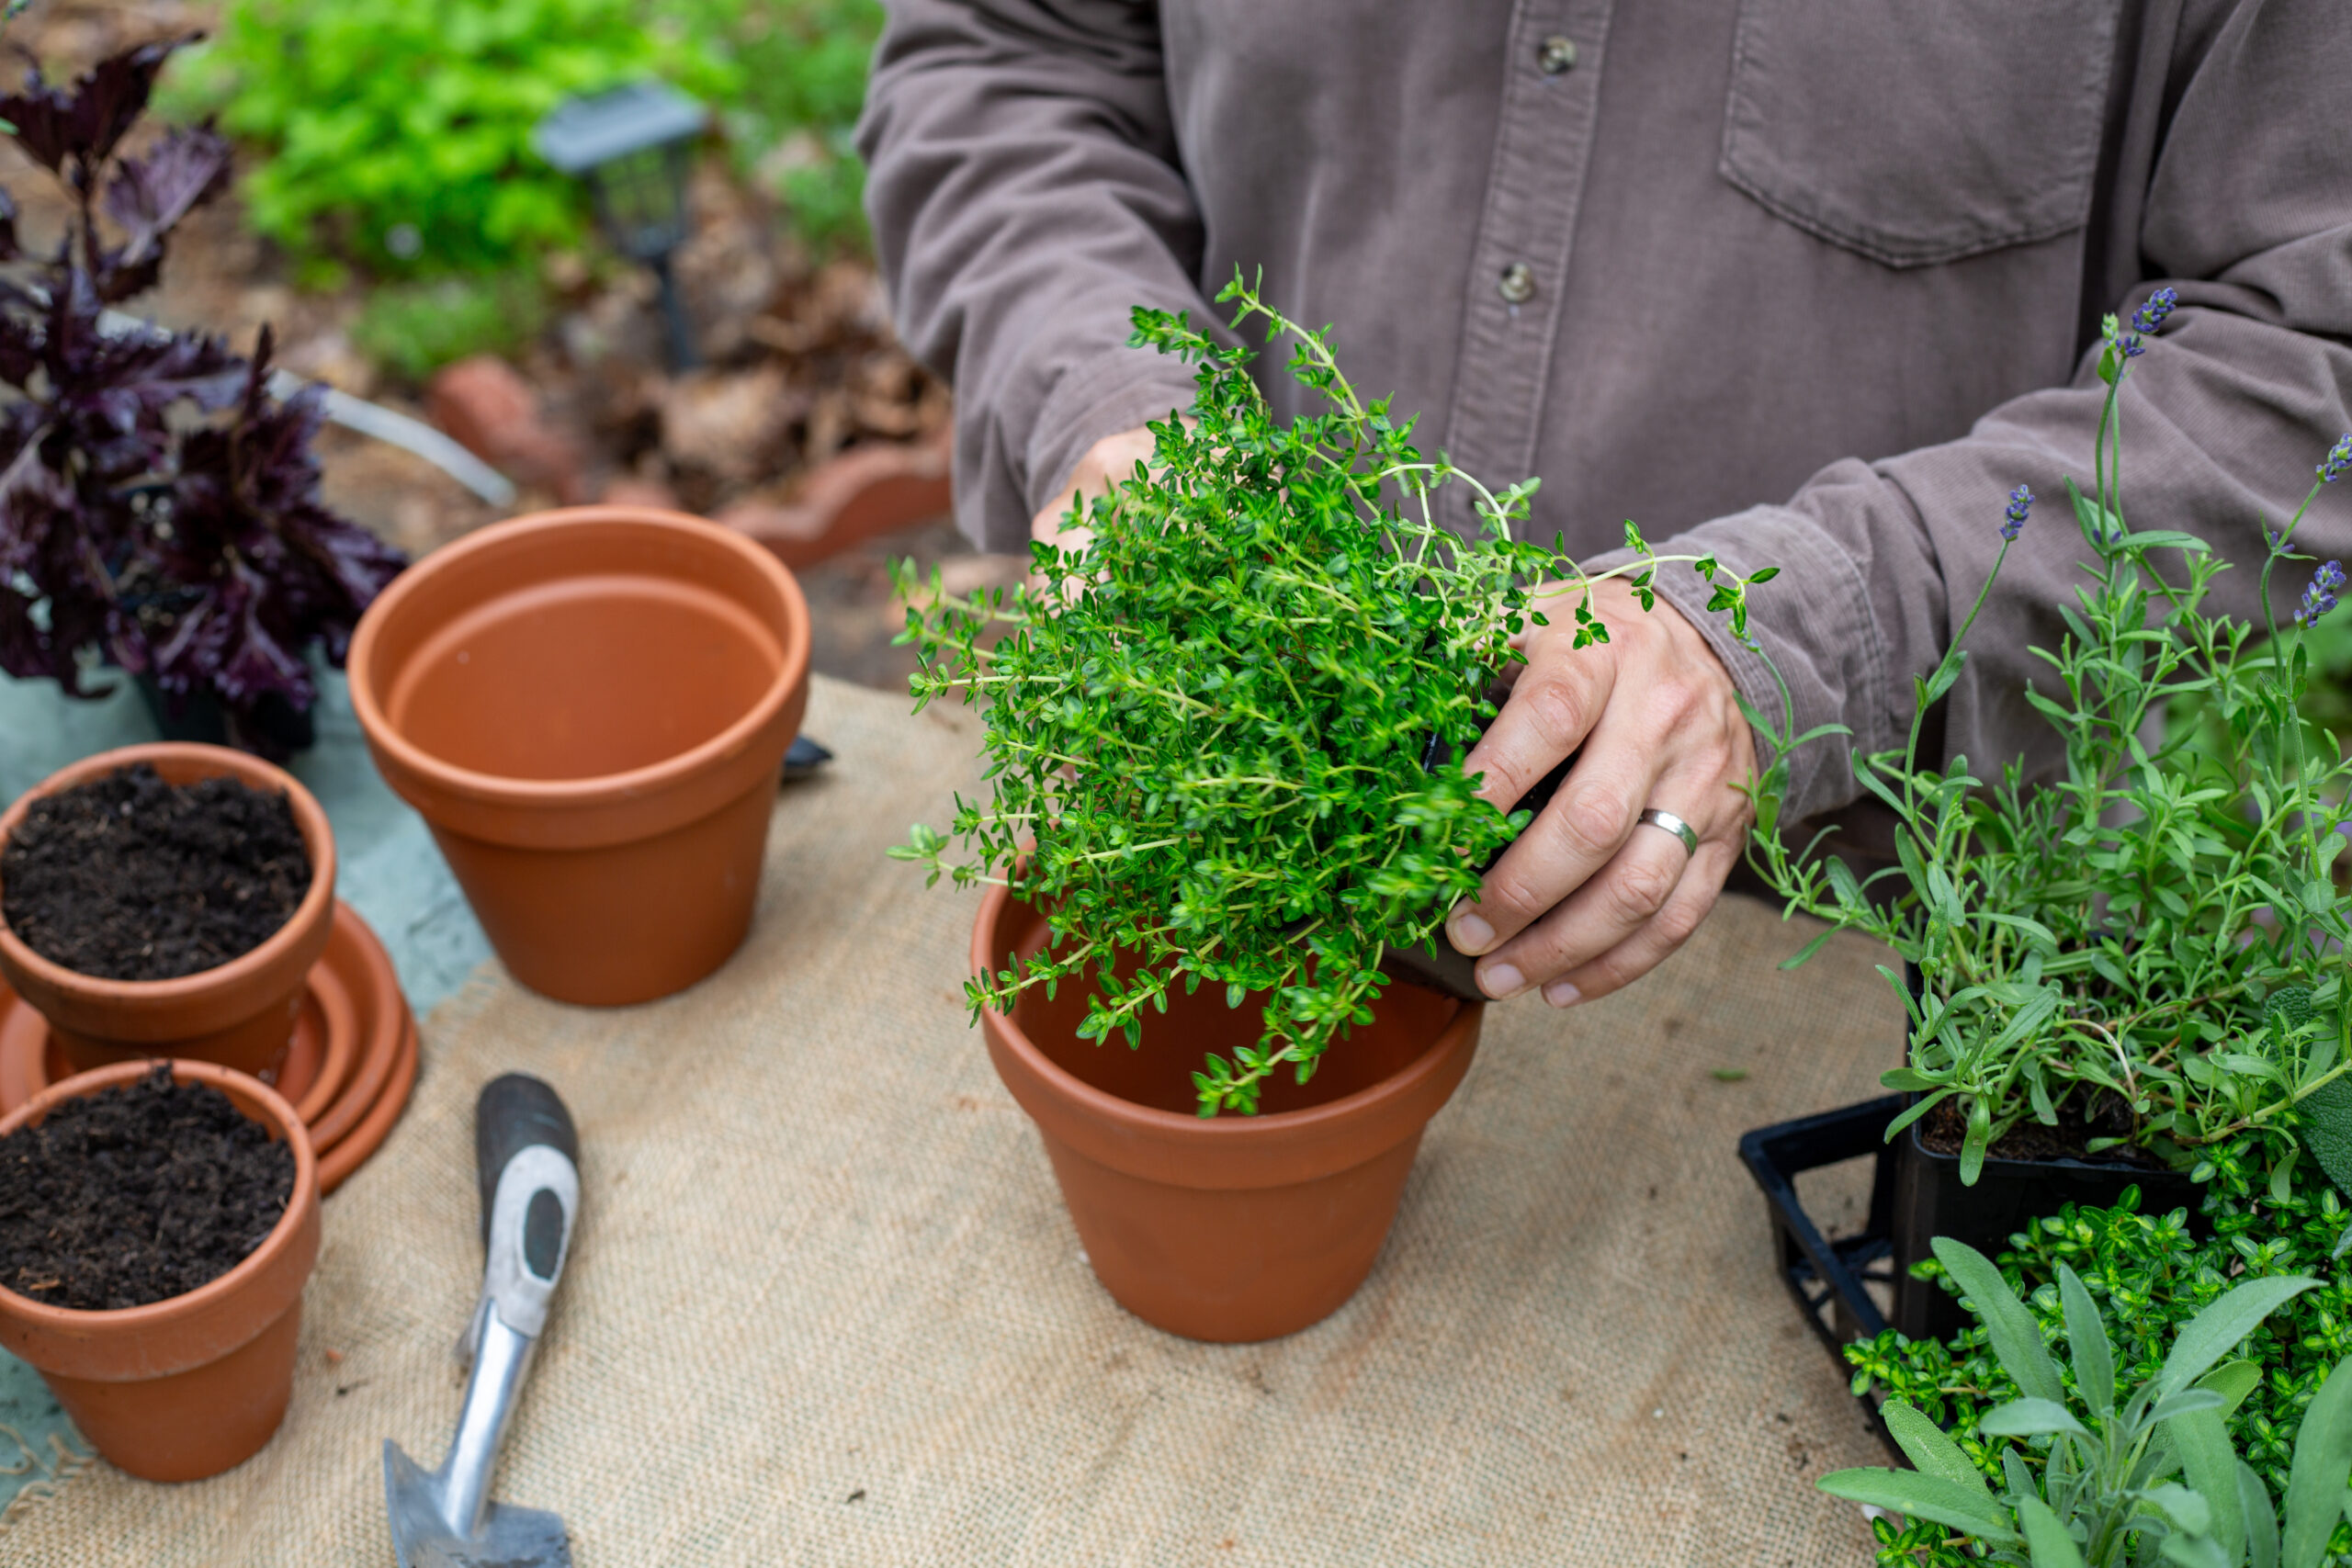
As with the other methods of propagation, avoid transplanting young plants under full sun. This is very stressful for new plants—they’d much prefer moving to a new home on a shady, overcast day.
Seed Saving
I’ve been saving seeds from my herbs and vegetables for almost as long as I’ve been gardening. Seed preservation is such an important activity for anyone looking to get closer to Mother Nature, to their gardens, and to themselves. Saving seeds from our plants is easy and rewarding. It helps us slow down and observe the life cycle of our herbs in a way we might not otherwise, and seeds are abundant. It doesn’t take much time or effort to collect enough of them to replant your garden next year or to share that abundance with your community.
There’s minimal equipment needed to get started when saving your seeds. Aside from a few bowls and small plastic bags for collection and storage, you might also need some screens for separating the seeds from the chaff. Seed cleaning screens can be purchased or built quite easily, but a household window screen works in a pinch. Use the screen to sift your harvested seeds, allowing the small seeds to fall below and be collected in a container while the debris is left above on the screen. There’s something almost meditative about sifting herb seeds—I find it both relaxing and rejuvenating at the same time. Being part of the life cycle of our herbs is empowering. People have been saving their seeds for as long as they’ve been cultivating plants.
As seed savers, it’s critical to learn to identify when the seeds we plan to harvest are mature. If we harvest them too soon, they won’t be viable, but if we wait too late, they may have fallen from the plants or, in some cases, already been harvested by birds and other garden visitors. It’s okay to share, though. I love watching the birds darting around the herb garden in autumn and early winter, snatching up some seeds for their afternoon snacks.
We grow a nice patch of echinacea and despite how much I might harvest, it produces foliage and flowers in summer and seeds in autumn, and there’s always plenty left behind for my avian friends. As gardeners, we are stewards of nature and we need to do our part to promote a healthy, lively ecosystem. Besides, it’s a great excuse to avoid autumn cleanup chores. Let your garden go to seed; keep it wild and messy. These leftover plants provide food and nesting materials for birds and other critters, shelter for insects, and seeds for next year’s planting. A messy garden is a win for everyone.
When to Harvest Seeds
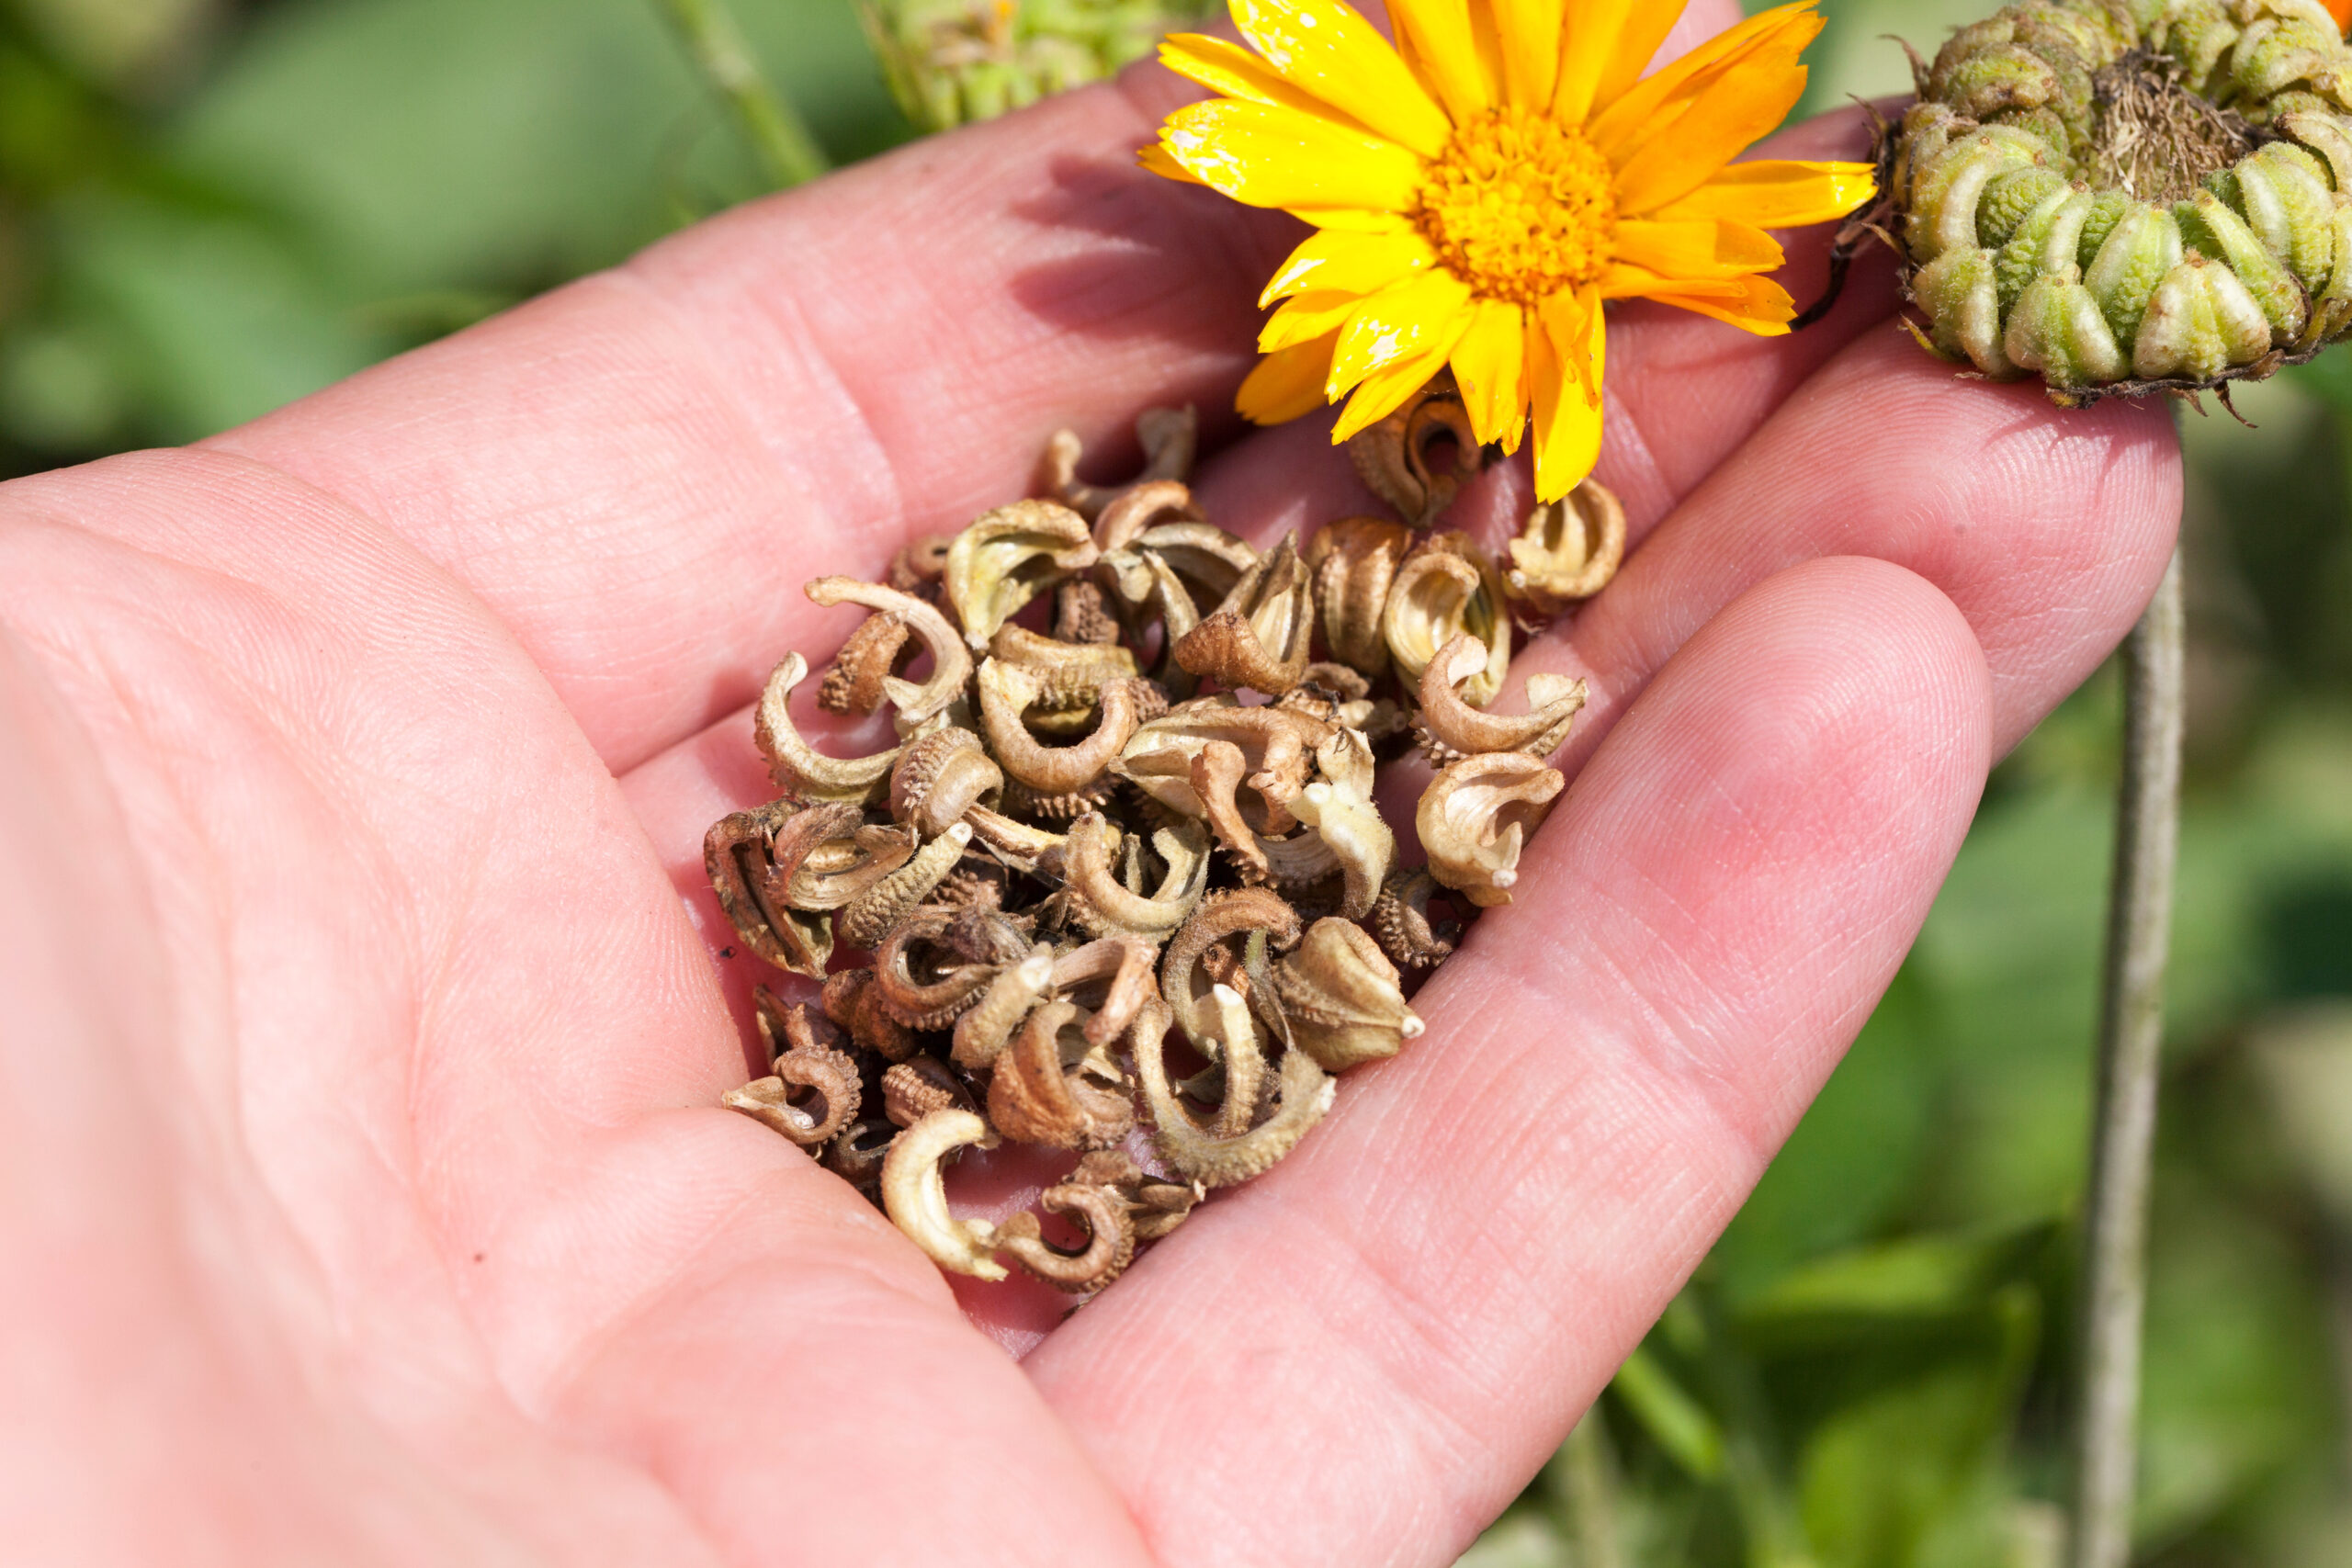
Most herbs will signal that their seeds are ready to be harvested when the flowers die back, turn brown, and you can pinch the flowers free from the plant and crumble them in your hand. You should be able to identify the seeds easily. Many herbs offer small, nondescript black or brown seeds whereas other herbs create something a little more visually stimulating, like calendula. When calendula flowers wither, the flower head is left with a small collection of the most unique, almost bug-like seeds. Once the flower head is fully dry, pinch off the seeds and save them for next year’s planting
It’s vital that we allow our seeds time to dry before we package them away for winter. Whether the seeds are collected from a dried flower stalk (like calendula or echinacea), or shaken free from the dried remains of their flower (like mint or sage), they should be left out in the open air for a few more days to ensure they are completely dry. Some of our seeds are harvested from fruits, like our cayenne peppers. These seeds will need even more time to dry, sometimes up to two weeks. Just put them out on the counter, away from direct sunlight. You can use a small fan to expedite the process.
Once your seeds are good and dry, it’s time to put them away until next season. Your precious seeds can be stored in glass jars, coin envelopes, or even in small paper bags. Just be sure to keep them cool, dark, and dry.
It’s also important to make sure your seeds are labeled properly. This will help you remember which seeds are which, but if you plan to share your seeds, include as much information as you can. Include the herb’s common name, species, and year harvested on the label. Then, you can put your herb seeds away in a cupboard or closet to rest until spring returns and it’s time to awaken for another season of growing.

Leave a Reply