
I love it when herbs just work, especially when they work quickly and well. Now, I am an equal fan of the slow-going well-being that comes from engaging herbs over time, and I would say I spend more of my time working for those moments because I think they are longer-lasting. But it does feel really good when someone comes back to you and says, “What was it that you put on that awful bruise I had? It cleared up overnight.” Or, “Wow, I used that salve you gave me on my cut finger and two days later it is like it never happened.” It is just so gratifying. So many of the tangible ah-ha moments people have with herbs come when using herbs topically in an herbal oil or salve.
Because of the gentle nature of certain herbs, taking them internally can feel like a small rudder turning a big ship. Lest I give the wrong idea, herbs can absolutely work quickly and acutely. For example, I take an elecampane tincture when I have a dry, stuck cough, and the phlegm begins to move. However, should I take a mullein tincture, I know it supports my respiratory system, albeit in a more slow-moving and balancing way. But topical herbs…these are another story. When you are dealing with herbs for topical use, you are in the realm of “I see it, I believe it,” or “My back hurt, and now it’s better.”
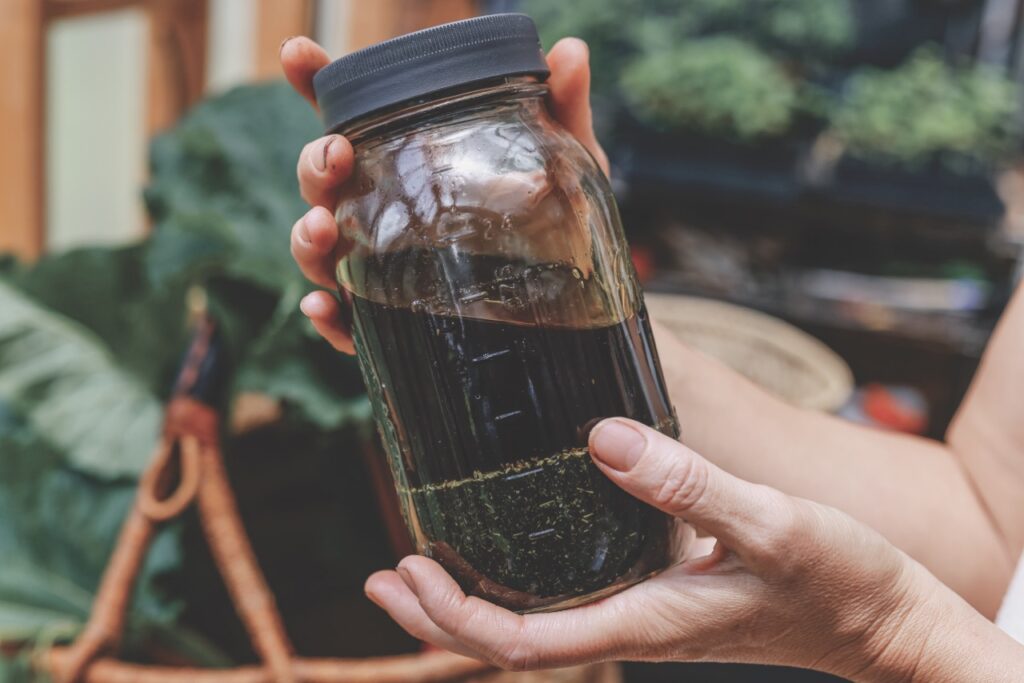
This is why I want to share a few top-notch herbs for topical use that I call the “topical herb dream team.” I’ll introduce each herb individually and briefly explain why they’re so fantastic, and how you can grow, forage, harvest, dry, and (of course) use them. Then I’ll share a recipe for making herbal oil: the foundation for my favorite herbal dream team salve, great for bites, stings, scrapes, abrasions, burns, sunburns, scars, bruises, rashes, and more.
Best Herbs for Topical Use: Meet the Herbal Dream Team
Calendula
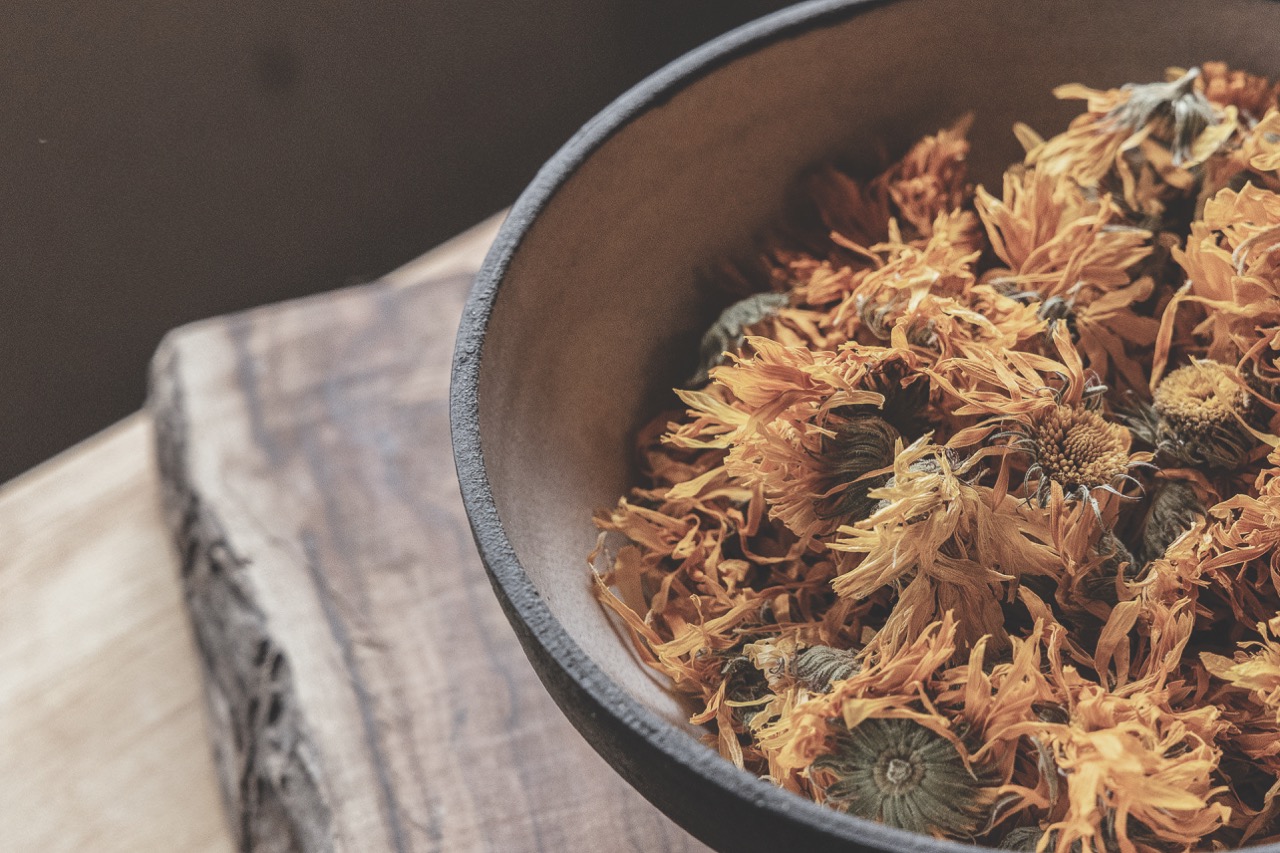
An amazing wound-healing herb, calendula is antiseptic and anti-inflammatory, and is great at keeping infections at bay. Its action is not just skin deep; I also use calendula for bruises and back pain, but it’s wonderful for every manner of skin complaint.
Growing
Calendula is beautiful, easy to grow, and attracts loads of beneficial insects to the garden. It does have some pest pressure to deal with, which we manage to delay with early plantings and by tucking it into rows between our more fragrant herbs. Even if you are growing calendula on a small scale, I recommend putting in at least 10-15 plants. I have found that I am more likely to use the blossoms if I can harvest a quantity at a time.
Harvesting and Processing
Harvest mid to late morning once the sun is well up but before you hit the peak of the day, or in the early evening while the blooms are still open and the day starts to cool down. Harvest bright, fully-open blooms by pinching underneath the head of the sticky flower. Give your calendula plenty of time to dry. I always use a dehydrator for my blooms to make sure the temperature stays consistent. Dry at temperatures between 95-100ºF (35-38ºC) for 48 hours, then break open the thick middle of the biggest blossom and make sure it’s thoroughly dry. In high humidity, they may need another 12-24 hours. It’s no fun to store a batch of calendula only to find it moldy a few weeks later.
*Calendula—as well as yarrow and chamomile—are part of the family Asteraceae. Proceed with caution if there is a known allergy to this plant family.
Comfrey
With centuries-long documented use for wound care, animal forage, and agricultural use, comfrey is a beloved plant of herbalists and permaculturists alike. It’s a slightly mucilaginous herb sporting a chemical wonder called allantoin, which is a compound that actively regenerates tissue. Also called knitbone, comfrey is traditionally used internally and externally to aid tissue regeneration.
Comfrey has come under undue scrutiny (in my humble opinion) due to the presence of pyrrolizidine alkaloids, which can be toxic to the liver in high doses. However, to my knowledge, there are no known instances of toxicity in humans at regular dosages of a small percentage of your diet for a few weeks at a time. That being said, there are no known concerns when using comfrey topically.
Growing
Comfrey is another easy-to-grow wonder plant. We use a sterile cultivar called bocking-14 that propagates via root cutting (meaning it will not spread by seed, and is thus easier to control). It’s quite easy to come by. If you have a permaculture neighbor, just ask; they’ll love you for it. Or you can visit strictlymedicinalseeds.com and get some root cuttings. I would love to experiment with seed-fertile comfrey someday, but I’m happy with the bocking for now.
Harvesting and Processing
Comfrey leaf dries quickly. Pull out the large central stem and put in a dehydrator at 95-100ºF (35-38ºC) for about 24 hours. Garble it (break it down into smaller pieces) by running it over a grid-style cookie rack.
Because of how active comfrey is, I do not recommend using comfrey externally on deep cuts or puncture wounds, as it can cause the outside to heal before the inside. You want to make sure that your wound heals from the inside out. Deep wounds are where our next herb really shines.
Yarrow
A first-aid herb with an ancient history, yarrow is historically famous for its antimicrobial and styptic, or blood-stopping properties. It makes a strong tea that can be used as a “wash” to clean out wounds. Backpackers use yarrow in powdered form to stop heavy bleeding in a wilderness situation. It also works great as an herbal poultice. If I have a deep cut—not so deep that I need medical attention—I use a yarrow wash to clean
out the cut.
Growing
Yarrow is easy to grow or forage. I received my original yarrow plant from a local farmer and I haven’t had to buy one since as it likes to spread, but not so much that I can’t keep it contained with a solid weeding. In late spring, our fields and orchards are full of beautiful patches of these white (sometimes pink) flowers. I don’t recommend harvesting from roadside stands where contamination is possible.
Harvesting and Processing
I collect a combination of the yarrow blossoms and leaves and dry them at 95-100ºF (35-38ºC) for about 24 hours. To store your yarrow, strip the herb from the bottom and move your hand down the stem, removing all large stems.
Plantain
A ubiquitous yard herb and topical wonder, plantain is a humble, unassuming, yet powerful tool in your wound care arsenal. For fast and easy care for bug bites, simply crush a leaf of the plantain and put it on the bite. Plantain is also a great “drawing herb,” meaning it can pull things like splinters out. Make a poultice of plantain and reapply every few hours until the splinter is out.
Growing
Plantain is easy enough to forage that you need not grow it on purpose. That being said, plantain is low-growing, and often gravitates to well-worn walking spaces. I don’t like to harvest herbs when there’s a chance people have walked on them. In the past, I’ve identified patches of plantain in out-of-the-way places and harvested from there, avoiding overly trampled plants. But now I let a number of self-sown plantain plants grow in my garden beds and simply weed around them.
Harvesting and Processing
Because it is low growing, you may want to wash your plantain leaves. Spin them in a salad spinner and pat the leaves dry before placing them in a dehydrator. Dry for about 24 hours between 95-100ºF (35-38ºC). Check the stems of your plantain and make sure the leaves are fully dry before storing.


Leave a Reply